

Featured image for How To Install Front License Plate On Tesla Model 3
Image source: canary.contestimg.wish.com
Installing a front license plate on your Tesla Model 3 is a simple, tool-free process that avoids permanent damage by using an adhesive mount. Follow the clear steps to secure your plate quickly and legally, ensuring a clean look and compliance with regulations.
In This Article
- 1 Key Takeaways
- 2 📑 Table of Contents
- 3 How To Install Front License Plate On Tesla Model 3 Easily
- 4 Why the Front License Plate is a Tesla Model 3 Conversation
- 5 Knowing the Rules: Is a Front Plate Really Required for You?
- 6 Gathering Your Tools and Choosing Your Method
- 7 The Step-by-Step Installation Guide
- 8 Data Table: Front License Plate Installation Method Comparison
- 9 Pro Tips, Troubleshooting, and Final Thoughts
- 10 Conclusion: Your Model 3, Legal and Proud
- 11 Frequently Asked Questions
- 11.1 Do I need to install a front license plate on my Tesla Model 3?
- 11.2 What tools are required to install a front license plate on a Tesla Model 3?
- 11.3 Can I install a front license plate on Tesla Model 3 without drilling?
- 11.4 How do I install the front license plate bracket on a Tesla Model 3?
- 11.5 Is it hard to install a front license plate on a Tesla Model 3?
- 11.6 What is the easiest way to install a front license plate on a Tesla Model 3?
Key Takeaways
- Use the adhesive mount: Avoid drilling into your bumper.
- Clean the bumper thoroughly: Ensure a strong, lasting bond.
- Proper alignment is critical: Prevent a crooked plate placement.
- Use the alignment tool: Many kits include one for precision.
- Apply firm, even pressure: Activate the adhesive fully.
- Do not reposition once placed: You will weaken the adhesive.
📑 Table of Contents
- How To Install Front License Plate On Tesla Model 3 Easily
- Why the Front License Plate is a Tesla Model 3 Conversation
- Knowing the Rules: Is a Front Plate Really Required for You?
- Gathering Your Tools and Choosing Your Method
- The Step-by-Step Installation Guide
- Data Table: Front License Plate Installation Method Comparison
- Pro Tips, Troubleshooting, and Final Thoughts
- Conclusion: Your Model 3, Legal and Proud
How To Install Front License Plate On Tesla Model 3 Easily
Let me tell you a story. The day I brought my Tesla Model 3 home was pure joy. I spent hours just looking at its sleek, unbroken front fascia. It’s a work of art. Then, a week later, a friendly envelope from the DMV arrived. My new plates were here. My heart sank a little. That beautiful front end was about to get a rectangular metal accessory screwed right into it.
If you’re feeling that same mix of obligation and dread, you’re not alone. The front license plate is one of the most common pain points for Tesla Model 3 owners. We buy a car from the future, then have to confront a mounting problem from the past. Do you drill? Do you stick? What’s legal? What won’t ruin the paint?
Take a deep breath. I’ve been through it, and I’ve helped friends through it. Installing a front license plate on your Tesla Model 3 doesn’t have to be a nightmare. With the right knowledge and a little care, you can do it easily, legally, and without any permanent damage. This guide will walk you through every step, from understanding your options to the final snug fit of your plate. Let’s get your car street-legal while keeping your peace of mind intact.
Why the Front License Plate is a Tesla Model 3 Conversation
Before we grab any tools, it’s helpful to know why this simple task feels so complicated for Tesla Model 3 owners. It’s not just you being picky.
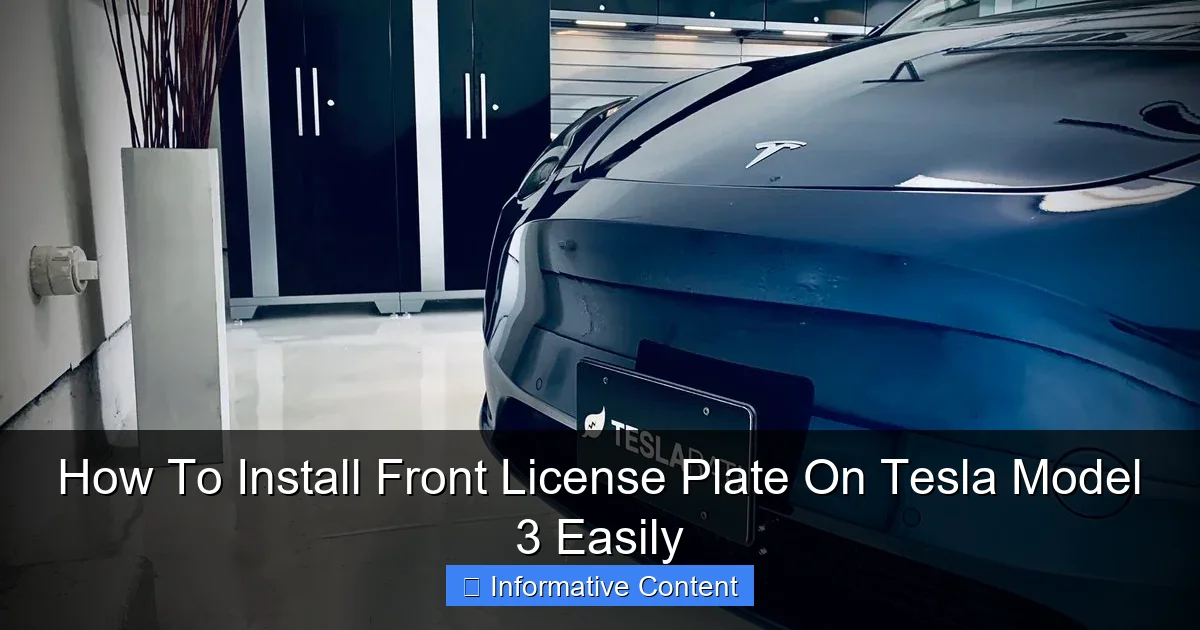
Visual guide about How To Install Front License Plate On Tesla Model 3
Image source: cdn.shopify.com
Tesla’s Design Philosophy vs. State Laws
Tesla designs its cars with a clean, aerodynamic aesthetic. The Model 3’s front end has no traditional grille, just smooth curves. Drilling into it feels, to many, like vandalism. However, over 30 states in the U.S., plus many provinces and countries, require a front license plate. This creates an instant conflict for owners who want to follow the law but also preserve their car’s look and value.
What Comes in the Frunk? (The Factory Kit)
If your Tesla Model 3 was delivered new, it likely came with a front license plate mount in the frunk. This is a simple plastic bracket that is designed to be adhered to the front bumper with strong adhesive tape. Tesla includes this knowing that many owners are in “two-plate” states. While this solves the legal issue, the adhesive is very strong and can damage the paint upon removal, making it a semi-permanent decision that gives some owners pause.
Knowing the Rules: Is a Front Plate Really Required for You?
This is the most critical step. You don’t want to go through the process only to find out you didn’t need to. Let’s clear this up first.
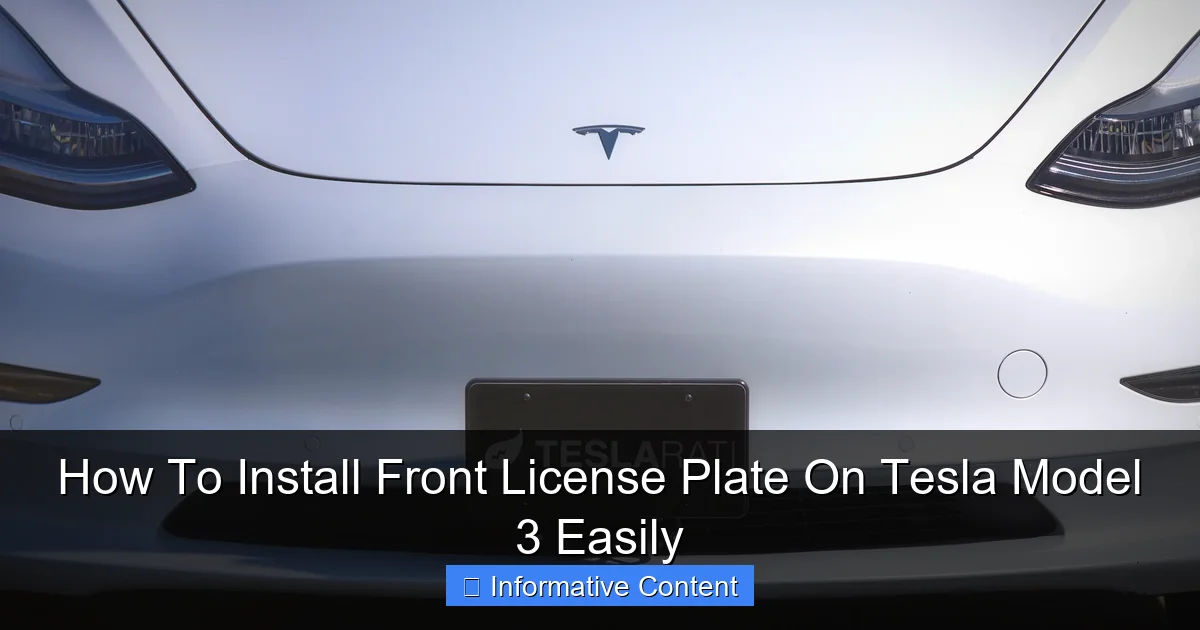
Visual guide about How To Install Front License Plate On Tesla Model 3
Image source: cdn.shopify.com
Checking Your Local Laws
Don’t rely on hearsay from other owners. Laws change. The only way to be sure is to check your state’s Department of Motor Vehicles (DMV) or transportation website. Look for “license plate display requirements.” Some states, like Pennsylvania and Florida, only require a rear plate. Others, like California and New York, strictly require both. Fines for missing a front plate can range from a fix-it ticket to a recurring fine until it’s mounted.
The “Fix-It Ticket” Reality
Even in mandatory states, enforcement can be spotty. Some owners risk it for years without issue; others get a ticket within weeks. It often depends on local police focus or whether you give them another reason to pull you over. The safest, most hassle-free route is simply to comply with the law. Installing a front license plate on your Tesla Model 3 easily and correctly removes this worry forever.
Gathering Your Tools and Choosing Your Method
You have choices! The “easy” in “how to install front license plate on Tesla Model 3 easily” comes from picking the right method for your comfort level. Here’s your menu of options.
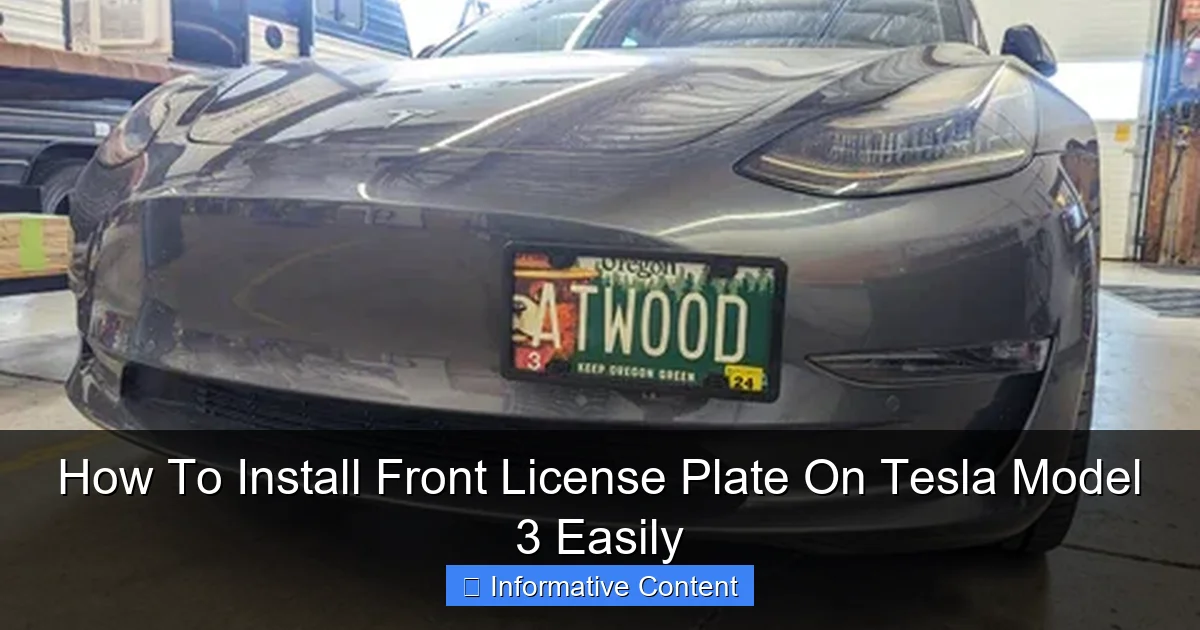
Visual guide about How To Install Front License Plate On Tesla Model 3
Image source: zl1addons.com
Option 1: The Official Tesla Adhesive Mount (Included)
Pros: Free, included with the car, 100% compliant with plate positioning, very secure once installed.
Cons: Uses very strong VHB tape; removal is difficult and will likely damage the paint, requiring a repaint or touch-up.
Best for: Owners who are certain they will never remove the plate and don’t mind a permanent solution.
Option 2: Aftermarket No-Drill Bracket
This is a popular category. These brackets attach to the car’s front tow hook cover or the lower grille area without any adhesive or drilling.
Pros: No damage to paint or bumper, completely removable, often adjustable.
Cons: Costs extra ($30-$100), plate is often off-center, which some find less aesthetically pleasing.
Best for: Owners who want zero risk of paint damage and the ability to remove the plate for photos or car washes.
Option 3: Aftermarket Adhesive Solutions (Stickers, Frames)
These are low-profile solutions like vinyl plate wraps that stick directly to the bumper, or minimal frames using lighter-duty adhesive.
Pros: Extremely clean, low-profile look, often very easy to install.
Cons: May not be as secure, adhesive can fail in extreme heat/cold, some are not technically “mounted” per legal definitions.
Best for: Owners in milder climates who want the absolute most minimalist look and are comfortable with a less traditional mount.
Your Tool Checklist
- For any method: Your front license plate, a microfiber cloth, isopropyl alcohol (70% or higher), a measuring tape.
- For the Tesla adhesive mount: The included kit, a hair dryer or heat gun (for removal, if needed later).
- For a tow hook bracket: The bracket kit, a plastic pry tool (usually included).
- For a vinyl sticker plate: A squeegee or credit card to smooth out bubbles.
The Step-by-Step Installation Guide
I’ll focus on the two most common methods: the official Tesla adhesive mount and a generic no-drill tow hook bracket. These cover the spectrum from permanent to temporary.
Method 1: Installing the Official Tesla Adhesive Bracket
Step 1: Prep the Bumper. Find the center of your front bumper. There are often slight indentations or guides. Thoroughly clean this area with the isopropyl alcohol and the microfiber cloth. This removes any wax, grease, or dirt. Let it dry completely. This step is crucial for a strong bond.
Step 2: Prep the Bracket. Peel off the red protective backing from the strong adhesive tape on the back of the bracket. Do not touch the sticky surface. Have your license plate and the four provided screws ready.
Step 3: The Moment of Truth – Alignment and Stick. Carefully align the bracket horizontally on the prepped bumper spot. The top of the bracket should be roughly 1-2 inches from the bottom curve of the bumper. Once you’re absolutely sure of the position, press it firmly and evenly onto the bumper. Apply strong, steady pressure for at least 30 seconds. Some people recommend sitting the bracket for 24 hours before adding the plate for maximum adhesion, but this isn’t always necessary.
Step 4: Attach the Plate. Place your license plate onto the bracket. Using a screwdriver (usually a Phillips head), screw the four screws through the plate and into the bracket. Don’t overtighten—snug is enough.
Method 2: Installing a No-Drill Tow Hook Bracket
Step 1: Locate the Tow Hook Cover. On the front bumper, on the driver’s or passenger side (depending on the bracket), you’ll find a small rectangular panel. This is the tow hook cover.
Step 2: Remove the Cover. Gently insert your plastic pry tool into the seam and pop the cover out. Set it aside in a safe place (like your frunk).
Step 3: Attach the Bracket. Screw the mounting arm of your bracket into the now-exposed tow hook receptacle. Hand-tighten it firmly. Most brackets have an anti-rotation set screw; tighten this with the provided Allen key.
Step 4: Attach the Plate. Slide your license plate into the bracket’s frame or holder. Use the provided hardware to secure it. These brackets usually allow you to adjust the angle and height, so take a moment to make it level.
Data Table: Front License Plate Installation Method Comparison
| Method | Cost | Installation Difficulty | Reversibility | Risk of Paint Damage | Plate Position |
|---|---|---|---|---|---|
| Tesla Adhesive Bracket | Free (Included) | Very Easy | Very Low (Damaging) | Very High | Centered |
| Aftermarket Tow Hook Bracket | $$ ($30-$100) | Easy | Very High (Easy) | None | Off-Center |
| Minimal Adhesive Frame | $ ($20-$50) | Very Easy | Medium (Risk of Residue) | Medium | Centered |
| Vinyl Sticker Plate | $$$ ($100+) | Moderate (Needs Precision) | Low (Difficult to Remove) | Low to Medium | Centered |
Pro Tips, Troubleshooting, and Final Thoughts
You’re almost there. Here are those extra bits of wisdom that make the process smoother.
Pro Tips for a Flawless Install
- Temperature Matters: Install any adhesive-based mount on a warm day (ideally 70°F/21°C or warmer). The bumper and adhesive are more pliable, creating a better bond.
- Double, Triple-Check Alignment: Before pressing any adhesive, step back and look at the car. Use your measuring tape to ensure it’s level and centered. An off-center plate is very noticeable.
- Consider a Clear Wrap: If you’re using the Tesla bracket, some owners apply a small piece of paint protection film (PPF) to the bumper first, then stick the bracket to the film. This can protect the paint upon removal.
- Use Anti-Theft Screws: License plates can be stolen. Consider using anti-theft screw heads (like security star or pin heads) for a little extra security once your plate is mounted.
What If I Need to Remove the Tesla Adhesive Bracket?
This is the big fear. If you must, here’s the least damaging approach. Use a hair dryer or heat gun on a low setting to gently warm the adhesive bracket for 2-3 minutes. This softens the VHB tape. Then, slowly and carefully use a length of strong fishing line or dental floss to “saw” behind the bracket, separating it from the bumper. Go slowly. Any remaining adhesive can be rolled off with your finger and cleaned with adhesive remover (test on an inconspicuous area first). Be prepared for potential paint damage—it’s very common.
Conclusion: Your Model 3, Legal and Proud
So, there you have it. Installing a front license plate on your Tesla Model 3 easily is totally within your reach. It boils down to a simple choice: permanent and centered with the factory kit, or removable and off-center with an aftermarket bracket. Neither is the “wrong” choice; it’s about your personal priority—absolute compliance and symmetry, or preserving the pristine bumper at all costs.
I chose a tow hook bracket. For me, the ability to remove it in two minutes for a track day or a photoshoot was worth the off-center look, which I honestly don’t even notice anymore. A friend of mine used the Tesla adhesive mount on day one and has never looked back. He loves the clean, centered look and doesn’t plan to ever remove it.
Whichever path you choose, the most important thing is that you do it with confidence. Follow the steps, take your time with preparation, and you’ll have a securely mounted plate that keeps you on the right side of the law. Now, go enjoy that amazing car, front plate and all, with one less thing to worry about.
Frequently Asked Questions
Do I need to install a front license plate on my Tesla Model 3?
It depends on your state’s regulations, as many require front plates. Check your local DMV laws to avoid potential fines. Installing one ensures you remain compliant with traffic laws.
What tools are required to install a front license plate on a Tesla Model 3?
You typically need a screwdriver, the license plate bracket, and screws. Some kits include adhesive pads for a no-drill installation, making the process simpler and tool-minimal.
Can I install a front license plate on Tesla Model 3 without drilling?
Yes, you can use adhesive mounts or bracket kits that attach without drilling. These options protect your bumper’s finish and are often reversible if you change your mind later.
How do I install the front license plate bracket on a Tesla Model 3?
Align the bracket with the pre-installed mounts on the front bumper. Secure it firmly with the provided screws, ensuring it is level and snug for a clean, secure fit.
Is it hard to install a front license plate on a Tesla Model 3?
Not at all. With basic tools and following a guide, it’s a straightforward task that takes just minutes. Most owners find it easy to do without professional assistance.
What is the easiest way to install a front license plate on a Tesla Model 3?
The easiest way is using adhesive pads or a snap-on bracket. These methods require no tools and can be done quickly, preserving your car’s bumper while ensuring secure attachment.

At CarLegit, we believe information should be clear, factual, and genuinely helpful. That’s why every guide, review, and update on our website is created with care, research, and a strong focus on user experience.