

Recharging the AC system in a 2016 Nissan Rogue requires the correct R-1234yf refrigerant and a proper AC recharge kit with a gauge. You must connect to the low-pressure port, typically on the passenger side near the firewall, while the engine and AC are running at maximum cool. Carefully monitor the pressure gauge to avoid overcharging, which can damage the system.
In This Article
- 1 Key Takeaways
- 2 📑 Table of Contents
- 3 Step by Step Guide to Put Freon in a 2016 Nissan Rogue
- 4 Understanding Your Rogue’s AC System and Safety First
- 5 Gathering the Right Tools and Materials
- 6 Locating the Service Ports and Preparing Your Vehicle
- 7 The Step-by-Step Process to Put Freon in Your 2016 Nissan Rogue
- 8 Data Table: Low-Side Pressure Reference Guide
- 9 Post-Recharge Checks and When to Call a Pro
- 10 Conclusion: Enjoy the Cool Comfort of Your DIY Success
- 11 Frequently Asked Questions
- 11.1 What type of Freon does a 2016 Nissan Rogue use?
- 11.2 How do I put Freon in my 2016 Nissan Rogue step by step?
- 11.3 Where is the low-pressure port on a 2016 Nissan Rogue for Freon?
- 11.4 Can I recharge the A/C Freon in my Nissan Rogue myself?
- 11.5 What are the signs my 2016 Nissan Rogue needs Freon?
- 11.6 Is it safe to put Freon in a 2016 Nissan Rogue without a gauge?
Key Takeaways
- Verify the Refrigerant Type: Use only R-134a specified for your model.
- Locate the Low-Pressure Port: Connect the gauge and can here only.
- Check System Pressure First: Ensure it’s low before adding refrigerant.
- Start the Engine and AC: Run AC at max cool and high fan.
- Monitor Pressure While Charging: Do not overfill; follow gauge readings.
- Inspect for Major Leaks: A consistently low charge indicates a professional repair is needed.
📑 Table of Contents
- Step by Step Guide to Put Freon in a 2016 Nissan Rogue
- Understanding Your Rogue’s AC System and Safety First
- Gathering the Right Tools and Materials
- Locating the Service Ports and Preparing Your Vehicle
- The Step-by-Step Process to Put Freon in Your 2016 Nissan Rogue
- Data Table: Low-Side Pressure Reference Guide
- Post-Recharge Checks and When to Call a Pro
- Conclusion: Enjoy the Cool Comfort of Your DIY Success
Step by Step Guide to Put Freon in a 2016 Nissan Rogue
Let’s be honest. There’s nothing quite like the sinking feeling you get on a hot summer day when you turn on your car’s AC and… nothing. Just a sad, lukewarm breeze. If you’re driving a 2016 Nissan Rogue, you know how essential that cool air is for road trips, school runs, and just surviving the afternoon commute. The culprit is often low refrigerant, what most of us call Freon.
Now, before you panic and imagine a huge mechanic’s bill, take a deep breath. Recharging your AC system is a project many car-savvy owners tackle themselves. It can be straightforward, safe, and save you a good chunk of change. But—and this is a big but—you have to do it right. This isn’t just about blasting cold air; it’s about the health of your entire AC system. Do it wrong, and you could cause expensive damage.
That’s why I put together this guide. We’ll walk through the entire process of how to put Freon in a 2016 Nissan Rogue, step-by-step. I’ll share the tools you need, the safety must-dos, and the little tips I’ve learned along the way. My goal isn’t just to get you cold air, but to help you do it safely and effectively, preserving your Rogue for many more cool, comfortable miles.
Understanding Your Rogue’s AC System and Safety First
Jumping straight to the recharge kit without understanding what you’re doing is like trying to bake a cake without a recipe. You might get something edible, but it probably won’t be right. Your Rogue’s air conditioning is a sealed, pressurized system. It doesn’t “use up” refrigerant like gas; if it’s low, there’s a leak. Simply adding more is a temporary fix.
Visual guide about add freon 2016 Nissan Rogue
Image source: d2n97g4vasjwsk.cloudfront.net
What is “Freon” and What Does Your 2016 Rogue Use?
First, a quick word on “Freon.” It’s a brand name, like Kleenex, that became generic for refrigerant. Your 2016 Nissan Rogue does not use the old R-134a refrigerant. It uses a newer type called R-1234yf. This is non-negotiable and critical. R-1234yf is more environmentally friendly but also more expensive and requires different fittings. Using the wrong refrigerant will not work and will ruin your AC system, leading to repairs costing thousands.
The Golden Rules of AC Service Safety
Your safety is the number one priority. Refrigerant is serious business.
- Wear Safety Gear: Always, always wear safety glasses and chemical-resistant gloves. Refrigerant can freeze skin and eyes on contact.
- Work in a Ventilated Area: Never work in a closed garage. Refrigerant displaces oxygen and can cause suffocation in high concentrations.
- No Open Flames: Refrigerant can turn into a toxic gas when exposed to flame or hot components.
- Pressure is Powerful: The AC system operates under high pressure. Never open any fittings or service ports unless the system is properly discharged by a professional.
If you are uncomfortable with any step, stop. There is no shame in taking your car to a certified technician. This is especially true if you suspect a major leak.
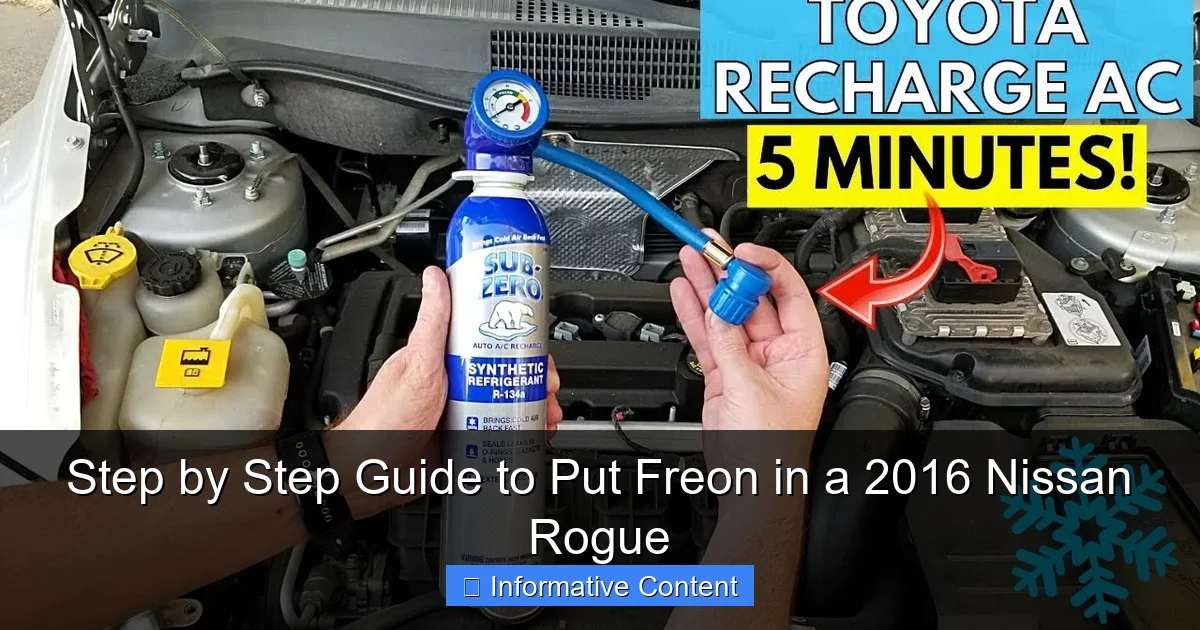
Gathering the Right Tools and Materials
You can’t build a bookshelf with a hammer and a hope. You need the right tools for the job. Here’s exactly what you’ll need to put Freon in your 2016 Nissan Rogue.

Visual guide about add freon 2016 Nissan Rogue
Image source: imageonthefly.autodatadirect.com
Essential Equipment Checklist
- Correct Refrigerant: This is the big one. You must purchase R-1234yf. Look for cans that are clearly labeled. Many parts stores keep it behind the counter.
- AC Recharge Kit with Gauge: Do not buy a cheap “one-tap” kit without a gauge. You need a kit with a dedicated low-side hose and a pressure gauge. Many kits are now made specifically for R-1234yf with the correct fitting.
- Safety Glasses & Gloves: As mentioned above, don’t skip these.
- Car Owner’s Manual: For locating components and verifying specifications.
Optional but Highly Recommended Tools
- UV Leak Detection Kit: If you’re losing refrigerant, you have a leak. A small UV dye kit can help you find it. You add a little dye to the system, run the AC, and then use a UV flashlight to look for glowing spots.
- Thermometer: A simple digital thermometer to measure the air temperature from the vents. This tells you if your recharge is working.
A quick tip: Call your local auto parts store before you go. Ask if they have R-1234yf refrigerant and a compatible recharge kit in stock. It saves a wasted trip.
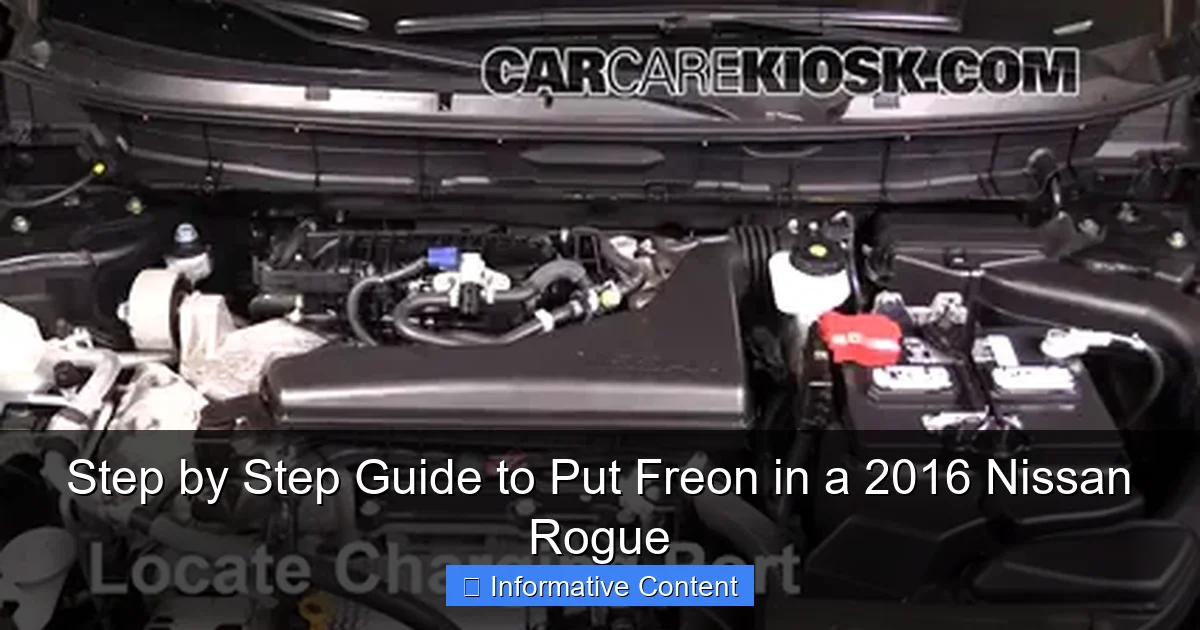
Locating the Service Ports and Preparing Your Vehicle
Now, let’s get your Rogue ready. Preparation is 80% of a successful job.
Visual guide about add freon 2016 Nissan Rogue
Image source: carpartsfaq.com
Finding the Low-Side Service Port
Your AC system has two service ports: High-pressure and Low-pressure. You will only ever use the low-side port for a recharge. It is smaller in diameter and has a black or blue cap (the high-side is red). On the 2016 Nissan Rogue, the low-side port is typically located on the passenger side of the engine bay. Look for a metal pipe (the suction line) coming from the firewall to the compressor. The service port will be on that line, often near the battery or the fender wall. Your owner’s manual has a diagram if you get stuck.
Pre-Recharge Vehicle Setup
Follow these steps to get an accurate reading and a safe workspace:
- Park your Rogue on a level surface in a shaded, well-ventilated spot.
- Pop the hood and secure it.
- Start the engine. Yes, the engine must be running for the AC compressor to operate.
- Turn the AC system on. Set the fan to max speed, the temperature to the coldest setting, and make sure the AC button is lit (not in “ECO” mode if equipped).
- Recirculation mode should be OFF. You want to draw in outside air.
- Roll down the windows to prevent the car from cooling down too quickly, which can affect pressure readings.
Let the system run for 5-10 minutes. This stabilizes the pressure and gets the compressor cycling. Now you’re ready to check the pressure.
The Step-by-Step Process to Put Freon in Your 2016 Nissan Rogue
This is the core of the guide. We’ll move slowly and carefully. Remember, if the gauge readings don’t look right, stop and reassess.
Step 1: Connecting the Gauge and Getting a Baseline
Put on your gloves and safety glasses. Shake your can of R-1234yf. Find the low-side port and remove its black/blue cap. Attach the hose from your recharge kit to the can (pierce the seal as directed). Before connecting to your car, briefly open the valve on the hose for one second to purge air from the hose—this is called “bleeding the line.” Now, firmly connect the quick-connect fitting on the hose to your Rogue’s low-side port. You should hear a click.
Look at the gauge. At an ambient temperature of around 70-80°F, you might see a pressure between 25-45 PSI on the low side if the system is low. The exact specification varies with temperature. This is your baseline.
Step 2: Adding Refrigerant and Monitoring Pressure
With the engine and AC still running at full blast, it’s time to add refrigerant. Hold the can upright. Open the valve on the hose slowly. You will hear a hiss as the refrigerant flows into the system. Do not shake the can. Watch the gauge closely.
As the can empties, it will get cold. You can gently swirl it, but don’t shake. The pressure will slowly rise. Your target is not a specific PSI, but a range based on the ambient air temperature. Here is a helpful reference:
Step 3: Knowing When to Stop
This is the most important skill. You stop adding refrigerant when:
- The low-side pressure stabilizes in the target range for your ambient temperature.
- The air coming from the center vents is cold (use your thermometer—aim for 35-45°F).
- You see bubbles in the sight glass (if your Rogue has one) clear up and become a clear liquid.
- The compressor clutch (the front part of the AC pulley) is engaging and disengaging in regular cycles, not staying locked on constantly.
If the pressure goes too high (consistently above 50 PSI on the low side when the compressor is running), you are overcharged. This is bad and can damage the compressor. If this happens, you must stop and have a professional recover the excess.
Data Table: Low-Side Pressure Reference Guide
This table gives you a rough target range for low-side pressure based on the air temperature outside your car (ambient temperature). Remember, this is a guide. The final judge is vent temperature and compressor cycling.
Important: These pressures are approximate and for a properly functioning system with correct airflow over the condenser. Always prioritize vent temperature and system behavior over hitting an exact PSI number.
| Ambient Air Temperature (°F) | Target Low-Side Pressure Range (PSI) |
|---|---|
| 70 | 35-45 |
| 75 | 40-50 |
| 80 | 45-55 |
| 85 | 50-60 |
| 90 | 55-65 |
| 95+ | 60-70 |
Post-Recharge Checks and When to Call a Pro
You’ve added the refrigerant, the air is blowing cold, and you feel a sense of victory. Awesome! But we’re not quite done. A few final checks will ensure your fix lasts.
Verifying Your Work and Checking for Leaks
First, carefully disconnect the recharge hose from the low-side port. Replace the cap tightly. Turn off your car’s engine. Feel the two metal pipes going into the firewall. After running for a few minutes, the larger one (the low-pressure suction line) should be very cold and possibly wet with condensation. The smaller one (the high-pressure liquid line) should be warm to hot.
If you used UV dye, wait a day or two of normal driving, then use the UV flashlight to check around the compressor, service ports, condenser (in front of the radiator), and connections. Any bright green glow indicates a leak that needs professional repair.
Red Flags That Mean You Need a Mechanic
A DIY recharge is a fix for a slow, minor leak. It is not a cure-all. If you encounter any of these, it’s time to visit a professional:
- The AC blows cold for a week, then gets warm again (significant leak).
- The compressor clutch does not engage at all when the AC is on (electrical issue, bad clutch, or very low pressure).
- You hear loud, unusual noises from the compressor when it kicks on.
- The pressure readings were wildly abnormal during your recharge attempt.
- You accidentally introduced moisture or air into the system by not purging the hose.
A certified technician has the tools to evacuate the entire system, find the leak, repair it, and then pull a vacuum to remove air and moisture before doing a precise, weighted recharge. This is the only permanent fix for a leaking system.
Conclusion: Enjoy the Cool Comfort of Your DIY Success
Learning how to put Freon in a 2016 Nissan Rogue is a rewarding piece of car maintenance. You’ve taken control, saved money, and gained a deeper understanding of the machine you depend on every day. The key takeaways are simple: use the right refrigerant (R-1234yf), prioritize safety above all else, and let the system’s performance—not just a gauge—tell you when you’re done.
Remember, this recharge is a maintenance task, not a magic solution. If your system keeps losing charge, the responsible thing is to get that leak properly diagnosed and fixed. But for now, with the sun beating down and your Rogue’s vents blowing a steady stream of crisp, cold air, you can enjoy the sweet satisfaction of a job done right. Safe travels and stay cool out there!
Frequently Asked Questions
What type of Freon does a 2016 Nissan Rogue use?
The 2016 Nissan Rogue uses R-134a refrigerant. It is crucial to use the correct type, as using the wrong refrigerant can damage the A/C system. Always check your owner’s manual or the label under the hood for confirmation before purchasing.
How do I put Freon in my 2016 Nissan Rogue step by step?
To put Freon in your 2016 Nissan Rogue, start by locating the low-pressure service port, typically on the larger diameter aluminum tubing. With the engine and A/C running at max cool, connect a can of R-134a with a gauge hose and slowly add refrigerant. Monitor the pressure gauge to avoid overcharging the system.
Where is the low-pressure port on a 2016 Nissan Rogue for Freon?
The low-pressure port for adding Freon to a 2016 Nissan Rogue is usually found on the passenger side of the engine bay. Look for an aluminum A/C line with a blue or black plastic cap labeled with an “L.” This is the only port you should connect to for a DIY recharge.
Can I recharge the A/C Freon in my Nissan Rogue myself?
Yes, you can recharge the A/C Freon in your Nissan Rogue yourself using a DIY recharge kit from an auto parts store. However, this is only a temporary fix for low refrigerant, which is often caused by a leak that should be diagnosed and repaired by a professional for a long-term solution.
What are the signs my 2016 Nissan Rogue needs Freon?
Signs your 2016 Nissan Rogue needs Freon include weak or warm air blowing from the vents, the A/C clutch not engaging frequently, or hearing a hissing sound indicating a leak. If the system is low, it’s best to have it checked for leaks before simply adding more refrigerant.
Is it safe to put Freon in a 2016 Nissan Rogue without a gauge?
It is not safe to put Freon in a 2016 Nissan Rogue without a gauge. Using a can without a pressure gauge can easily lead to overcharging, which can damage the compressor and other components. Always use a kit with a gauge to monitor the system’s low-side pressure accurately.

At CarLegit, we believe information should be clear, factual, and genuinely helpful. That’s why every guide, review, and update on our website is created with care, research, and a strong focus on user experience.