
Charging an RV air conditioner isn’t as simple as topping off a car AC—it requires precision, the right tools, and safety precautions. This guide walks you through diagnosing low refrigerant, choosing the correct type, and recharging your system properly to keep your rig cool on the road.
[FEATURED_IMAGE_PLACEOLDER]
In This Article
- 1 Key Takeaways
- 2 📑 Table of Contents
- 3 Why Your RV Air Conditioner Might Need Charging
- 4 Understanding RV Air Conditioner Refrigerants
- 5 Tools and Safety Gear You’ll Need
- 6 Step-by-Step Guide to Charging Your RV Air Conditioner
- 7 Common Mistakes to Avoid
- 8 When to Call a Professional
- 9 Maintaining Your RV Air Conditioner
- 10 Frequently Asked Questions
Key Takeaways
- RV air conditioners use sealed refrigerant systems: Unlike cars, most RV AC units are hermetically sealed and rarely need recharging unless there’s a leak or installation issue.
- Low refrigerant usually means a leak: Before adding refrigerant, inspect for leaks using soap solution or electronic detectors—adding gas without fixing leaks is a temporary fix.
- Use only the correct refrigerant type: Most RVs use R-22 (older models) or R-410A (newer units). Using the wrong type can damage the compressor and void warranties.
- Recharging requires proper tools: A manifold gauge set, vacuum pump, and certified refrigerant are essential. Never charge by pressure alone—superheat/subcooling matters.
- Safety first: Always wear gloves and goggles. Refrigerant can cause frostbite or eye damage on contact. Work in well-ventilated areas.
- Consider professional help: If you’re unsure about leak detection or system recovery, hire an EPA-certified technician to avoid costly mistakes.
- Prevent future issues: Regular maintenance—cleaning coils, checking seals, and inspecting ductwork—helps maintain efficiency and reduces the risk of refrigerant loss.
📑 Table of Contents
Why Your RV Air Conditioner Might Need Charging
Imagine this: You’re parked at a scenic campsite on a hot summer day, ready to kick back with the AC blasting. You flip the switch, the fan whirs to life… but the air coming out is barely cooler than the outside. Frustrating, right? While many assume the problem is low refrigerant—and sometimes it is—charging an RV air conditioner isn’t always the answer. In fact, most modern RV AC units are designed to be maintenance-free for years, thanks to their hermetically sealed systems.
So why would your RV AC need a recharge? The most common reason is a refrigerant leak. Over time, vibrations from travel, aging seals, or corrosion can cause small cracks in the copper lines or coils. Even a tiny leak can reduce cooling efficiency significantly. Other signs include ice buildup on the evaporator coil, longer-than-normal cooling cycles, or a hissing sound near the unit. But before you grab a can of refrigerant and start spraying, it’s crucial to understand that adding gas without fixing the leak is like putting a bandage on a broken pipe—it won’t last.
Common Symptoms of Low Refrigerant
- Weak airflow or warm air: If the air coming from the vents isn’t cold, even after running for 20–30 minutes, low refrigerant could be the culprit.
- Ice on the evaporator coil: This happens when refrigerant pressure drops too low, causing the coil to freeze. It may seem counterintuitive, but ice often means the system is struggling due to insufficient refrigerant.
- Hissing or bubbling noises: These sounds near the AC unit or under the RV may indicate a leak in the refrigerant line.
- Longer cooling times: If it takes much longer than usual to cool your RV, the system may be working harder due to low charge.
- High electric bills: An undercharged system runs longer and draws more power, increasing your energy consumption.
When Charging Is (and Isn’t) the Right Solution
It’s important to note that not all cooling problems stem from low refrigerant. A dirty air filter, clogged condenser coils, or a faulty thermostat can mimic the symptoms of a refrigerant issue. Always start with basic troubleshooting: clean or replace the air filter, check that vents aren’t blocked, and ensure the thermostat is set correctly. If those steps don’t help, then it’s time to consider whether your AC needs a recharge.
Also, remember that RV air conditioners are not like car AC systems. They’re typically rooftop units with sealed compressors, meaning refrigerant shouldn’t need topping off under normal conditions. If your unit is more than 10–15 years old, it might still use R-22 refrigerant, which is being phased out due to environmental concerns. In such cases, recharging may not even be legal or practical—replacement might be the better long-term solution.
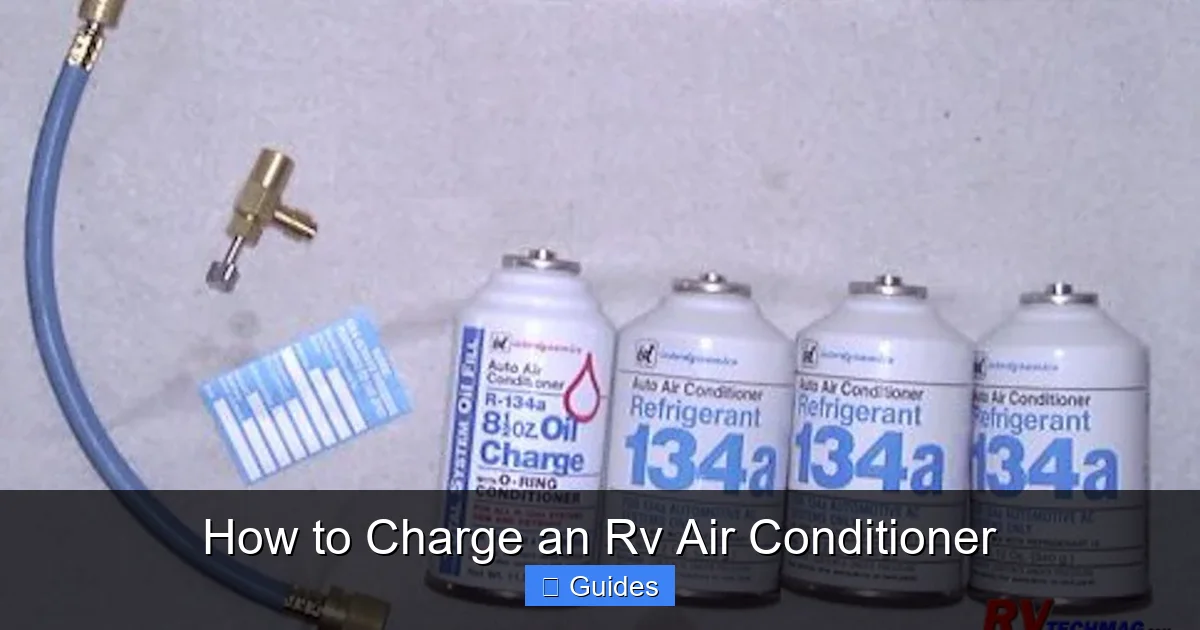
Understanding RV Air Conditioner Refrigerants
Before you even think about charging your RV air conditioner, you need to know what kind of refrigerant it uses. Using the wrong type can destroy your compressor, create safety hazards, and even violate environmental laws. Most RV AC units fall into two categories based on age: older models use R-22 (also known as Freon), while newer units use R-410A, a more environmentally friendly alternative.
Visual guide about How to Charge an Rv Air Conditioner
Image source: i.ytimg.com
R-22 vs. R-410A: What’s the Difference?
R-22 has been the standard refrigerant in RVs and home AC systems for decades. However, it’s a hydrochlorofluorocarbon (HCFC), which contributes to ozone depletion. As of 2020, the production and import of R-22 have been banned in the U.S., though recycled or reclaimed R-22 is still available for servicing existing systems. If your RV was manufactured before 2010, there’s a good chance it uses R-22.
R-410A, on the other hand, is a hydrofluorocarbon (HFC) that doesn’t harm the ozone layer. It’s more efficient and operates at higher pressures, which is why it’s used in modern AC units. If your RV was made after 2010, it likely uses R-410A. You can usually find the refrigerant type listed on a label inside the AC unit’s access panel or in the owner’s manual.
Why Refrigerant Type Matters
Mixing refrigerants or using the wrong one can cause catastrophic failure. R-410A operates at much higher pressures than R-22, so using R-410A in an R-22 system—or vice versa—can rupture lines, damage the compressor, or even cause an explosion. Always verify the correct refrigerant before proceeding. If you’re unsure, consult the manufacturer or a certified technician.
Another thing to consider: R-22 is becoming increasingly expensive and hard to find. A single pound can cost $50–$100, and many suppliers require proof of EPA certification to purchase it. If your RV uses R-22 and needs frequent recharging, it might be more cost-effective in the long run to upgrade to a newer, R-410A-compatible unit.
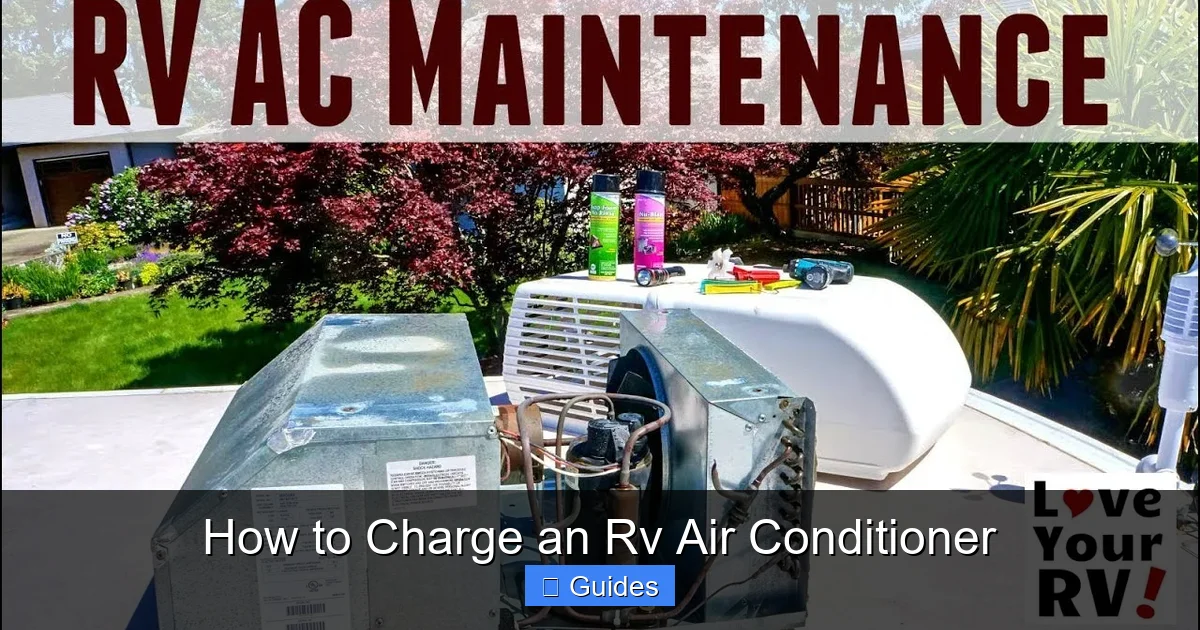
Tools and Safety Gear You’ll Need
Charging an RV air conditioner isn’t a job for the unprepared. It requires specialized tools, careful handling, and strict adherence to safety protocols. Attempting to do it without the right equipment can lead to injury, system damage, or environmental harm.
Visual guide about How to Charge an Rv Air Conditioner
Image source: i1.wp.com
Essential Tools for the Job
- Manifold gauge set: This tool connects to the low- and high-pressure ports of your AC system and displays real-time pressure readings. It’s essential for monitoring refrigerant levels and ensuring a proper charge.
- Vacuum pump: Before adding refrigerant, you must remove all air and moisture from the system using a vacuum pump. Air and moisture can cause corrosion, reduce efficiency, and lead to compressor failure.
- Refrigerant scale: Precision matters. A digital scale ensures you add the exact amount of refrigerant specified by the manufacturer—overcharging can be just as harmful as undercharging.
- Refrigerant hoses: High-quality, color-coded hoses (blue for low side, red for high side, yellow for refrigerant) connect your gauge set to the system and refrigerant cylinder.
- Leak detection kit: This includes a UV dye injector and UV light or an electronic leak detector to find and confirm leaks before recharging.
- Wrenches and screwdrivers: You’ll need these to access service ports and remove panels.
Safety Equipment You Can’t Skip
Refrigerant is not something to take lightly. It can cause severe frostbite if it contacts your skin, and inhaling it can lead to dizziness, nausea, or even asphyxiation in enclosed spaces. Always wear:
- Safety goggles: Protect your eyes from accidental splashes or spray.
- Nitrile gloves: Prevent skin contact with refrigerant or oils.
- Long sleeves and pants: Minimize exposed skin.
- Respirator or mask: Especially important if working in a confined space or if there’s a risk of refrigerant vapor buildup.
Work in a well-ventilated area, preferably outdoors or in a garage with the door open. Never charge a system indoors without proper ventilation. And remember: only EPA-certified technicians can legally handle and purchase certain refrigerants, especially R-22. If you’re not certified, you may need to hire a professional for the actual charging process.
Step-by-Step Guide to Charging Your RV Air Conditioner
Now that you’ve diagnosed the issue, identified the correct refrigerant, and gathered your tools, it’s time to recharge your RV air conditioner. This process involves several critical steps: locating service ports, evacuating the system, adding refrigerant, and verifying performance. Follow these instructions carefully to avoid mistakes.
Visual guide about How to Charge an Rv Air Conditioner
Image source: i.ytimg.com
Step 1: Locate the Service Ports
Most RV air conditioners have two service ports: a low-pressure port (suction line) and a high-pressure port (discharge line). These are typically located on the copper refrigerant lines near the compressor, often under the RV or behind an access panel on the roof. The low-pressure port is larger in diameter and usually has a blue cap, while the high-pressure port is smaller with a red cap. Remove the caps and clean the ports with a cloth to prevent contamination.
Step 2: Connect the Manifold Gauge Set
Attach the blue hose to the low-pressure port and the red hose to the high-pressure port. The yellow hose will connect to your refrigerant cylinder. Make sure all connections are tight to prevent leaks. Open the valves on the manifold gauge slowly to allow pressure to equalize. Check the gauges: if the low side reads below 60 psi (for R-22) or 100 psi (for R-410A), the system is likely undercharged.
Step 3: Evacuate the System
Before adding refrigerant, you must remove all air and moisture. Connect the vacuum pump to the center port (yellow hose) and open all valves on the manifold gauge. Run the pump for at least 30–45 minutes, or until the vacuum reaches 500 microns or lower. This ensures the system is dry and free of non-condensable gases. Close the valves and let the system sit for 10 minutes to check for pressure rise—if it climbs, there’s still a leak.
Step 4: Add Refrigerant
With the system evacuated, it’s time to add refrigerant. Place the refrigerant cylinder on a digital scale and connect it to the yellow hose. Open the valve on the cylinder and the low-side valve on the manifold gauge. Allow refrigerant to flow into the system in liquid form (for R-410A) or vapor form (for R-22), depending on the manufacturer’s instructions. Monitor the scale to ensure you add the correct amount—usually listed on the AC unit’s label or in the manual.
Never charge a system while it’s running unless instructed. For most RVs, you’ll charge with the system off, then start it once the correct amount is added. Watch the pressure gauges and stop when they reach the recommended levels. Overcharging can cause high pressure, reduced efficiency, and compressor damage.
Step 5: Test and Verify
Once charged, start the AC and let it run for 15–20 minutes. Check the temperature drop across the evaporator coil—ideally, it should be 15–20°F cooler than the return air. Use an infrared thermometer to measure vent temperatures. Also, inspect for leaks using a soap solution or electronic detector. If everything looks good, replace the service port caps and secure all panels.
Common Mistakes to Avoid
Even experienced DIYers can make errors when charging an RV air conditioner. These mistakes can lead to poor performance, system damage, or safety hazards. Here are the most common pitfalls and how to avoid them.
Charging Without Fixing Leaks
The biggest mistake is adding refrigerant without first locating and repairing the leak. Refrigerant doesn’t “wear out”—it circulates in a closed system. If levels are low, there’s a leak. Adding more gas without fixing it is a temporary fix that will fail again, wasting money and refrigerant. Always perform a leak test before recharging.
Using the Wrong Refrigerant
As mentioned earlier, using R-410A in an R-22 system (or vice versa) can destroy your AC unit. Always check the label and verify compatibility. Never mix refrigerants—even small amounts can cause chemical reactions and system failure.
Overcharging or Undercharging
Both can cause problems. Overcharging increases pressure, reduces cooling, and can damage the compressor. Undercharging leads to poor performance and ice buildup. Always follow the manufacturer’s specified charge amount and use a scale for accuracy.
Skipping the Vacuum Process
Air and moisture in the system reduce efficiency and can cause corrosion. Skipping the vacuum step traps contaminants that will degrade performance over time. Always evacuate the system to at least 500 microns before charging.
Ignoring Safety Precautions
Refrigerant is hazardous. Never handle it without gloves and goggles. Work in a ventilated area, and never release refrigerant into the atmosphere—it’s illegal and harmful to the environment. If you’re not certified, consider hiring a professional.
When to Call a Professional
While many RV owners successfully recharge their air conditioners, there are times when it’s best to call in an expert. If you’re not confident in your ability to detect leaks, handle refrigerant, or interpret gauge readings, don’t risk it. A certified HVAC technician has the training, tools, and certification to do the job safely and correctly.
Other situations that warrant professional help include:
- Your RV uses R-22 and you can’t find a legal source of reclaimed refrigerant.
- The compressor is making unusual noises or won’t start.
- You suspect a major leak in the evaporator or condenser coil.
- You’ve attempted a recharge but the system still isn’t cooling properly.
Professionals can also perform advanced diagnostics, such as checking superheat and subcooling, which are critical for optimal performance. While it may cost $100–$300, it’s a small price to pay compared to replacing a damaged compressor or entire AC unit.
Maintaining Your RV Air Conditioner
Prevention is always better than repair. Regular maintenance can extend the life of your RV air conditioner, improve efficiency, and reduce the risk of refrigerant leaks. Here’s how to keep your AC in top shape.
Clean the Coils and Filters
Dirt and debris on the evaporator and condenser coils reduce heat transfer and force the system to work harder. Clean the coils at least twice a year using a soft brush and coil cleaner. Replace or clean the air filter every 1–2 months, especially during heavy use.
Inspect for Leaks Annually
Check refrigerant lines, fittings, and seals for signs of oil residue, corrosion, or damage. Use a leak detection kit to spot small leaks early. Addressing them before they worsen can save you from a costly recharge or repair.
Check Electrical Connections
Loose or corroded wires can cause poor performance or system failure. Inspect connections at the compressor, thermostat, and control board. Tighten any loose terminals and clean corrosion with a wire brush.
Protect the Unit When Not in Use
Cover your rooftop AC with a breathable cover during off-seasons to protect it from UV rays, dirt, and moisture. This helps prevent seal degradation and extends the unit’s lifespan.
Monitor Performance
Pay attention to how your AC performs. If cooling times increase or airflow weakens, investigate early. Catching issues before they become major problems saves time and money.
By following these maintenance tips, you can keep your RV air conditioner running efficiently for years, reducing the likelihood of needing a recharge—and ensuring you stay cool on every adventure.
Frequently Asked Questions
Can I charge my RV air conditioner myself?
Yes, if you have the right tools, knowledge, and safety gear. However, handling refrigerant requires care, and only EPA-certified technicians can legally purchase certain types like R-22. If you’re unsure, it’s safer to hire a professional.
How often does an RV air conditioner need to be recharged?
Under normal conditions, an RV air conditioner should never need recharging. If it does, it likely has a leak. Regular maintenance and leak checks can prevent unexpected refrigerant loss.
What happens if I overcharge my RV AC?
Overcharging increases system pressure, reduces cooling efficiency, and can damage the compressor. It may also trigger safety shutoffs or cause refrigerant to back up into the compressor, leading to failure.
Can I use car AC refrigerant in my RV?
No. RV air conditioners use different refrigerants (like R-22 or R-410A) and operate at different pressures than car systems. Using car refrigerant can damage your RV AC and is not recommended.
How do I know if my RV AC has a leak?
Signs include hissing sounds, oil stains near refrigerant lines, ice buildup, or consistently low cooling performance. Use a leak detection kit with UV dye or an electronic detector to confirm.
Is it worth recharging an old RV air conditioner?
It depends. If your unit uses R-22 and is over 15 years old, replacement may be more cost-effective than repeated recharges. Newer units are more efficient and use eco-friendly refrigerants.

At CarLegit, we believe information should be clear, factual, and genuinely helpful. That’s why every guide, review, and update on our website is created with care, research, and a strong focus on user experience.