

Building a kayak rack for your RV is a smart, cost-effective way to transport your kayak safely and securely. With basic tools, quality materials, and a little DIY know-how, you can create a custom rack that fits your vehicle and lifestyle. This guide walks you through planning, construction, and installation—so you can hit the water with confidence.
In This Article
- 1 Key Takeaways
- 2 📑 Table of Contents
- 3 Why Build Your Own Kayak Rack for Your RV?
- 4 Planning Your Kayak Rack: The Foundation of Success
- 5 Tools and Materials You’ll Need
- 6 Step-by-Step Construction: Building Your Kayak Rack
- 7 Installation and Safety Tips
- 8 Customization Ideas and Upgrades
- 9 Maintenance and Long-Term Care
- 10 Conclusion
- 11 Frequently Asked Questions
- 11.1 Can I build a kayak rack without drilling into my RV?
- 11.2 How much weight can a DIY kayak rack hold?
- 11.3 What’s the best material for outdoor durability?
- 11.4 Can I carry more than one kayak on my RV?
- 11.5 How do I prevent my kayak from scratching on the rack?
- 11.6 Is it legal to drive with a kayak on top of my RV?
Key Takeaways
- Plan before you build: Measure your RV roof, kayak size, and weight to ensure a proper fit and safe load capacity.
- Use weather-resistant materials: Choose marine-grade plywood, stainless steel hardware, and UV-resistant coatings to withstand the elements.
- Prioritize safety and stability: Secure the rack with heavy-duty straps and reinforce joints to prevent shifting during travel.
- Customize for your needs: Adjust rack height, width, and angle based on your kayak type and loading preferences.
- Test before you travel: Always do a dry run and short test drive to check for movement, noise, or stress points.
- Maintain regularly: Inspect bolts, straps, and padding periodically to ensure long-term durability and safety.
- Save money with DIY: Building your own rack can cost 50–70% less than buying a pre-made commercial model.
📑 Table of Contents
Why Build Your Own Kayak Rack for Your RV?
So you’ve got your RV, your kayak, and a thirst for adventure—but how do you get both from point A to point B without damaging either? That’s where a kayak rack comes in. While you could buy a ready-made rack, building your own offers serious advantages: lower cost, custom fit, and the satisfaction of a job well done.
Imagine this: You’re pulling into a scenic lakeside campground, your kayak snug and secure on top of your rig. No wobbling, no rattling, no last-minute panic about loose straps. That’s the peace of mind a well-built kayak rack delivers. Plus, when you build it yourself, you control every detail—from the padding to the mounting system—so it works perfectly with your specific RV and kayak setup.
Commercial racks can run anywhere from $200 to $600, depending on size and features. But with a few tools and some weekend time, you can build a sturdy, reliable rack for under $100. And because RVs come in all shapes and sizes—from compact travel trailers to full-sized motorhomes—a custom-built rack ensures a perfect fit. No more guessing if that universal rack will actually work on your curved roof or narrow frame.
Beyond cost and fit, DIY builds let you tailor the design to your needs. Got a tandem kayak? Need extra clearance for a sunroof? Want quick-release straps for solo loading? You can build it all in. Plus, you’ll gain valuable skills and confidence in maintaining and modifying your gear down the road.
Planning Your Kayak Rack: The Foundation of Success
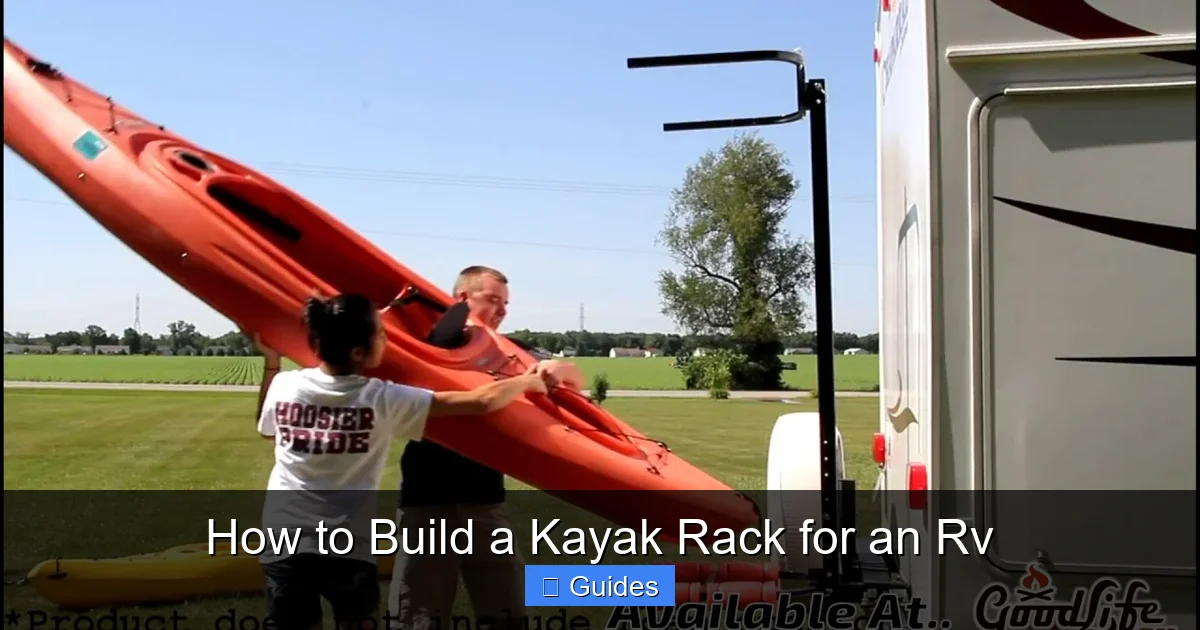
Visual guide about How to Build a Kayak Rack for an Rv
Image source: i.ytimg.com
Before you grab a saw or drill, take time to plan. A well-thought-out design prevents headaches, wasted materials, and unsafe setups. Start by answering these key questions:
– What type of RV do you have? (Motorhome, travel trailer, fifth wheel?)
– How many kayaks will you carry? (One, two, or more?)
– What’s the size and weight of your kayak(s)?
– Where will the rack be mounted? (Roof, rear bumper, ladder, etc.)
– How will you load and unload the kayak?
Let’s break this down.
Measure Your RV and Kayak
First, measure the width of your RV’s roof or mounting surface. Most RVs are between 7 and 8 feet wide, but curved roofs can complicate things. Use a tape measure to find the widest usable area, avoiding vents, antennas, or air conditioners.
Next, measure your kayak. Note its length, width, and weight. A typical single kayak is 10–14 feet long, 24–30 inches wide, and weighs 40–70 pounds. Tandem kayaks are longer and heavier—up to 16 feet and 80+ pounds. These numbers matter because they determine the rack’s size, support points, and load capacity.
Choose the Right Mounting Location
The most common mounting spots are the roof and the rear bumper. Roof mounts are great for keeping the kayak out of the way and maintaining rear visibility, but they require lifting the kayak overhead—challenging for one person. Rear bumper mounts are easier to load but can block license plates or rear cameras.
If your RV has a ladder, consider a side-mount rack that uses the ladder as support. This keeps the kayak lower and easier to access. Some RVers even build racks that attach to the trailer hitch receiver, using a vertical post to hold the kayak upright behind the vehicle.
Sketch Your Design
Grab paper or use free design software like SketchUp or Canva to sketch your rack. Include dimensions, support arms, crossbars, and mounting points. Think about how the kayak will rest—on its side, upside down, or upright? Most racks hold the kayak upside down to reduce wind resistance and protect the hull.
Also, consider padding. You’ll need cushioning where the kayak contacts the rack to prevent scratches and dents. Foam pipe insulation, pool noodles, or marine-grade carpet are popular choices.
Calculate Weight and Load Limits
Never exceed your RV’s roof load capacity. Check your owner’s manual—most RVs can handle 100–150 pounds on the roof, but older models may be less. If you’re carrying two kayaks plus the rack, you could easily reach 100 pounds. Distribute the weight evenly and avoid overloading one side.
For rear-mounted racks, ensure your bumper or hitch can support the load. Class III hitches typically handle 500+ pounds, but always verify.
Tools and Materials You’ll Need
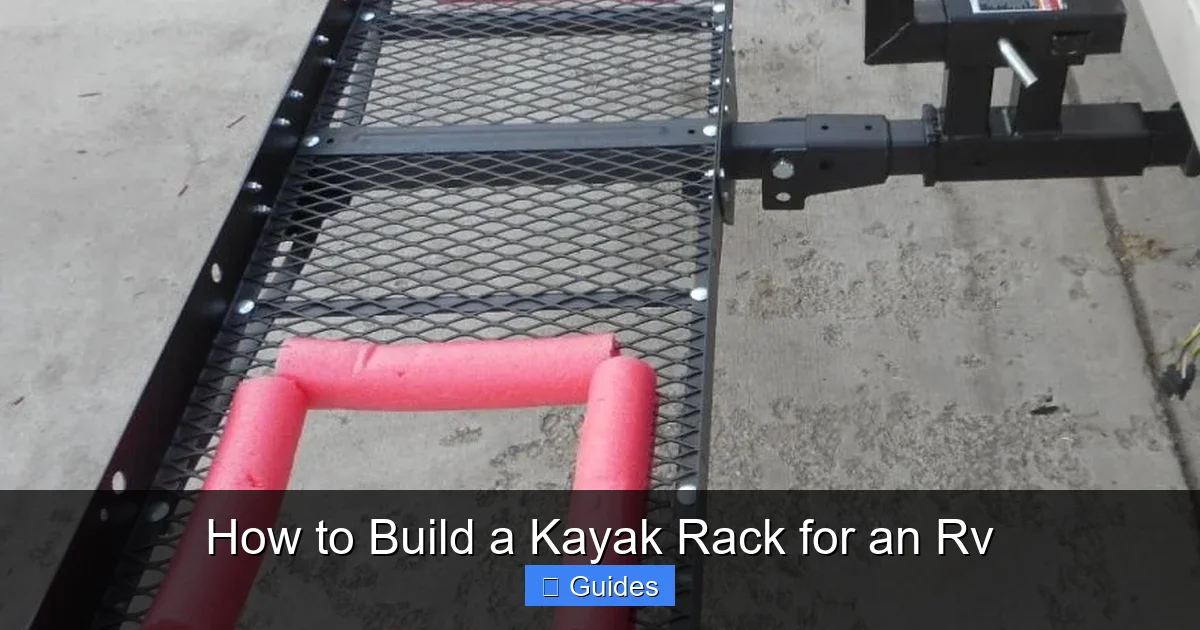
Visual guide about How to Build a Kayak Rack for an Rv
Image source: thefunoutdoors.com
Now that you’ve planned your design, it’s time to gather supplies. Don’t rush this step—using the right materials ensures durability and safety.
Essential Tools
- Circular saw or jigsaw (for cutting wood and metal)
- Drill with drill bits (including a countersink bit)
- Measuring tape and carpenter’s square
- Sandpaper or orbital sander
- Wrench set or socket wrench
- Clamps (to hold pieces in place while drilling)
- Safety gear: gloves, goggles, dust mask
Recommended Materials
- Frame: 2×4 or 2×6 pressure-treated lumber or marine-grade plywood (for crossbars and supports)
- Uprights/Arms: PVC pipe (4–6 inch diameter), aluminum angle iron, or square tubing
- Mounting Hardware: Stainless steel U-bolts, bolts, washers, and nuts (avoid galvanized—they rust faster)
- Padding: Foam pipe insulation, closed-cell foam, or marine carpet
- Fasteners: Wood screws, lag bolts, or rivets (stainless steel preferred)
- Finish: Exterior-grade paint, spar urethane, or UV-resistant sealant
- Straps: Heavy-duty cam buckle or ratchet straps (1-inch wide, 10+ feet long)
Optional Upgrades
– Quick-release clamps for easier loading
– Adjustable arms for different kayak sizes
– Reflective tape for visibility
– Locking mechanisms to deter theft
Pro tip: Buy a little extra material. Wood can split, screws can strip, and it’s always good to have spares.
Step-by-Step Construction: Building Your Kayak Rack
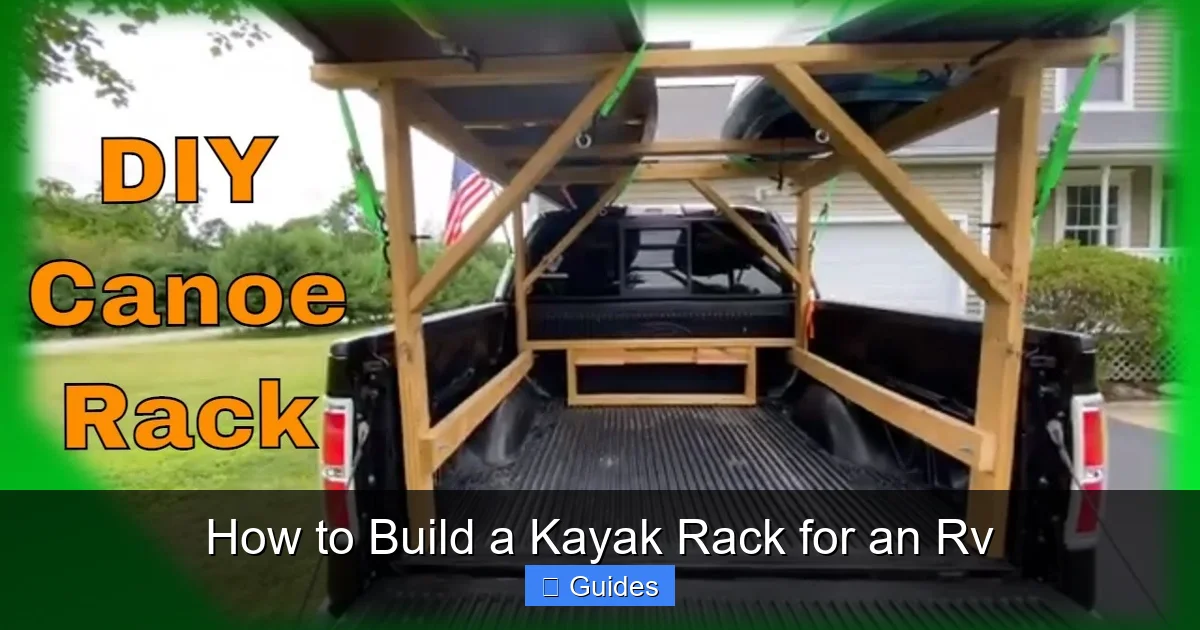
Visual guide about How to Build a Kayak Rack for an Rv
Image source: rcfact.com
With your plan and materials ready, it’s time to build. Follow these steps to create a sturdy, reliable kayak rack.
Step 1: Cut the Crossbars
Your crossbars span the width of your RV and support the kayak. Cut two pieces of 2×4 or 2×6 lumber to match your RV’s width—minus 2–3 inches to allow for mounting brackets. For example, if your roof is 96 inches wide, cut bars to 92 inches.
Sand all edges to prevent splinters and ensure a smooth finish.
Step 2: Build the Support Arms
Support arms hold the kayak above the crossbars. You can make these from PVC pipe, aluminum tubing, or wood.
For a PVC design:
– Cut four pieces of 4–6 inch diameter PVC pipe to 12–18 inches long.
– Slice each piece in half lengthwise to create cradles.
– Sand the edges smooth.
For a wood design:
– Cut four triangular or curved supports from 2×6 lumber.
– Shape them to cradle the kayak hull.
Attach the arms to the crossbars using screws or bolts. Space them evenly—typically 3–4 feet apart—so the kayak is well-supported at the bow and stern.
Step 3: Add Padding
Wrap each support arm with foam pipe insulation or marine carpet. Secure it with waterproof adhesive or zip ties. The padding should be thick enough to cushion the kayak but not so thick that it lifts the boat too high.
Test the fit by placing your kayak on the rack. It should rest snugly without wobbling.
Step 4: Mount the Rack to Your RV
This is the most critical step. A poorly mounted rack can damage your RV or cause the kayak to fly off.
For roof mounting:
– Use U-bolts or L-brackets to attach the crossbars to the roof rails or existing roof racks.
– Drill pilot holes to prevent splitting.
– Use rubber washers or pads under the brackets to protect the roof.
For bumper or hitch mounting:
– Weld or bolt a vertical post to a hitch-mounted platform.
– Attach the crossbars to the post using hinges or fixed brackets.
– Ensure the post is tall enough to clear the RV’s rear door or ladder.
Always use stainless steel hardware and tighten all bolts securely. Consider adding locking nuts or thread locker to prevent loosening from vibration.
Step 5: Install Straps and Tie-Downs
Even the best rack needs straps. Use at least two heavy-duty straps—one near the front and one near the back. Thread them over the kayak and through the rack or RV’s tie-down points.
For extra security, add a third strap in the middle, especially for longer kayaks. Use cam buckle straps for ease of use or ratchet straps for maximum tension—just don’t overtighten, as this can damage the kayak.
Pro tip: Use strap protectors or towels under the straps to prevent chafing.
Step 6: Finish and Protect
Apply exterior-grade paint or spar urethane to all wood surfaces. This protects against moisture, UV rays, and rot. Let it dry completely before use.
For metal parts, use a rust-inhibiting primer and paint. PVC can be left as-is or painted for a custom look.
Installation and Safety Tips
Building the rack is only half the job. Proper installation and use are what keep you safe on the road.
Test Before You Travel
Before hitting the highway, do a dry run. Load the kayak and drive around the block. Listen for rattling, check for movement, and inspect all connections. If anything feels loose, tighten it.
Check Local Laws
Some states have regulations about how far a load can extend beyond the vehicle. In most places, you can extend up to 4 feet, but you must mark it with a red flag or light. Check your state’s Department of Motor Vehicles (DMV) website for details.
Drive Smart
A kayak on top of your RV increases wind resistance and affects handling. Drive slower than usual, especially in crosswinds. Avoid sudden stops and sharp turns.
Also, be aware of low-clearance areas—bridges, gas stations, and drive-thrus. A typical kayak adds 12–18 inches to your RV’s height.
Inspect Regularly
Before every trip, check:
– Are all bolts tight?
– Is the padding intact?
– Are the straps frayed or worn?
– Is the rack secure?
Replace any damaged parts immediately.
Customization Ideas and Upgrades
Once your basic rack is working, consider these upgrades to make it even better.
Adjustable Arms
Use sliding or pivoting arms to accommodate different kayak sizes. This is great if you share the RV with others or plan to upgrade your kayak later.
Quick-Release System
Install cam locks or lever clamps so you can remove the rack when not in use. This reduces wind drag and protects the rack from weather damage.
Locking Mechanism
Add a hasp and padlock to secure the kayak to the rack. This deters theft, especially when parked at campgrounds or rest stops.
Solar-Powered Light
Mount a small solar light on the rear of the rack to improve visibility at night. This is especially helpful if the kayak extends past the RV’s taillights.
Dual-Kayak Setup
If you’re carrying two kayaks, build a wider rack or stack them (with a separator pad between). Just ensure your RV can handle the extra weight and wind load.
Maintenance and Long-Term Care
A well-maintained rack lasts for years. Here’s how to keep it in top shape.
Clean After Each Trip
Rinse off saltwater, mud, or road grime with fresh water. Salt accelerates rust and degrades wood and foam.
Store Indoors When Possible
If you’re not using the rack for a while, remove it and store it in a garage or shed. This protects it from UV damage and extends its life.
Reapply Finish Annually
Touch up paint or sealant once a year, especially if you live in a humid or sunny climate.
Replace Worn Parts
Foam padding dries out and cracks over time. Replace it every 2–3 years. Straps should be replaced if they show signs of wear.
Conclusion
Building a kayak rack for your RV is a rewarding project that saves money, improves safety, and enhances your outdoor adventures. With careful planning, quality materials, and attention to detail, you can create a custom solution that fits your needs perfectly.
Remember: safety comes first. Always double-check your measurements, use strong hardware, and test your setup before long trips. A little extra time upfront prevents big problems down the road.
Whether you’re paddling serene lakes, winding rivers, or coastal waters, your DIY kayak rack will get you there with confidence. So grab your tools, sketch your design, and start building—your next great escape is waiting.
Frequently Asked Questions
Can I build a kayak rack without drilling into my RV?
Yes! You can use clamp-on or strap-based systems that attach to existing roof rails or gutters without drilling. These are ideal for renters or those who want a removable solution.
How much weight can a DIY kayak rack hold?
Most well-built racks can safely hold 75–100 pounds, which covers most single and tandem kayaks. Always check your RV’s roof load limit and distribute weight evenly.
What’s the best material for outdoor durability?
Marine-grade plywood, stainless steel hardware, and UV-resistant sealants are best for long-term outdoor use. Avoid untreated wood or regular steel, which rust and rot quickly.
Can I carry more than one kayak on my RV?
Yes, but you’ll need a wider rack or a stacking system. Ensure your RV can handle the combined weight and that the setup doesn’t block lights or visibility.
How do I prevent my kayak from scratching on the rack?
Use thick, high-quality padding like closed-cell foam or marine carpet. Replace it when it shows wear, and avoid dragging the kayak across the rack during loading.
Is it legal to drive with a kayak on top of my RV?
In most places, yes—as long as the load is secure and doesn’t extend too far beyond the vehicle. Check your state’s laws for specific rules on overhang and required markings.

At CarLegit, we believe information should be clear, factual, and genuinely helpful. That’s why every guide, review, and update on our website is created with care, research, and a strong focus on user experience.