
Resetting your RV air conditioner can solve many common cooling issues without costly repairs. This guide walks you through simple steps, safety tips, and troubleshooting advice to get your unit running smoothly again—no technician required.
In This Article
- 1 Key Takeaways
- 2 📑 Table of Contents
- 3 Why Your RV Air Conditioner Might Need a Reset
- 4 Understanding How RV Air Conditioners Work
- 5 Step-by-Step Guide to Resetting Your RV Air Conditioner
- 6 Common Reasons Your RV AC Keeps Shutting Off
- 7 Preventative Maintenance to Avoid Frequent Resets
- 8 When to Call a Professional
- 9 Conclusion
- 10 Frequently Asked Questions
- 10.1 How long should I wait before turning the AC back on after a reset?
- 10.2 Can I reset my RV air conditioner from the thermostat?
- 10.3 Why does my RV AC keep tripping the breaker?
- 10.4 Is it safe to press the manual reset button on my AC unit?
- 10.5 How often should I clean my RV air conditioner filter?
- 10.6 What should I do if my RV AC still won’t work after a reset?
Key Takeaways
- Power cycling is the first step: Turn off the AC at the thermostat and breaker, wait 5–10 minutes, then restore power to reset the system.
- Check the air filter regularly: A dirty filter restricts airflow and can cause the AC to shut down, requiring a reset.
- Thermostat settings matter: Ensure the thermostat is set to “cool” and the temperature is lower than the current room temperature.
- Inspect the outdoor unit: Clear debris, leaves, or obstructions around the rooftop AC unit to prevent overheating and shutdowns.
- Know when to call a pro: If the AC won’t reset or keeps tripping breakers, there may be an electrical or mechanical issue needing professional help.
- Use the manual reset button (if available): Some RV AC units have a hidden reset button on the control board—press it gently with a paperclip.
- Prevent future issues: Perform monthly maintenance, including cleaning coils and checking refrigerant levels, to avoid frequent resets.
📑 Table of Contents
Why Your RV Air Conditioner Might Need a Reset
Imagine you’re parked at a beautiful campsite on a hot summer day, ready to relax in your RV after a long hike. You flip the switch to turn on the air conditioner—but nothing happens. Or worse, it starts up, runs for a few minutes, then shuts off completely. Frustrating, right? Before you panic or call a technician, there’s a good chance your RV air conditioner just needs a simple reset.
RV air conditioners are complex machines that rely on electrical components, sensors, and thermostats to function properly. Like any electronic device, they can occasionally “freeze up” or enter a protective shutdown mode due to overheating, power surges, or minor glitches. Resetting the system often clears these temporary issues and restores normal operation. It’s one of the most effective and cost-free troubleshooting steps you can take as an RV owner.
Common signs that your RV air conditioner needs a reset include the unit not turning on, shutting off unexpectedly, blowing warm air, or making unusual noises. These symptoms are usually not signs of major failure—they’re often the result of a safety feature kicking in to protect the compressor or motor. By learning how to reset your RV air conditioner correctly, you can save time, money, and stress on the road.
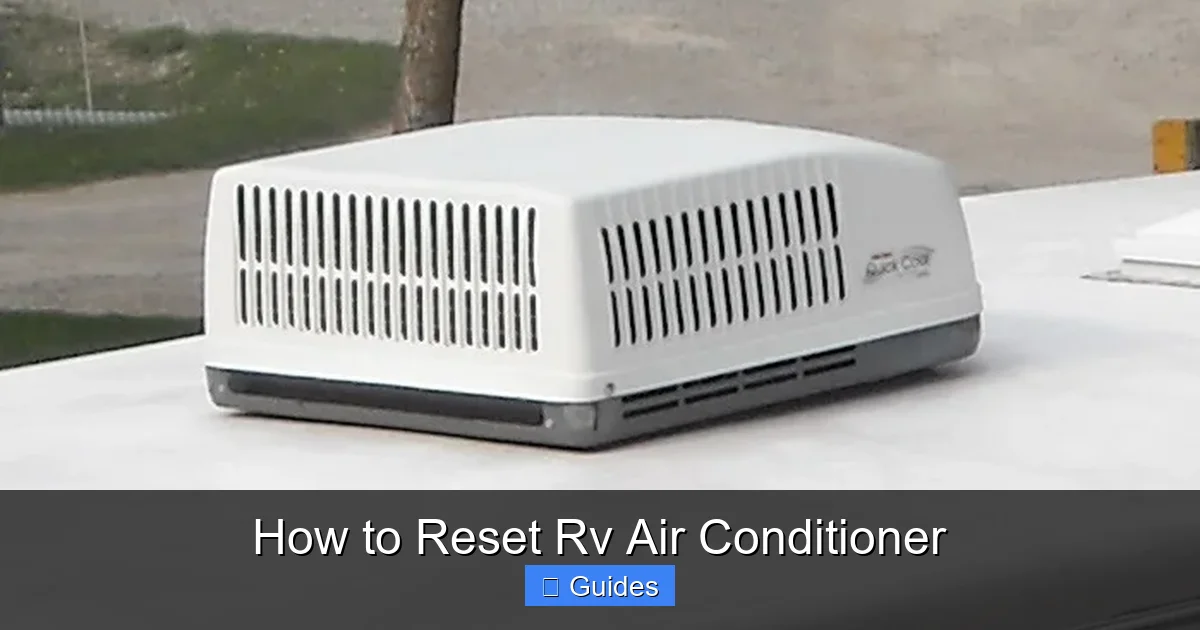
Understanding How RV Air Conditioners Work
Before diving into the reset process, it helps to understand how your RV air conditioner operates. Unlike home AC units, RV air conditioners are compact, rooftop-mounted systems designed to cool small spaces efficiently. They run on 120-volt AC power (usually from shore power or a generator) and use a refrigeration cycle to remove heat from the interior of your RV.
Visual guide about How to Reset Rv Air Conditioner
Image source: acsupportspoint.com
The Basic Components
Your RV AC unit consists of several key parts: the compressor, condenser coils, evaporator coils, fan motor, thermostat, and control board. The compressor pressurizes the refrigerant, which travels through the coils to absorb and release heat. The fan blows air over the coils to circulate cool air inside the RV. The thermostat monitors the interior temperature and signals the unit to turn on or off.
Safety Features and Shutdowns
Modern RV air conditioners are equipped with built-in safety mechanisms to prevent damage. For example, if the unit overheats—due to a dirty filter, blocked airflow, or high outdoor temperatures—it may automatically shut down. Similarly, power surges or low voltage can trigger a protective shutdown. These features are designed to protect the compressor, which is the most expensive part to repair or replace.
When the AC shuts down, it often requires a manual reset to restart. This is because the control board needs to be “cleared” of the error condition. Simply turning the thermostat off and on again may not be enough—you usually need to cut power completely at the source (like the breaker) to fully reset the system.
Step-by-Step Guide to Resetting Your RV Air Conditioner
Resetting your RV air conditioner is a straightforward process, but it’s important to follow the steps carefully to avoid electrical hazards or further damage. Here’s a detailed, step-by-step guide to help you reset your unit safely and effectively.
Visual guide about How to Reset Rv Air Conditioner
Image source: acguided.com
Step 1: Turn Off the Thermostat
Start by switching off the thermostat. Locate your RV’s climate control panel—usually found near the entrance or in the main living area. Set the mode to “off” and ensure the fan is also turned off. This ensures that no electrical signals are being sent to the AC unit during the reset process.
Step 2: Locate and Turn Off the AC Breaker
Next, go to your RV’s electrical panel. Look for the breaker labeled “AC,” “Air Conditioner,” or something similar. It’s typically a 20- or 30-amp double-pole breaker. Flip it to the “off” position. This cuts power to the entire AC unit, including the compressor and control board.
Pro Tip: If you’re unsure which breaker controls the AC, turn off all breakers except the essentials (like lights and refrigerator). This ensures the AC is completely powered down.
Step 3: Wait 5 to 10 Minutes
This waiting period is crucial. It allows the AC’s internal components—especially the compressor—to fully discharge and cool down. Compressors have built-in thermal overload protectors that need time to reset. Rushing this step can prevent the reset from working.
Use this time to check the air filter (more on that below) or inspect the rooftop unit for visible debris. A little maintenance now can prevent future resets.
Step 4: Restore Power
After waiting, return to the electrical panel and flip the AC breaker back to the “on” position. Then, go back to the thermostat and set it to “cool.” Adjust the temperature setting to a level lower than the current room temperature—this tells the AC to start cooling.
Step 5: Listen and Observe
Give the unit a minute or two to start up. You should hear the compressor kick on and the fan begin circulating air. If the AC turns on and runs normally, the reset was successful. If it still doesn’t work, proceed to the troubleshooting section below.
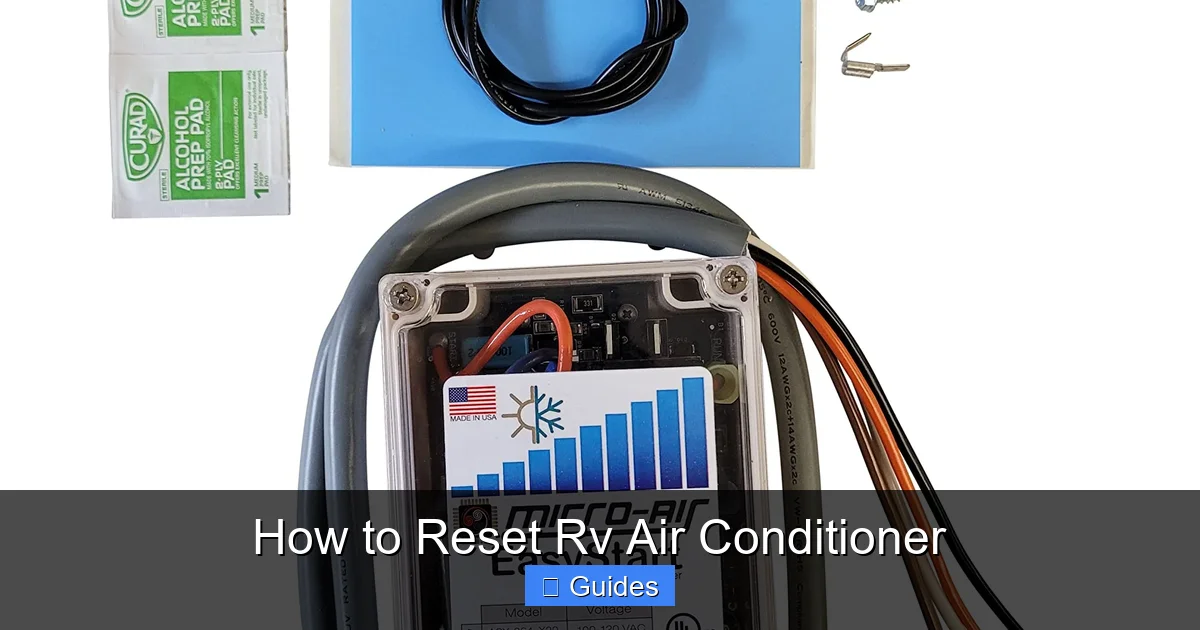
Alternative: Using the Manual Reset Button
Some RV air conditioners—especially Dometic and Coleman models—have a hidden manual reset button on the control board. This small red or black button is usually located behind the access panel on the rooftop unit.
To use it:
- Turn off power at the breaker.
- Remove the rooftop access panel (use a screwdriver if needed).
- Locate the reset button—often near the compressor or control board.
- Gently press it with a paperclip or pen tip.
- Replace the panel and restore power.
Note: Not all models have this feature. Check your owner’s manual or look for a small button labeled “reset” or “trip.”
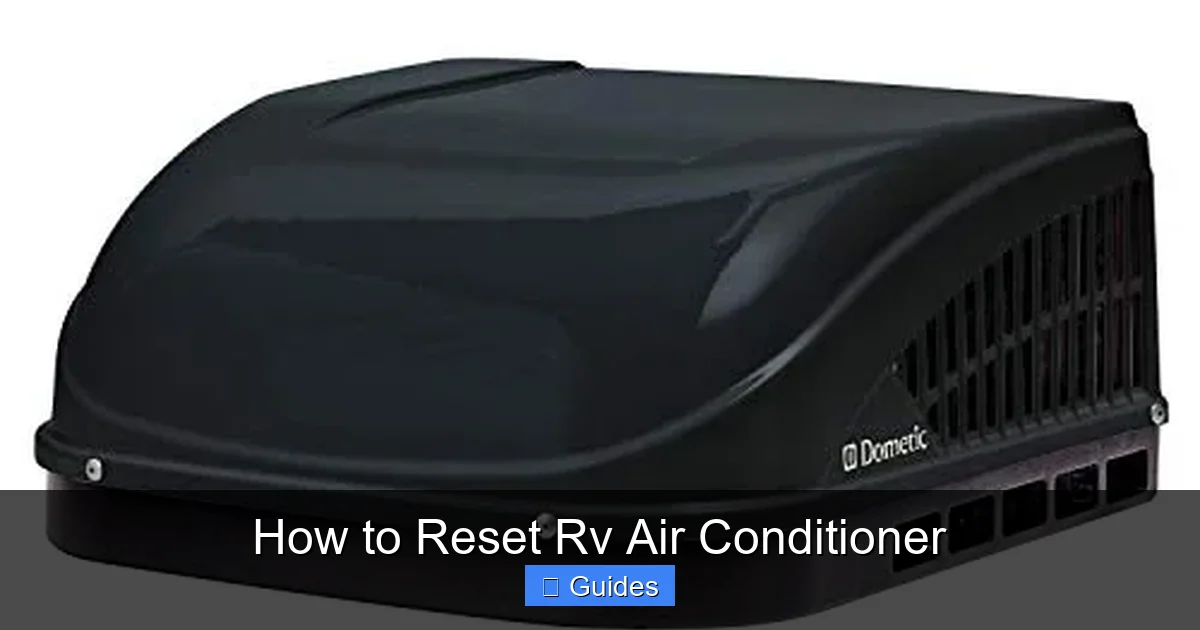
Common Reasons Your RV AC Keeps Shutting Off
If your RV air conditioner keeps turning off or won’t stay on after a reset, there’s likely an underlying issue. While a reset can fix temporary glitches, recurring problems usually point to a deeper cause. Here are the most common reasons and how to address them.
Visual guide about How to Reset Rv Air Conditioner
Image source: m.media-amazon.com
Dirty or Clogged Air Filter
A dirty air filter is the #1 culprit behind AC shutdowns. When the filter is clogged with dust, pet hair, or debris, airflow is restricted. This causes the evaporator coils to freeze up, triggering a safety shutdown.
Solution: Check the filter monthly. Remove it from the return air grille (usually inside the RV), rinse it with water, and let it dry completely before reinstalling. Replace disposable filters every 1–3 months, depending on usage.
Blocked Outdoor Unit
The rooftop AC unit needs proper airflow to release heat. If it’s covered in leaves, dirt, or bird nests, it can overheat and shut down.
Solution: Inspect the outdoor unit regularly. Use a soft brush or compressed air to remove debris from the fins and fan. Never use a pressure washer—it can bend the delicate fins and damage the unit.
Low Refrigerant Levels
If your AC runs but doesn’t cool effectively, it may be low on refrigerant. This can cause the compressor to overwork and shut down.
Solution: Low refrigerant usually indicates a leak, which requires professional repair. Don’t attempt to recharge the system yourself—handling refrigerant requires certification and special equipment.
Electrical Issues
Power problems—like low voltage, faulty wiring, or a failing breaker—can prevent the AC from starting or cause it to trip repeatedly.
Solution: Use a voltmeter to check shore power voltage. It should be between 110–120 volts. If it’s lower, try a different power source or use a voltage booster. If breakers keep tripping, consult an electrician.
Thermostat Malfunction
A faulty thermostat may not send the correct signals to the AC unit, causing it to behave erratically.
Solution: Test the thermostat by setting it to a very low temperature. If the AC doesn’t respond, the thermostat may need replacement. Some RVers upgrade to digital or programmable thermostats for better control.
Preventative Maintenance to Avoid Frequent Resets
The best way to avoid resetting your RV air conditioner is to keep it in top condition year-round. A little maintenance goes a long way in preventing breakdowns and extending the life of your unit.
Monthly Checks
- Inspect and clean the air filter.
- Check the rooftop unit for debris or damage.
- Listen for unusual noises (grinding, clicking, or buzzing).
- Ensure vents inside the RV are unobstructed.
Seasonal Maintenance
- Before summer: Test the AC and check refrigerant levels (if accessible).
- After winter: Clean the coils and inspect for corrosion or wear.
- Lubricate fan motors (if applicable) and tighten electrical connections.
Winter Storage Tips
If you store your RV during colder months, take steps to protect the AC unit:
- Cover the rooftop unit with a breathable cover to keep out moisture and pests.
- Run the AC briefly once a month to keep seals lubricated.
- Disconnect power to prevent electrical damage from storms.
When to Call a Professional
While most AC issues can be resolved with a reset or basic maintenance, some problems require expert attention. Don’t hesitate to call a certified RV technician if you notice any of the following:
- The AC won’t turn on even after multiple resets.
- You smell burning or see smoke coming from the unit.
- The compressor makes loud grinding or knocking sounds.
- Refrigerant is leaking (look for oily residue on the coils).
- The breaker trips immediately when you turn the AC on.
Attempting to fix electrical or refrigerant issues yourself can be dangerous and may void your warranty. A professional can diagnose the problem accurately and perform safe, code-compliant repairs.
Conclusion
Resetting your RV air conditioner is a simple yet powerful tool in your troubleshooting toolkit. Whether your unit won’t start, keeps shutting off, or isn’t cooling properly, a proper reset can often bring it back to life. By following the steps outlined in this guide—turning off the thermostat, cutting power at the breaker, waiting, and restoring power—you can resolve many common issues without spending money on repairs.
But remember, a reset is not a cure-all. Regular maintenance, clean filters, and proper airflow are essential for long-term performance. And when in doubt, don’t hesitate to consult a professional. With the right care, your RV air conditioner will keep you cool and comfortable on every adventure.
Frequently Asked Questions
How long should I wait before turning the AC back on after a reset?
Wait at least 5 to 10 minutes after turning off the breaker. This allows the compressor to cool down and the internal safety mechanisms to reset. Rushing this step may prevent the reset from working.
Can I reset my RV air conditioner from the thermostat?
No, simply turning the thermostat off and on usually isn’t enough. You need to cut power at the breaker to fully reset the system’s control board and compressor.
Why does my RV AC keep tripping the breaker?
This could be due to an electrical overload, faulty wiring, or a failing compressor. Check for loose connections and ensure your power source provides stable voltage. If the problem persists, consult an electrician.
Yes, if your model has one. Always turn off power at the breaker first. Use a non-conductive tool like a paperclip to press the button gently. Avoid touching other components inside the unit.
How often should I clean my RV air conditioner filter?
Clean or replace the filter every 1–3 months, depending on usage. In dusty environments or during heavy use, check it monthly to ensure proper airflow.
What should I do if my RV AC still won’t work after a reset?
Check the filter, thermostat settings, and outdoor unit for blockages. If the unit still doesn’t start, there may be an electrical or mechanical issue requiring professional diagnosis and repair.

At CarLegit, we believe information should be clear, factual, and genuinely helpful. That’s why every guide, review, and update on our website is created with care, research, and a strong focus on user experience.