
Unclogging a black tank in an RV doesn’t have to be a nightmare. With the right tools, techniques, and regular maintenance, you can keep your waste system flowing freely and avoid messy backups. This guide walks you through safe, effective solutions to tackle even the toughest clogs.
In This Article
- 1 Key Takeaways
- 2 📑 Table of Contents
- 3 Understanding Your RV Black Tank System
- 4 Signs Your Black Tank Is Clogged
- 5 Step-by-Step Guide to Unclogging Your Black Tank
- 6 Preventing Future Black Tank Clogs
- 7 When to Call a Professional
- 8 Essential Tools for Black Tank Maintenance
- 9 Conclusion
- 10 Frequently Asked Questions
Key Takeaways
- Prevention is key: Regular flushing and using RV-safe toilet paper reduce the risk of clogs.
- Use a tank wand for routine cleaning: A flexible hose attachment helps break down solids and rinse the tank walls.
- Enzyme-based treatments work best: They break down waste naturally without harming your tank or the environment.
- Manual agitation helps dislodge stubborn clogs: Shaking the RV or using a long-handled brush can loosen blockages.
- Know when to call a professional: Persistent clogs may indicate a deeper issue requiring expert help.
- Always wear protective gear: Gloves, goggles, and proper ventilation are essential for safety.
- Flush with plenty of water: Adequate water volume is crucial for moving waste through the system.
📑 Table of Contents
Understanding Your RV Black Tank System
If you’ve ever been on the road in your RV and suddenly smelled something… less than pleasant near the bathroom, you’ve likely encountered a black tank issue. The black tank is the heart of your RV’s waste management system—it holds all the waste from your toilet. When it clogs, it can bring your adventure to a grinding halt. But don’t panic! With a little know-how, you can handle most clogs yourself.
The black tank is typically made of durable plastic and is designed to hold human waste and toilet paper until you’re ready to dump it at a dump station. It’s connected to your RV’s toilet via a sealed pipe, and it has a valve that opens to release contents when you’re ready to empty it. Most modern RVs also include a built-in flush system that uses water from your fresh water tank to rinse the black tank after dumping.
One of the most common misconceptions among RV owners is that the black tank is self-cleaning. It’s not. Without proper care, solids can build up, paper can clump, and grease or foreign objects can create blockages. Over time, this leads to slow drainage, backups, or even complete clogs. That’s why understanding how your system works—and how to maintain it—is the first step toward avoiding messy problems.
How the Black Tank Works
When you flush the toilet in your RV, waste and water flow into the black tank through a sealed pipe. The tank is designed to hold this material until you reach a dump station. Once there, you open the black tank valve, allowing gravity to pull the contents out through a hose into the sewer connection. After dumping, most RVs allow you to connect a hose to a dedicated rinse port to flush the tank with clean water.
Some RVs come equipped with a “black tank flush” system, which uses pressurized water to spray the interior walls of the tank, helping to remove residue. This feature is incredibly helpful but doesn’t eliminate the need for manual cleaning or chemical treatment.
Common Causes of Black Tank Clogs
Clogs don’t happen overnight—they’re usually the result of poor habits or lack of maintenance. Here are the most common culprits:
– Using regular household toilet paper: Unlike RV-safe paper, regular toilet paper doesn’t break down quickly in water. It can clump and form dense masses that block the valve or outlet.
– Flushing non-flushable items: Wet wipes, paper towels, feminine hygiene products, and even “flushable” wipes are major offenders. They don’t dissolve and can create stubborn blockages.
– Insufficient water in the tank: Flushing with too little water means waste doesn’t move properly. Solids settle at the bottom and harden over time.
– Grease and oil: Pouring cooking grease down the sink can lead to buildup in the black tank, especially if it mixes with waste.
– Lack of regular cleaning: Skipping tank rinses or treatments allows residue to accumulate, leading to clogs and odors.
Understanding these causes helps you avoid them. But if you’re already dealing with a clog, don’t worry—there are several effective ways to fix it.
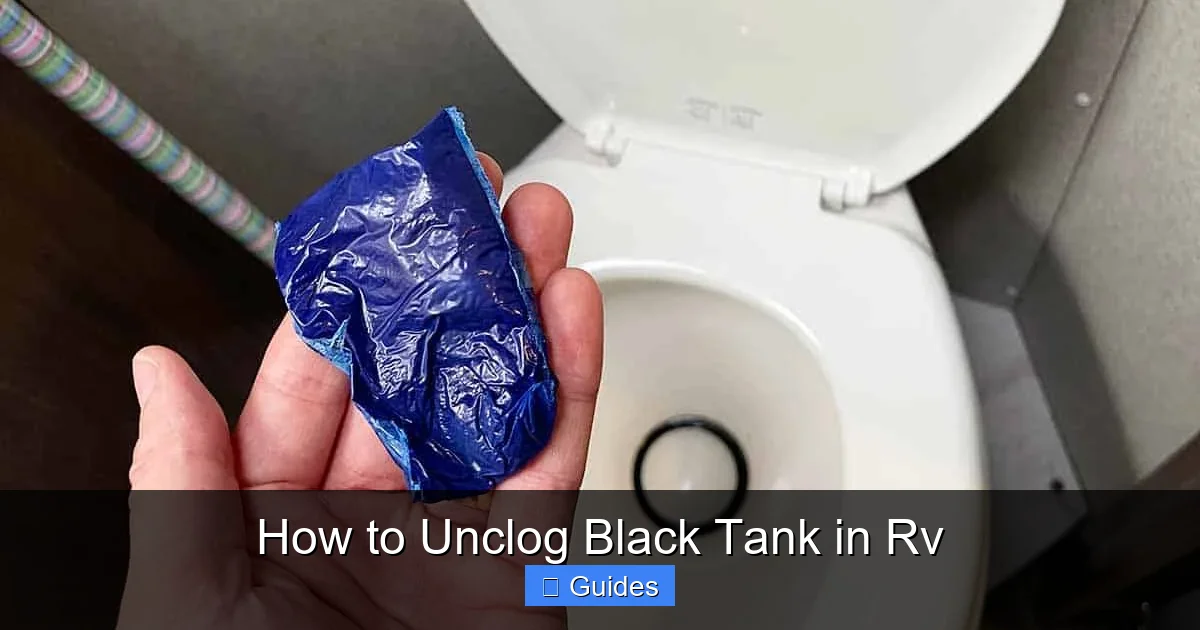
Signs Your Black Tank Is Clogged
Visual guide about How to Unclog Black Tank in Rv
Image source: i.ytimg.com
Before you start troubleshooting, it’s important to confirm that your black tank is actually clogged. Sometimes, what seems like a clog is actually a valve issue, a full tank, or a problem with the venting system. Here are the most common signs of a black tank clog:
– Slow or no drainage when flushing: If water pools in the toilet bowl after flushing and doesn’t drain, it’s a red flag.
– Gurgling sounds from the toilet or drains: This indicates air is trapped in the system, often due to a blockage.
– Waste backing up into the toilet: This is a serious sign—waste is unable to move into the tank and is pushing back up.
– Unpleasant odors inside the RV: Even with a sealed system, a clog can cause pressure changes that push smells into the living space.
– Tank level sensor showing full when it’s not: Solids clinging to the sensors can give false readings, making you think the tank is full when it’s actually clogged.
If you notice any of these symptoms, it’s time to take action. Ignoring a clog can lead to more serious problems, including tank damage or sewage backup into your RV.
How to Confirm a Clog
To confirm a clog, start by checking the tank level. If your sensors say the tank is full but you’ve recently dumped it, that’s a clue. Next, try opening the black tank valve. If nothing comes out—or only a trickle—there’s likely a blockage at the valve or outlet.
You can also inspect the drain hose. Disconnect it from the dump station (with gloves and caution!) and check for visible blockages. If you see paper, wipes, or sludge, that’s your culprit.
Another test is to add a few gallons of water to the tank and shake the RV gently (if safe to do so). Then try opening the valve again. If water flows but waste doesn’t, the clog is likely deeper in the tank.
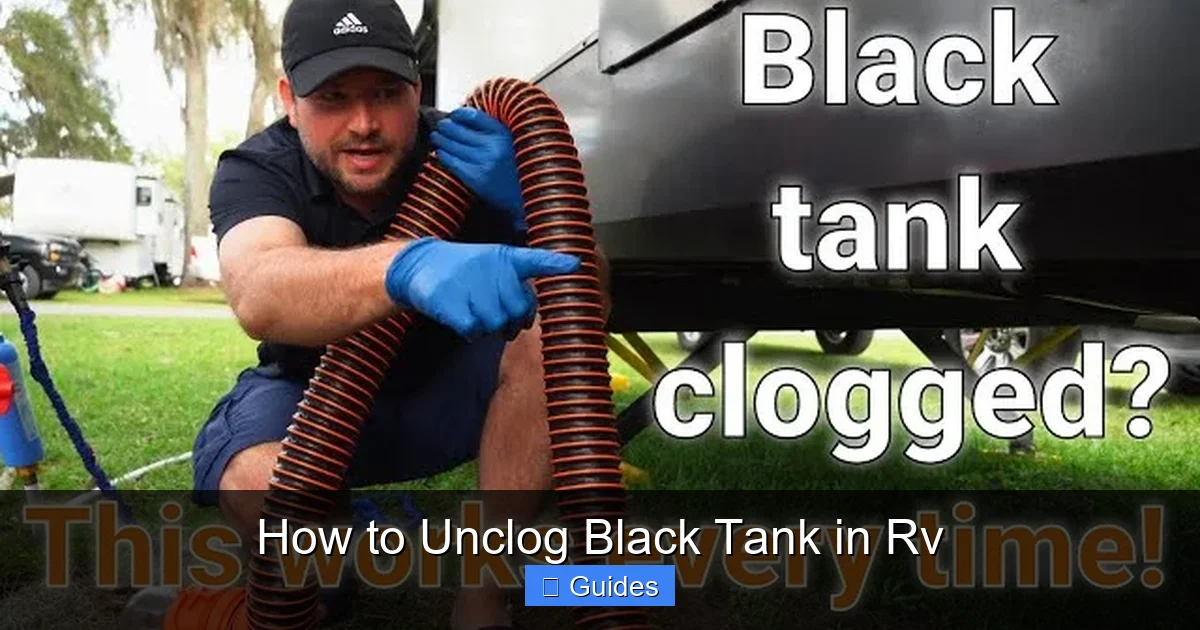
Step-by-Step Guide to Unclogging Your Black Tank
Visual guide about How to Unclog Black Tank in Rv
Image source: gudgear.com
Now that you’ve confirmed a clog, it’s time to fix it. The good news? Most black tank clogs can be resolved with simple tools and techniques. Here’s a step-by-step guide to get your system flowing again.
Step 1: Gather Your Tools and Safety Gear
Before you begin, make sure you have the right equipment:
– Heavy-duty rubber gloves
– Safety goggles
– A black tank wand or flush hose
– A bucket or container for waste
– Enzyme-based tank treatment
– A long-handled brush or tank cleaning tool
– A garden hose with a spray nozzle
– A wrench (for removing valves if needed)
Always wear gloves and goggles. Waste contains harmful bacteria, and splashes can cause illness. Work in a well-ventilated area, and never inhale fumes.
Step 2: Add Water and Agitate the Tank
Start by adding 5–10 gallons of water to the black tank through the toilet. This helps loosen solids and creates a slurry that’s easier to move. If your RV has a built-in flush system, use it to spray the walls.
Next, agitate the tank. If you’re parked on level ground and it’s safe to do so, gently rock the RV back and forth or drive slowly over a bumpy road for a few minutes. This helps dislodge clumped waste. Alternatively, use a long-handled brush or a specialized tank cleaning tool inserted through the toilet flange to stir the contents.
Step 3: Use a Black Tank Wand
A black tank wand is a flexible hose with a nozzle that sprays water under pressure. Insert it into the toilet and slowly push it down toward the tank. Turn on the water and let it spray, moving the wand in a circular motion to break up solids.
This tool is especially effective for removing paper clogs and residue stuck to the tank walls. Be patient—it may take several minutes of spraying to fully clear the blockage.
Step 4: Try a Homemade Cleaning Solution
For stubborn clogs, a homemade solution can help break down waste. Mix one of the following:
– Dish soap and hot water: Add 1/2 cup of dish soap to 5 gallons of hot water. Pour it into the tank and let it sit for several hours or overnight. The soap helps break down grease and solids.
– Baking soda and vinegar: Pour 1 cup of baking soda into the toilet, followed by 1 cup of vinegar. Let it fizz for 30 minutes, then flush with water. This combo helps dissolve organic matter and deodorize the tank.
– Hot water and ice cubes: Add a bag of ice cubes to the tank, then drive around for 20–30 minutes. The cold water and movement help break up solids.
After using any solution, flush the tank thoroughly with clean water.
Step 5: Manually Clear the Valve
If the clog is at the valve, you may need to remove it. Turn off the water supply and disconnect the drain hose. Use a wrench to carefully remove the black tank valve. Inspect it for blockages—paper, wipes, or sludge may be stuck.
Clean the valve with a brush and hose. Reinstall it securely, making sure all seals are in place to prevent leaks.
Step 6: Use Enzyme Treatments
After clearing the clog, add an enzyme-based treatment to the tank. These products contain bacteria and enzymes that naturally break down waste, paper, and grease. They’re safe for your tank and the environment, and they help prevent future clogs.
Follow the product instructions—usually, you add the treatment, fill the tank with water, and let it sit for 24–48 hours before dumping.
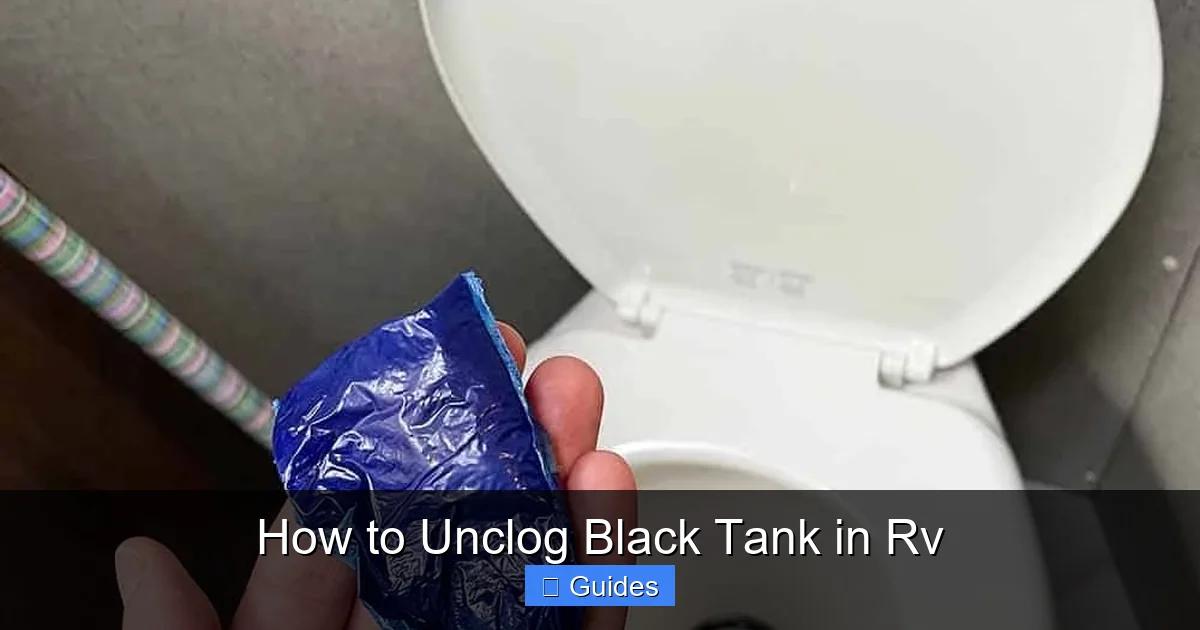
Preventing Future Black Tank Clogs
Visual guide about How to Unclog Black Tank in Rv
Image source: gudgear.com
Once you’ve unclogged your black tank, the last thing you want is to go through it again. Prevention is far easier—and cleaner—than dealing with a clog. Here’s how to keep your system running smoothly.
Use Only RV-Safe Toilet Paper
Not all toilet paper is created equal. RV-safe paper is designed to break down quickly in water, reducing the risk of clogs. Look for brands labeled “septic-safe” or “RV-safe.” Avoid thick, quilted, or lotion-infused papers—they dissolve slowly.
A good test: Place a few sheets in a jar of water, shake, and see how quickly it breaks down. If it’s still intact after 10 minutes, it’s not suitable for your RV.
Flush with Plenty of Water
Always use enough water when flushing. Aim for at least 2–3 gallons per flush. This helps move waste into the tank and prevents solids from settling.
After using the toilet, leave the water running for a few seconds to ensure everything is washed down.
Never Flush Non-Flushable Items
Only human waste and RV-safe toilet paper should go down the toilet. Keep a small trash can in the bathroom for wipes, tissues, and other items. Even “flushable” wipes can cause problems—they don’t break down like toilet paper.
Regularly Treat Your Tank
Use an enzyme-based treatment every 1–2 weeks, or after each dump. These products keep waste broken down and reduce odors. Avoid harsh chemicals like bleach or formaldehyde—they kill beneficial bacteria and can damage your tank.
Rinse the Tank After Every Dump
Always rinse your black tank after emptying it. Use a tank wand or the built-in flush system to spray the walls. Let the rinse water run for several minutes to remove residue.
Some RVers also use a “backflush” method: Connect a hose to the rinse port, open the black tank valve, and let water flow backward through the system to clear the outlet.
Monitor Tank Levels
Don’t let your black tank get more than 2/3 full before dumping. Overfilling can lead to clogs and make it harder to flush properly. Use your tank level sensors, but don’t rely on them completely—they can give false readings if coated with waste.
When to Call a Professional
Most black tank clogs can be handled with DIY methods. But sometimes, the problem is more serious. Here’s when it’s time to call in a professional:
– The clog persists after multiple attempts: If you’ve tried water, agitation, wands, and treatments with no success, there may be a structural issue.
– You suspect a cracked or damaged tank: Leaks, bulges, or persistent odors could indicate a crack.
– The valve is damaged or won’t open: A broken valve may need replacement by a technician.
– You’re not comfortable handling waste: If the thought of dealing with sewage makes you uneasy, it’s okay to ask for help.
RV service centers and mobile technicians can diagnose and fix complex issues. They have specialized tools like cameras and hydro-jetting equipment to clear tough blockages.
Essential Tools for Black Tank Maintenance
Having the right tools on hand makes maintenance easier and more effective. Here are the must-haves for every RV owner:
– Black tank wand: A flexible hose with a spray nozzle for cleaning the tank interior.
– Tank level sensor cleaner: A product that removes residue from sensors for accurate readings.
– Enzyme-based treatment: For regular use to break down waste.
– Rubber gloves and goggles: For safety during cleaning and dumping.
– Drain hose and fittings: High-quality, leak-proof hoses for dumping.
– Hose clamp wrench: For securing drain hose connections.
– Portable waste tank (if boondocking): For dumping when no dump station is available.
Investing in these tools pays off in the long run by preventing clogs and extending the life of your black tank.
Conclusion
Unclogging a black tank in an RV might not be the most glamorous part of RV life, but it’s a necessary skill every owner should have. With the right approach, you can tackle most clogs safely and effectively. Remember: prevention is always better than cure. Use RV-safe toilet paper, flush with plenty of water, and treat your tank regularly.
When a clog does happen, stay calm and follow the steps in this guide. Add water, agitate, use a tank wand, and try natural solutions. And if all else fails, don’t hesitate to call a professional.
By taking care of your black tank, you’ll enjoy a cleaner, odor-free RV experience—and spend more time exploring and less time dealing with plumbing problems. Happy travels!
Frequently Asked Questions
Can I use bleach to clean my RV black tank?
No, avoid using bleach or harsh chemicals. They can damage the tank, kill beneficial bacteria, and create toxic fumes. Use enzyme-based treatments instead—they’re safer and more effective.
How often should I dump my black tank?
Dump your black tank when it’s about 2/3 full. Overfilling can lead to clogs and make flushing less effective. Always rinse the tank after dumping.
Why does my black tank smell even after dumping?
Odors can come from residue in the tank, a dry P-trap, or a clogged vent. Rinse the tank thoroughly, add water to the toilet bowl, and check the roof vent for blockages.
Can I drive with a clogged black tank?
It’s not recommended. Driving with a clog can cause pressure buildup, leaks, or backups. Address the clog before hitting the road.
What’s the best way to clean black tank sensors?
Use a tank wand to spray the sensors, or add a sensor-cleaning product to the tank. Avoid using abrasive tools that could damage the sensors.
Is it safe to use vinegar in my black tank?
Yes, vinegar is safe and effective. It helps break down waste and neutralize odors. Mix it with baking soda for extra cleaning power.

At CarLegit, we believe information should be clear, factual, and genuinely helpful. That’s why every guide, review, and update on our website is created with care, research, and a strong focus on user experience.