
Draining your RV water heater is essential for maintenance, winterizing, and preventing sediment buildup. This guide walks you through the entire process safely and efficiently, whether you’re a beginner or seasoned RVer.
In This Article
- 1 Key Takeaways
- 2 📑 Table of Contents
- 3 Why Draining Your RV Water Heater Matters
- 4 When Should You Drain Your RV Water Heater?
- 5 Tools and Supplies You’ll Need
- 6 Step-by-Step Guide to Draining Your RV Water Heater
- 7 Troubleshooting Common Issues
- 8 Winterizing Your RV Water Heater
- 9 Maintaining Your RV Water Heater Year-Round
- 10 Conclusion
- 11 Frequently Asked Questions
- 11.1 How often should I drain my RV water heater?
- 11.2 Can I drain my RV water heater while it’s hot?
- 11.3 What if my drain valve is leaking?
- 11.4 Do I need to replace the anode rod every time I drain?
- 11.5 Can I use regular antifreeze in my RV water heater?
- 11.6 Why is my water heater making popping noises?
Key Takeaways
- Turn off power and water supply first: Always shut off electricity (at the breaker) or gas supply before draining to prevent damage or injury.
- Let the water cool down: Hot water can cause burns; wait at least 2–3 hours after use before draining.
- Use the drain valve or anode rod: Most RV water heaters have a drain plug or anode rod that serves as the main drainage point.
- Flush out sediment regularly: Sediment buildup reduces efficiency and can damage the tank; flush annually or before long storage.
- Refill slowly and check for leaks: After refilling, turn the system back on gradually and inspect for leaks or air pockets.
- Winterize properly if storing: In cold climates, draining is the first step in protecting your water heater from freezing damage.
- Replace the anode rod when needed: A worn-out anode rod can lead to tank corrosion; inspect it during each drain.
📑 Table of Contents
Why Draining Your RV Water Heater Matters
If you own an RV, you know how vital hot water is—whether you’re showering after a long hike, washing dishes at a campsite, or just enjoying a warm cup of coffee in the morning. But what many RVers overlook is the importance of regularly draining their water heater. It’s not just about maintenance; it’s about protecting your investment and ensuring safe, efficient operation.
Over time, minerals from your water supply—like calcium and magnesium—settle at the bottom of your water heater tank. This buildup, known as sediment, can reduce heating efficiency, shorten the lifespan of your unit, and even cause strange noises like popping or rumbling during operation. In extreme cases, sediment can lead to overheating and tank failure. Draining your RV water heater helps remove this sediment, keeping your system running smoothly.
Another key reason to drain your water heater is winterizing. If you store your RV during cold months, any remaining water in the tank can freeze, expand, and crack the tank or plumbing lines. That’s an expensive repair you definitely want to avoid. Even if you’re not storing your RV, draining before long trips or seasonal changes ensures you start with a clean, safe system.
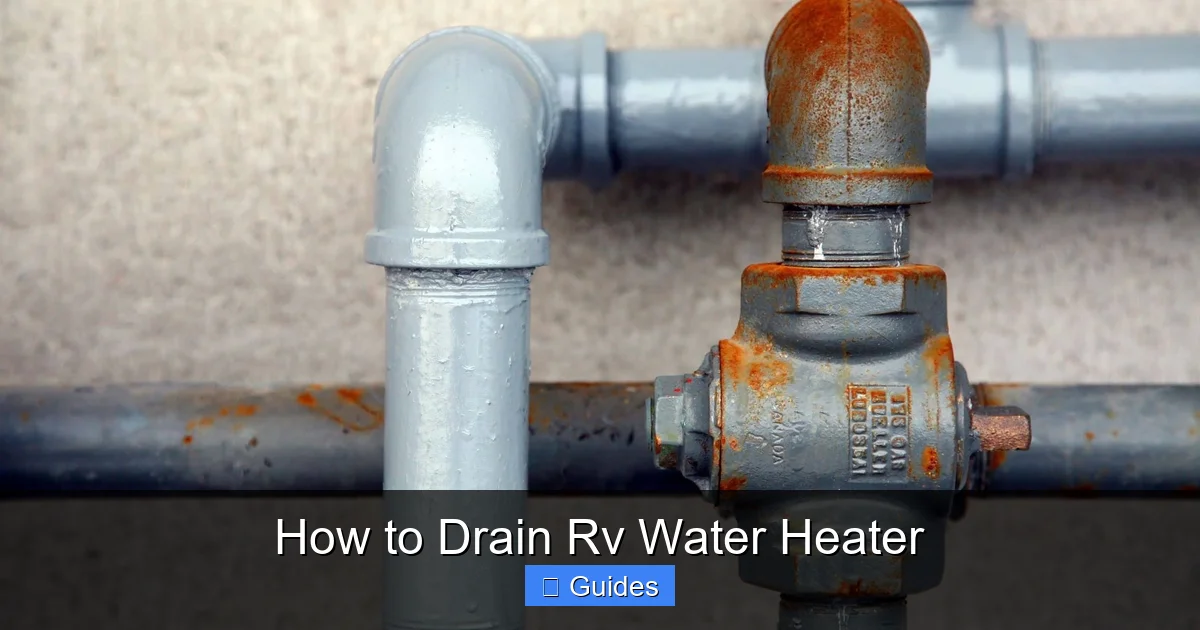
When Should You Drain Your RV Water Heater?
Visual guide about How to Drain Rv Water Heater
Image source: beezzly.com
Knowing when to drain your RV water heater is just as important as knowing how. While there’s no one-size-fits-all schedule, there are several situations that call for a drain.
First and foremost, **before winter storage** is the most critical time. If temperatures in your area drop below freezing, you must drain the water heater to prevent ice damage. Even a small amount of trapped water can expand and crack the tank, leading to leaks or complete failure.
Second, **after extended periods of non-use**—such as storing your RV for a month or more—draining helps prevent stagnant water and bacterial growth. Stagnant water can develop an unpleasant smell or taste, and in some cases, promote the growth of harmful bacteria like Legionella.
Third, **annual maintenance** is a good rule of thumb. Even if you use your RV regularly, flushing the tank once a year removes sediment buildup and keeps the system efficient. If you notice reduced hot water output, longer heating times, or unusual noises, it’s a sign that sediment may be accumulating—time to drain and flush.
Finally, **before long trips** or switching between different water sources (like city water to tank water) is a smart preventive step. Different water supplies have varying mineral content, and draining helps reset the system for optimal performance.
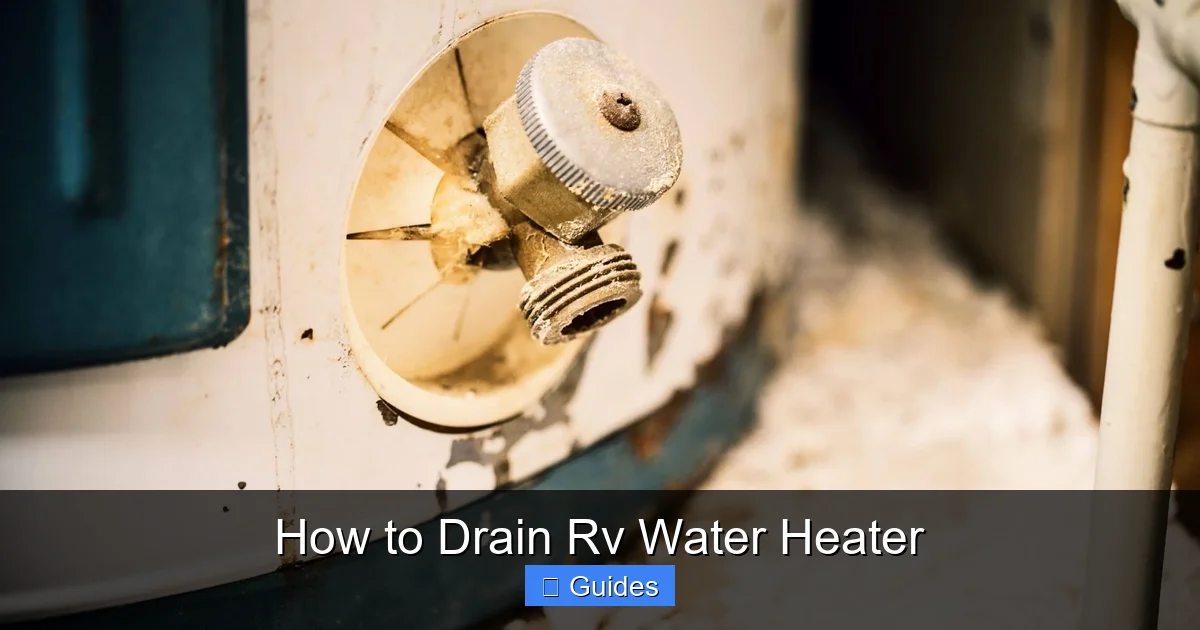
Tools and Supplies You’ll Need
Visual guide about How to Drain Rv Water Heater
Image source: beezzly.com
Before you begin, gather the right tools and supplies. Having everything ready will make the process smoother and safer.
You’ll need:
– A garden hose (preferably one that fits the drain valve)
– A flathead or Phillips screwdriver (depending on your drain plug)
– A bucket or container (to catch initial water flow)
– Safety gloves and goggles (to protect against hot water and debris)
– A wrench or pliers (for stubborn drain valves)
– Teflon tape (optional, for resealing threads)
– A replacement anode rod (if yours is worn)
Most RV water heaters have a drain valve located near the bottom of the tank, often behind an access panel on the outside of the RV. Some models use a standard drain plug, while others use an anode rod that doubles as the drain point. Check your owner’s manual to confirm your model’s setup.
If you’re unsure about the location, look for a small panel on the side of your RV, usually near the freshwater tank or under the kitchen sink. Once opened, you should see the water heater tank with a valve or plug at the bottom.
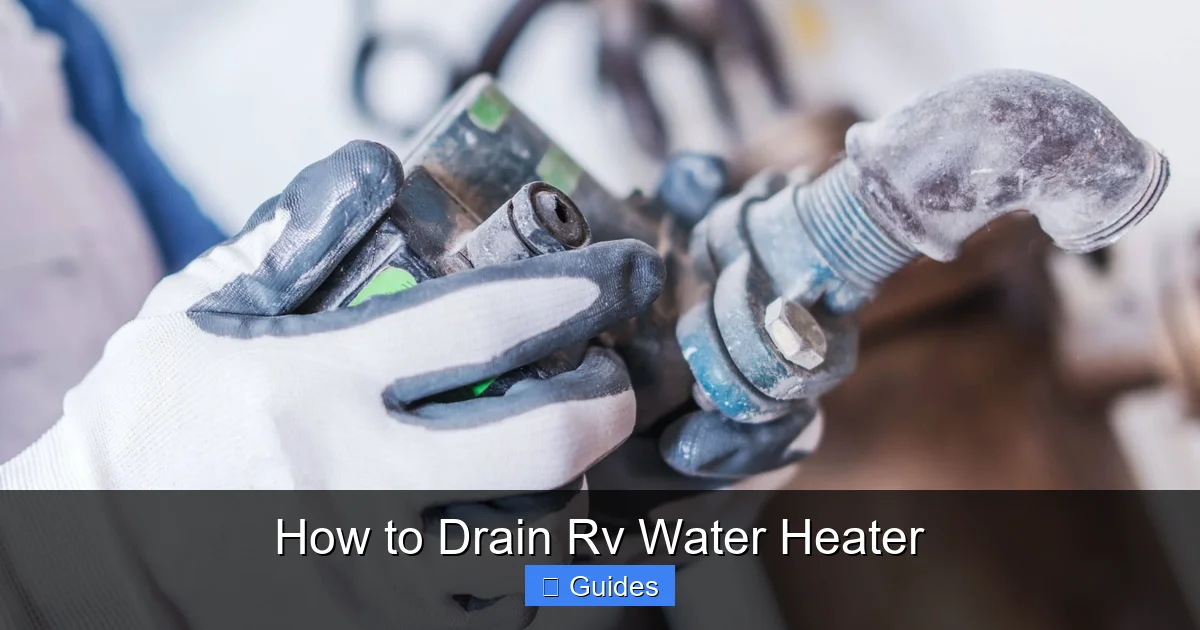
Step-by-Step Guide to Draining Your RV Water Heater
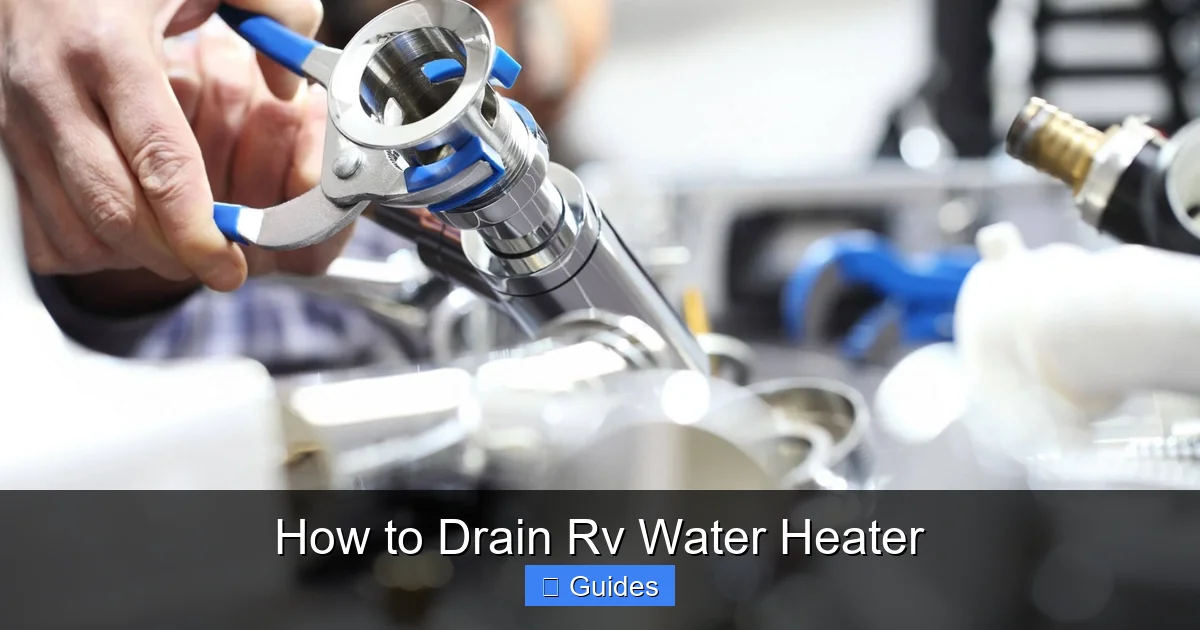
Visual guide about How to Drain Rv Water Heater
Image source: beezzly.com
Now that you’re prepared, let’s walk through the process step by step. This method works for most standard RV water heaters, whether they’re gas, electric, or dual-powered.
Step 1: Turn Off Power and Water Supply
Safety first. Before doing anything, shut off the power to your water heater. If it’s electric, go to your RV’s breaker panel and turn off the water heater circuit. If it’s gas-powered, turn off the gas valve near the unit. This prevents the heater from turning on while the tank is empty, which can damage the heating element or burner.
Next, turn off the water supply. If you’re connected to city water, disconnect the hose and close the water pump switch. If you’re using your onboard freshwater tank, turn off the water pump. This stops new water from entering the tank while you drain it.
Step 2: Let the Water Cool Down
Never drain a hot water heater immediately after use. The water inside can be scalding—over 120°F (49°C)—and cause serious burns. Wait at least 2–3 hours after the last use to allow the water to cool. If you’re in a hurry, you can speed up the process by running cold water through the system for a few minutes, but never attempt to drain while the water is still hot.
Step 3: Open a Hot Water Faucet
This step is often overlooked but crucial. Open a hot water faucet inside your RV—any sink or shower will do. This relieves pressure in the system and allows air to enter the tank, which helps the water drain more smoothly. Without this, you might get a slow drip instead of a full flow.
Step 4: Locate and Open the Drain Valve
Go outside to the water heater access panel. Remove the cover using a screwdriver if needed. You should see the drain valve or anode rod at the bottom of the tank.
If your model has a dedicated drain valve, attach your garden hose to it and run the other end to a safe drainage area—like a gravel patch or sewer inlet. Open the valve by turning it counterclockwise. Water should begin flowing out.
If your water heater uses an anode rod as the drain point (common in Suburban and some Atwood models), you’ll need to remove the rod with a wrench or socket. Place a bucket underneath to catch the initial rush of water. Once the rod is out, water will drain freely. Be careful—some water may still be warm.
Step 5: Flush Out Sediment
Once the tank is empty, turn the water supply back on briefly to flush out any remaining sediment. Let the water run for 1–2 minutes, then turn it off and drain again. You may see cloudy or rusty water at first—this is normal and indicates sediment being removed.
Repeat this flush cycle 1–2 times until the water runs clear. This helps ensure your tank is as clean as possible.
Step 6: Inspect and Replace the Anode Rod (If Applicable)
If you removed the anode rod, now is the perfect time to inspect it. The anode rod is a sacrificial metal (usually aluminum or magnesium) that attracts corrosive elements, protecting the tank from rust.
Look for heavy corrosion, pitting, or if the rod is less than half its original thickness. If it’s worn down, replace it with a new one. Use Teflon tape on the threads before reinstalling to prevent leaks.
Step 7: Reassemble and Refill
Once the tank is drained and flushed, close the drain valve or reinstall the anode rod securely. Make sure it’s tight but don’t over-tighten, as this can damage the threads.
Close the access panel and turn the water supply back on. Let the tank fill completely—this may take a few minutes. You’ll know it’s full when water flows steadily from the hot water faucet you opened earlier.
Once full, turn the power or gas back on. For electric heaters, wait about 20–30 minutes for the water to heat up. For gas models, light the pilot or turn on the electronic ignition.
Troubleshooting Common Issues
Even with careful steps, you might run into a few hiccups. Here’s how to handle the most common problems.
Drain Valve Won’t Open
If the drain valve is stuck, don’t force it. Mineral buildup can cause corrosion and make it difficult to turn. Try spraying a little penetrating oil (like WD-40) around the valve and let it sit for 10–15 minutes. Then gently tap the valve with a rubber mallet to loosen it. Use a wrench for extra leverage, but avoid excessive force.
If the valve is broken, you may need to replace it. Most RV supply stores carry compatible drain valves, or you can order one online.
Water Isn’t Draining
If water isn’t flowing, check that the hot water faucet is open and the water supply is off. Also, ensure the garden hose isn’t kinked or blocked. If the tank still won’t drain, there may be a blockage in the valve or line. Try using a small wire or pipe cleaner to clear it.
In rare cases, the tank may have a collapsed dip tube, which prevents proper drainage. This requires professional inspection.
Leaks After Reassembly
If you notice leaks around the drain valve or anode rod, it’s likely due to improper sealing. Turn off the water and power, then disassemble the connection. Clean the threads, apply fresh Teflon tape, and re tighten. Don’t overtighten—snug is enough.
No Hot Water After Refill
If your water heater isn’t producing hot water after refilling, check the power or gas supply. For electric models, ensure the breaker is on and the thermostat is set correctly. For gas models, relight the pilot if needed. Also, make sure the tank is completely full—air pockets can prevent proper heating.
Winterizing Your RV Water Heater
If you’re storing your RV in cold weather, draining is just the first step in winterizing. After draining, you’ll want to blow out any remaining water using an air compressor or add RV antifreeze.
To use an air compressor, attach it to the city water inlet and blow air through the system at low pressure (under 40 PSI). Open each faucet one by one to expel water from the lines. Don’t forget the water heater drain valve—open it to let any residual water escape.
Alternatively, you can use non-toxic RV antifreeze. After draining, pour antifreeze into the freshwater tank and run the pump to circulate it through the system. This method is more thorough but requires careful disposal.
Never use automotive antifreeze—it’s toxic and unsafe for drinking water systems.
Maintaining Your RV Water Heater Year-Round
Draining is just one part of water heater care. To keep your system in top shape, follow these maintenance tips:
– **Inspect the anode rod every 6–12 months.** Replace it when worn.
– **Flush the tank annually**, even if you don’t notice issues.
– **Use a water softener** if you frequently camp in areas with hard water.
– **Check for leaks** around valves and connections regularly.
– **Keep the area around the water heater clean** and free of debris.
By staying proactive, you’ll extend the life of your water heater and avoid costly repairs.
Conclusion
Draining your RV water heater might seem like a chore, but it’s a simple task that pays big dividends. From preventing sediment buildup to protecting your system during winter storage, regular draining keeps your water heater efficient, safe, and reliable.
With the right tools and a little patience, anyone can do it. Follow the steps in this guide, stay consistent with maintenance, and you’ll enjoy hot water on the road for years to come. Whether you’re a weekend warrior or a full-time RVer, taking care of your water heater is one of the smartest things you can do for your home on wheels.
Frequently Asked Questions
How often should I drain my RV water heater?
Drain your RV water heater at least once a year for maintenance. You should also drain it before winter storage, after long periods of non-use, or if you notice reduced hot water performance.
Can I drain my RV water heater while it’s hot?
No, never drain a hot water heater. Wait at least 2–3 hours after use to let the water cool. Draining hot water can cause burns and damage the tank.
What if my drain valve is leaking?
A leaking drain valve is usually due to a worn seal or loose connection. Turn off the water and power, then tighten the valve or replace the washer. If the valve is damaged, replace it entirely.
Do I need to replace the anode rod every time I drain?
No, but inspect it during each drain. Replace the anode rod only if it’s heavily corroded or less than half its original thickness. Most rods last 1–3 years depending on water quality.
Can I use regular antifreeze in my RV water heater?
No, never use automotive antifreeze. Only use non-toxic, RV-specific antifreeze, which is safe for potable water systems and won’t harm your plumbing.
Why is my water heater making popping noises?
Popping or rumbling sounds are usually caused by sediment buildup at the bottom of the tank. Draining and flushing the heater should resolve the issue.

At CarLegit, we believe information should be clear, factual, and genuinely helpful. That’s why every guide, review, and update on our website is created with care, research, and a strong focus on user experience.