

Adjusting the slide out on your camper is essential for smooth operation, safety, and comfort. Whether you’re dealing with misalignment, sticking, or uneven extension, this guide walks you through every step—from diagnosis to fine-tuning—so you can enjoy a perfectly functioning slide out every time.
In This Article
- 1 Key Takeaways
- 2 📑 Table of Contents
- 3 Introduction: Why Slide Out Adjustment Matters
- 4 Understanding Your Camper’s Slide Out System
- 5 Common Slide Out Problems and How to Diagnose Them
- 6 Step-by-Step Guide to Adjusting Your Slide Out
- 7 Manual Override: What to Do When the Power Fails
- 8 Preventative Maintenance to Avoid Future Issues
- 9 When to Call a Professional
- 10 Conclusion: Master Your Slide Out for Stress-Free Travel
- 11 Frequently Asked Questions
- 11.1 How often should I adjust my camper’s slide out?
- 11.2 Can I adjust the slide out while it’s partially extended?
- 11.3 What kind of lubricant should I use on slide out tracks?
- 11.4 Why is my slide out making a grinding noise?
- 11.5 How do I know if my slide out seals need replacing?
- 11.6 Is it safe to drive with the slide out extended?
Key Takeaways
- Regular inspection prevents major issues: Check seals, tracks, and mechanisms monthly to catch wear early.
- Proper leveling is critical: Always level your camper before extending the slide out to avoid strain and misalignment.
- Lubrication extends component life: Use silicone-based lubricants on tracks and gears to reduce friction and wear.
- Manual override is a lifesaver: Know how to retract the slide manually in case of power failure or motor issues.
- Alignment adjustments require patience: Small tweaks to bolts and rollers can fix sticking or uneven movement.
- Professional help may be needed: If electrical or hydraulic systems fail, consult a certified RV technician.
- Prevent moisture damage: Inspect and replace worn seals to keep water out and maintain insulation.
📑 Table of Contents
- Introduction: Why Slide Out Adjustment Matters
- Understanding Your Camper’s Slide Out System
- Common Slide Out Problems and How to Diagnose Them
- Step-by-Step Guide to Adjusting Your Slide Out
- Manual Override: What to Do When the Power Fails
- Preventative Maintenance to Avoid Future Issues
- When to Call a Professional
- Conclusion: Master Your Slide Out for Stress-Free Travel
Introduction: Why Slide Out Adjustment Matters
If you’ve ever owned or traveled in a camper with a slide out, you know how much it transforms the living space. That extra room for a dinette, bed, or sofa can make all the difference on a long trip. But when the slide out starts acting up—sticking, jerking, or refusing to extend—it quickly goes from a luxury to a headache. That’s why learning how to adjust slide out on camper is one of the most valuable skills an RV owner can have.
Slide outs are complex systems involving motors, gears, tracks, seals, and sometimes hydraulics or electric actuators. Over time, normal use, weather exposure, and vibration can cause components to shift, wear, or become misaligned. Left unchecked, these issues can lead to costly repairs or even safety hazards. The good news? Many common slide out problems can be fixed with basic tools, a little patience, and the right know-how. This guide will walk you through everything you need to know—from diagnosing the issue to making precise adjustments—so you can keep your slide out running smoothly for years to come.
Understanding Your Camper’s Slide Out System
Before you start adjusting anything, it’s important to understand how your slide out actually works. Most modern campers use one of three types of slide out mechanisms: electric, hydraulic, or cable-driven. Each has its own components and adjustment methods, so identifying your system is the first step.
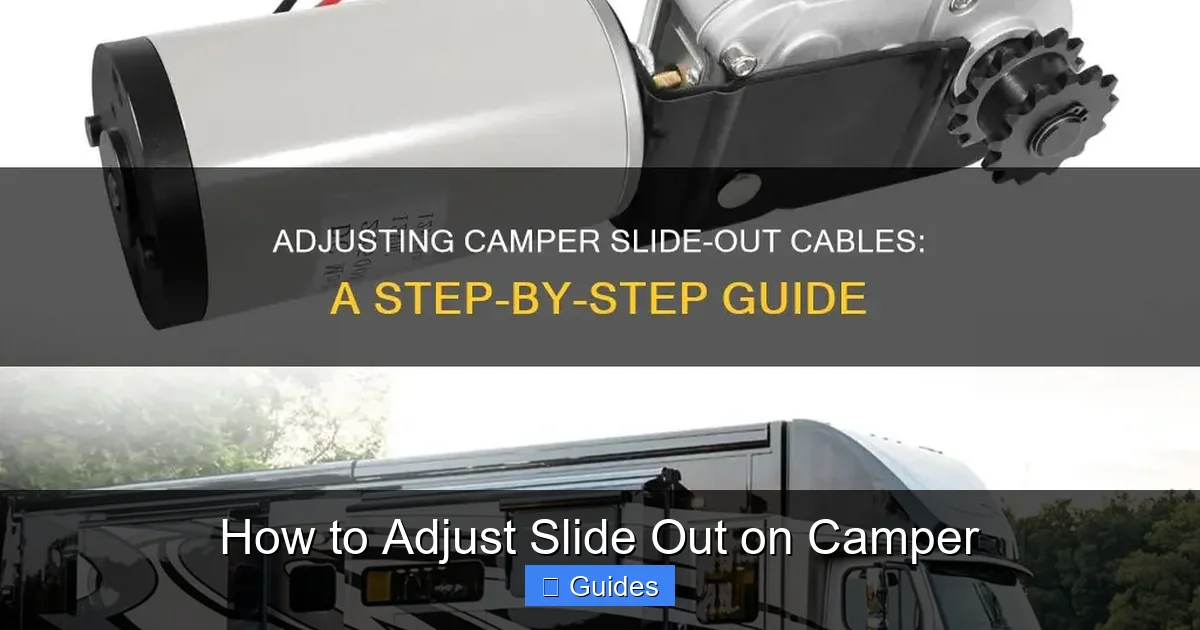
Visual guide about How to Adjust Slide Out on Camper
Image source: shunauto.com
Electric Slide Outs
Electric slide outs are the most common in today’s RVs. They use a 12-volt DC motor connected to a rack-and-pinion or screw-drive system. When you press the “extend” button, the motor turns gears that push the slide out forward along tracks. These systems are reliable and relatively easy to maintain, but they can suffer from motor burnout, gear wear, or track misalignment.
Hydraulic Slide Outs
Hydraulic systems use fluid pressure to extend and retract the slide. They’re often found in larger fifth wheels and Class A motorhomes. While powerful and smooth, they require regular fluid checks and can leak over time. Adjusting hydraulic slide outs usually involves checking fluid levels, inspecting hoses, and ensuring the pump is functioning properly.
Cable-Driven Slide Outs
Less common but still found in some older models, cable-driven systems use steel cables and pulleys to move the slide. These are lightweight and simple but prone to cable stretching or snapping. Adjustments often involve tightening cable tension or replacing worn cables.
Key Components to Know
- Motor or actuator: Provides the power to move the slide.
- Tracks and rollers: Guide the slide in and out smoothly.
- Seals and weatherstripping: Prevent water and air leaks.
- Control switch and wiring: Sends signals to operate the system.
- Manual override crank: Allows manual retraction in emergencies.
Knowing which type you have and familiarizing yourself with these parts will make troubleshooting and adjustments much easier. Always consult your owner’s manual for model-specific details.
Common Slide Out Problems and How to Diagnose Them
Even the best-maintained slide outs can develop issues over time. The key to fixing them quickly is early detection. Here are the most common problems and how to spot them before they become serious.
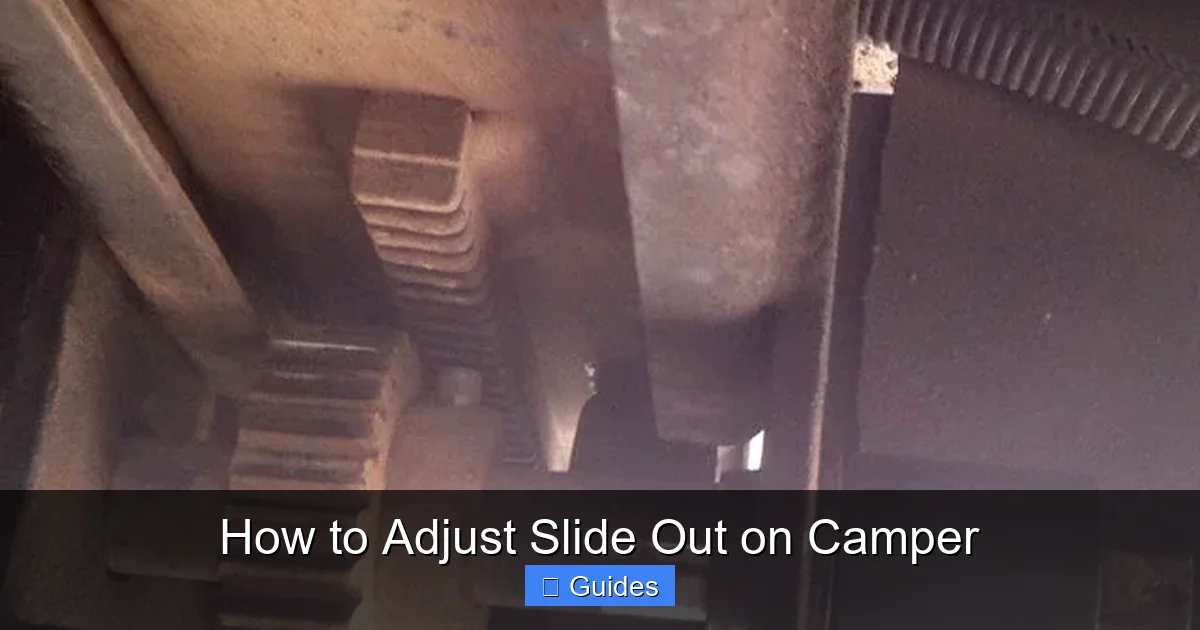
Visual guide about How to Adjust Slide Out on Camper
Image source: liveworkdream.com
Slide Out Won’t Extend or Retract
This is the most frustrating issue—you press the button, but nothing happens. First, check the basics: Is the camper level? Most slide outs won’t operate if the RV is tilted more than a few degrees. Next, inspect the battery. A weak or dead battery can’t power the motor. If the battery is fine, listen for a clicking sound when you press the switch. That usually means the switch is working but the motor isn’t getting power—possibly due to a blown fuse or faulty wiring.
Slide Out Sticks or Jerks During Movement
If your slide out moves unevenly—starting strong, then slowing down, or jerking as it extends—it’s likely a sign of misalignment or friction. Check the tracks for debris, dirt, or rust. Also inspect the rollers and gears for wear. Sometimes, a simple cleaning and lubrication can restore smooth operation.
Uneven Extension or Gaps
When the slide out extends but one side is higher or lower than the other, it creates gaps that let in air and water. This is often caused by worn rollers, bent tracks, or loose mounting bolts. Use a level to check alignment and look for visible gaps between the slide and the camper body.
Water Leaks Around the Slide Out
Moisture inside your camper near the slide out is a red flag. It usually means the seals are cracked, compressed, or missing. Inspect the weatherstripping around the entire perimeter. If it’s brittle or torn, it needs replacement. Also check the roof seal—water can pool and seep in if the slide isn’t level or the seal is damaged.
Noisy Operation
Squeaking, grinding, or rattling sounds during operation often point to dry or damaged components. Metal-on-metal noise suggests lack of lubrication, while grinding may indicate gear damage. Address these sounds early to prevent further wear.
Diagnosing the problem correctly is half the battle. Keep a small toolkit with you—including a flashlight, level, multimeter, and basic hand tools—so you can inspect and test components on the go.
Step-by-Step Guide to Adjusting Your Slide Out
Now that you understand the system and can identify common issues, it’s time to make adjustments. Always start with safety: disconnect the battery, chock the wheels, and ensure the camper is on level ground. Never work under a partially extended slide out without proper support.
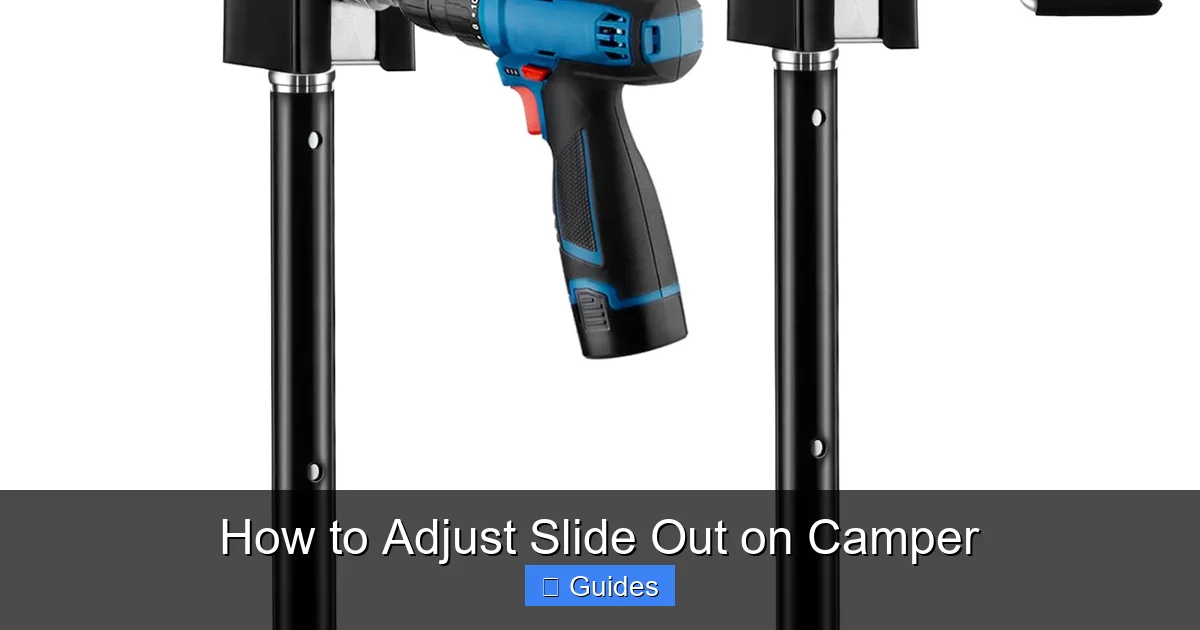
Visual guide about How to Adjust Slide Out on Camper
Image source: m.media-amazon.com
Step 1: Level Your Camper
Use your built-in leveling system or manual jacks to get the camper as level as possible. Even a slight tilt can cause binding. Check both front-to-back and side-to-side. A digital level app on your phone can help, but a physical bubble level is more reliable.
Step 2: Inspect and Clean the Tracks
Open the exterior access panel (if your model has one) and examine the slide out tracks. Remove any dirt, leaves, or debris with a brush or compressed air. Wipe the tracks with a clean cloth and inspect for rust or damage. Light rust can be removed with steel wool, but deep pitting may require track replacement.
Step 3: Lubricate Moving Parts
Apply a silicone-based lubricant (never use WD-40, which attracts dirt) to the tracks, rollers, and gears. Avoid petroleum-based products, as they can degrade rubber seals. A light coat is all you need—too much can attract grime. Wipe off excess to prevent buildup.
Step 4: Check and Tighten Mounting Bolts
Vibration during travel can loosen bolts that hold the slide out mechanism in place. Use a wrench or socket set to check all accessible bolts, especially around the motor, tracks, and frame. Don’t overtighten—snug is enough. Loose bolts can cause misalignment and uneven movement.
Step 5: Adjust Roller Alignment
If the slide out is sticking or uneven, the rollers may need adjustment. Most systems have adjustable roller mounts with slotted holes. Loosen the bolts slightly, then gently tap the roller assembly up, down, left, or right to align it with the track. Retighten and test the movement. Repeat until the slide extends smoothly.
Step 6: Test the Operation
Reconnect the battery and test the slide out. Extend it fully, then retract it. Listen for smooth, consistent movement. Check for gaps, noise, or resistance. If everything looks good, you’re done! If not, repeat the adjustment process or consider professional help.
Remember: small adjustments make a big difference. Don’t force anything—if the slide resists, stop and recheck your work. Forcing it can damage components.
Manual Override: What to Do When the Power Fails
Imagine you’re at a remote campsite, and your slide out won’t retract because the battery died or the motor failed. That’s when knowing the manual override procedure can save your trip. Every camper with a slide out should have a manual crank option—usually located near the motor or in an exterior compartment.
Locating the Manual Override
Check your owner’s manual for the exact location. Common spots include:
- Under a removable panel near the slide out motor
- Inside a storage compartment with a labeled access hole
- Behind a small door on the side of the camper
The override typically involves a square or hex-shaped socket where you insert a crank handle (often included with the camper or available from the manufacturer).
Using the Manual Crank
Insert the crank and turn it slowly in the direction that retracts the slide (usually clockwise, but check your manual). It may take many turns—especially for large slide outs—so be patient. Keep a firm grip and avoid sudden movements. If the slide binds, stop and check for obstructions or misalignment.
Safety Tips for Manual Operation
- Never stand directly in front of or behind the slide while cranking.
- Use gloves to protect your hands.
- Have someone assist you to monitor the slide’s movement.
- Once retracted, secure the slide with straps or blocks if you can’t fix the issue immediately.
After using the manual override, inspect the system for damage. A failed motor or stripped gears may need professional repair before you can use the electric function again.
Preventative Maintenance to Avoid Future Issues
The best way to adjust slide out on camper is to prevent problems before they start. Regular maintenance not only extends the life of your slide out but also saves you time, money, and stress on the road.
Monthly Checks
Set a reminder to inspect your slide out every month. Look for:
- Cracks or tears in seals
- Loose or missing bolts
- Dirt or debris in tracks
- Unusual noises during operation
Lubrication Schedule
Lubricate tracks and moving parts every 3–6 months, or more often if you travel frequently or in dusty conditions. Use only RV-safe silicone lubricants. Avoid grease or oil-based products that can attract dirt and degrade rubber.
Seal Maintenance
Clean the seals with mild soap and water, then apply a rubber protectant (like 303 Aerospace Protectant) to keep them flexible. Replace any seals that are cracked, flattened, or missing. A good seal prevents water intrusion and improves insulation.
Winterizing Your Slide Out
If you store your camper in cold climates, retract the slide out fully and cover it with a breathable RV cover. Avoid using plastic, which can trap moisture. Apply a light coat of lubricant before storage to prevent seals from drying out.
Professional Inspections
Even with regular DIY care, have a certified RV technician inspect your slide out system annually. They can spot hidden issues like worn gears, hydraulic leaks, or electrical faults that you might miss.
Keeping a maintenance log can help you track when you last serviced each component. Note dates, products used, and any observations. This is especially helpful if you sell the camper later.
When to Call a Professional
While many slide out adjustments are DIY-friendly, some issues require expert attention. Don’t hesitate to call a professional if you notice:
- The motor runs but the slide doesn’t move (possible gear failure)
- Hydraulic fluid leaks or low pressure
- Electrical faults like blown fuses or burnt wiring
- Severe misalignment that can’t be fixed with roller adjustments
- Structural damage to the slide out frame or camper body
Attempting complex repairs without the right tools or knowledge can cause more harm than good. A qualified RV technician has the experience and equipment to diagnose and fix advanced problems safely.
Also, if your camper is still under warranty, DIY repairs might void it. Always check your warranty terms before making major adjustments.
Conclusion: Master Your Slide Out for Stress-Free Travel
Learning how to adjust slide out on camper isn’t just about fixing problems—it’s about taking control of your RV experience. A well-maintained slide out enhances comfort, protects your investment, and gives you peace of mind on the road. With regular inspections, proper lubrication, and timely adjustments, you can avoid most common issues and enjoy smooth, reliable operation for years.
Remember, every camper is a little different, so always refer to your owner’s manual and consult professionals when needed. But with the tips and techniques in this guide, you’re now equipped to handle the most common slide out challenges like a pro. So go ahead—extend that slide, kick back, and enjoy the extra space. Your next adventure awaits.
Frequently Asked Questions
How often should I adjust my camper’s slide out?
You don’t need to adjust the slide out regularly unless you notice issues like sticking, noise, or misalignment. However, inspect it monthly and perform maintenance every 3–6 months to prevent problems.
Can I adjust the slide out while it’s partially extended?
No. Always retract the slide out completely before making adjustments. Working on a partially extended slide can be dangerous and may damage the mechanism.
What kind of lubricant should I use on slide out tracks?
Use a silicone-based lubricant designed for RVs. Avoid WD-40 or petroleum-based products, as they can attract dirt and degrade rubber seals over time.
Why is my slide out making a grinding noise?
A grinding noise often indicates worn gears, lack of lubrication, or debris in the tracks. Inspect the gears and tracks, clean them, and apply lubricant. If the noise persists, consult a technician.
How do I know if my slide out seals need replacing?
Check for cracks, brittleness, or gaps between the seal and the camper body. If you see daylight through the seal when the slide is retracted, or if you notice water inside, it’s time to replace the seals.
Is it safe to drive with the slide out extended?
No. Always retract the slide out fully before driving. Extended slide outs can cause severe damage to your camper and pose a safety hazard on the road.

At CarLegit, we believe information should be clear, factual, and genuinely helpful. That’s why every guide, review, and update on our website is created with care, research, and a strong focus on user experience.