
Insulating camper windows is essential for staying warm in winter and cool in summer, reducing condensation, and improving energy efficiency. With the right materials and techniques, you can create a more comfortable and quiet camping experience—no matter the weather.
In This Article
- 1 Key Takeaways
- 2 📑 Table of Contents
- 3 Why Insulating Camper Windows Matters
- 4 Understanding Camper Window Heat Loss and Gain
- 5 Top Materials for Insulating Camper Windows
- 6 Step-by-Step Guide to Insulating Camper Windows
- 7 DIY vs. Commercial Insulation Products
- 8 Maintaining and Upgrading Your Window Insulation
- 9 Tips for Year-Round Comfort
- 10 Conclusion
- 11 Frequently Asked Questions
- 11.1 What is the best material for insulating camper windows?
- 11.2 Can I insulate camper windows without making permanent changes?
- 11.3 How do I prevent condensation on camper windows?
- 11.4 Do insulated window covers block all light?
- 11.5 How much does it cost to insulate camper windows?
- 11.6 Can I use regular household insulation in my camper?
Key Takeaways
- Proper insulation prevents heat loss and gain: Well-insulated windows keep your camper’s interior temperature stable, reducing reliance on heaters and air conditioners.
- Condensation control is crucial: Insulation helps minimize moisture buildup, which can lead to mold, mildew, and interior damage.
- DIY solutions are affordable and effective: Many insulation methods use low-cost materials like foam board, reflective barriers, and weatherstripping.
- Window type matters: Single-pane windows need more insulation than double-pane, so tailor your approach accordingly.
- Combine methods for best results: Layering insulation techniques—like using both thermal curtains and window quilts—boosts performance.
- Ventilation is still important: Even with insulation, ensure airflow to prevent stale air and excess humidity.
- Test and adjust as needed: Monitor temperature and condensation levels to fine-tune your insulation strategy over time.
📑 Table of Contents
- Why Insulating Camper Windows Matters
- Understanding Camper Window Heat Loss and Gain
- Top Materials for Insulating Camper Windows
- Step-by-Step Guide to Insulating Camper Windows
- DIY vs. Commercial Insulation Products
- Maintaining and Upgrading Your Window Insulation
- Tips for Year-Round Comfort
- Conclusion
Why Insulating Camper Windows Matters
If you’ve ever woken up in your camper to frost on the inside of the windows or felt a blast of hot air pouring through the glass at noon, you know how important window insulation can be. Camper windows—especially single-pane ones—are notorious for being weak points in your RV’s thermal envelope. They let heat escape in winter and flood your space with solar heat in summer. That’s why learning how to insulate camper windows isn’t just a nice upgrade—it’s a necessity for year-round comfort.
Think of your camper like a thermos. A thermos keeps coffee hot by minimizing heat transfer through its walls. Your camper should do the same. But unlike a thermos, most campers weren’t built with high-performance insulation in mind. The windows, in particular, are often thin, poorly sealed, and surrounded by gaps that let air sneak in and out. This leads to cold drafts, hot spots, and condensation—especially in humid or cold climates. Insulating your windows helps close those gaps, stabilize indoor temperatures, and make your space feel more like home.
Beyond comfort, insulation saves money. When your heater or air conditioner doesn’t have to work as hard, you use less propane or electricity. That means longer trips on a single tank and lower energy bills if you’re hooked up to shore power. Plus, reducing condensation helps protect your camper’s interior from mold, warped wood, and rust—extending the life of your investment.
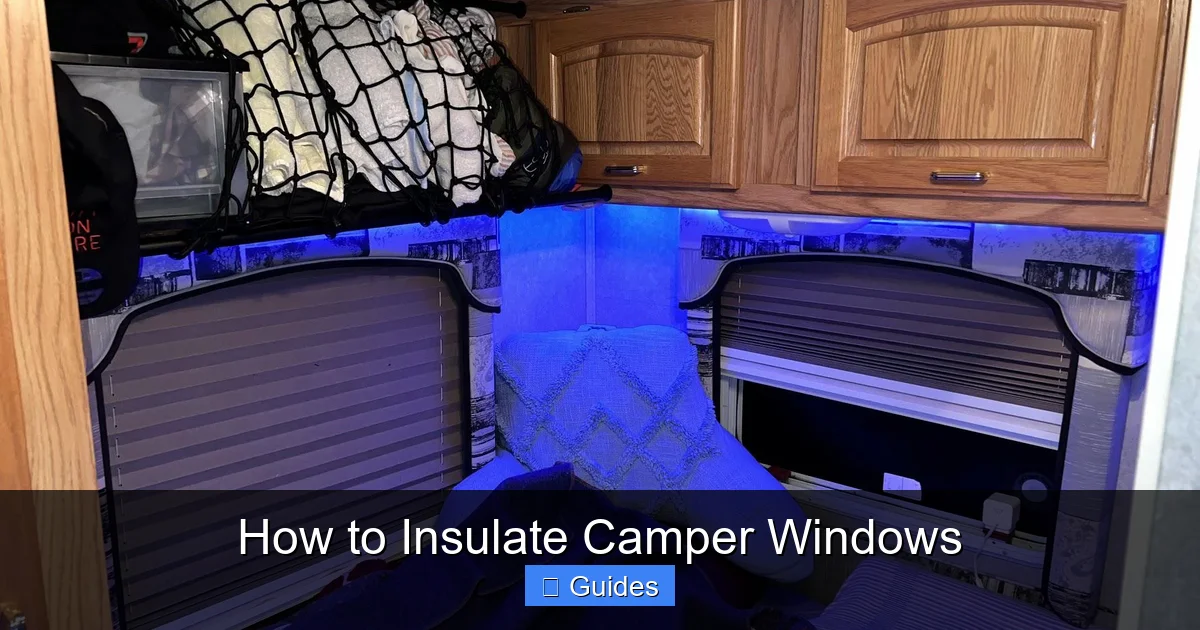
Understanding Camper Window Heat Loss and Gain
Visual guide about How to Insulate Camper Windows
Image source: gocarlife.com
Before diving into solutions, it helps to understand why camper windows lose and gain heat so easily. Most RV windows are single-pane glass, meaning there’s only one layer of glass separating the inside from the outside. Compare that to modern homes, which often use double- or triple-pane windows filled with insulating gas. Single-pane windows have very low R-values—a measure of thermal resistance—meaning they don’t resist heat flow well.
In winter, warm air inside your camper touches the cold glass and loses heat rapidly. This creates cold surfaces that radiate chill into the room and cause condensation as warm, moist air hits the cold window. In summer, the opposite happens: sunlight heats the glass, which then radiates heat inward, making your camper feel like an oven.
Air leaks around the window frame also play a big role. Even small gaps can let in drafts or let conditioned air escape. These leaks are often overlooked but can account for a significant amount of heat loss. Sealing these gaps is one of the simplest and most effective steps in insulating camper windows.
Another factor is solar gain. Large windows can be great for views, but they also let in a lot of sunlight—especially if they face south or west. Without shading or reflective barriers, that sunlight turns into heat, raising indoor temperatures quickly. This is why many campers feel unbearably hot during summer afternoons, even with the AC running.
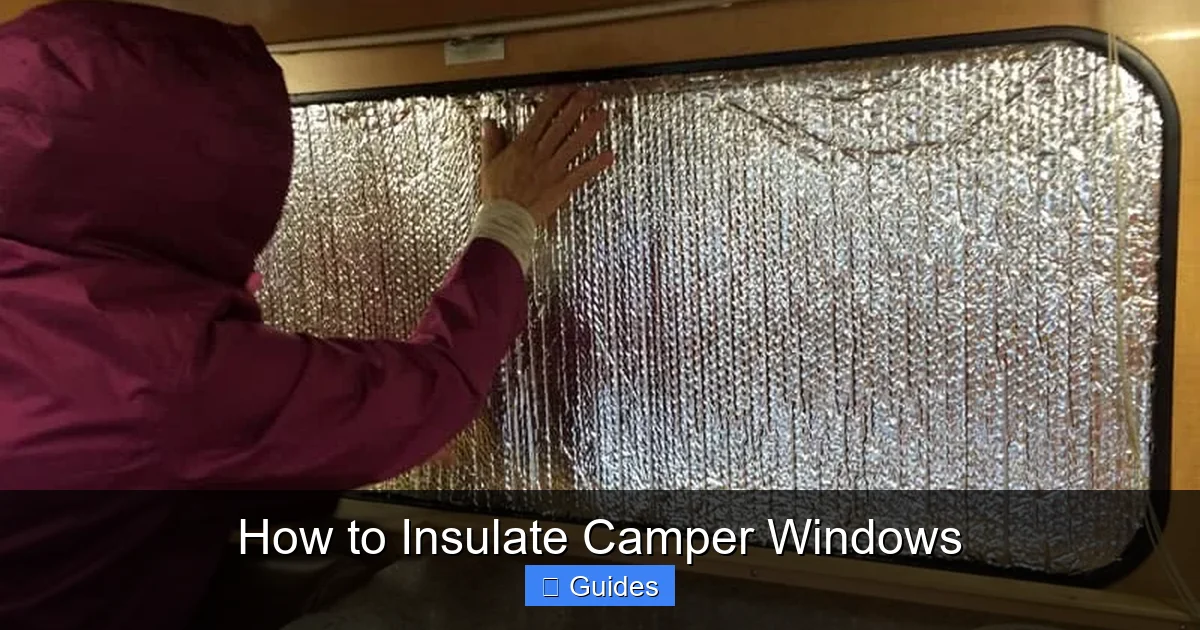
Top Materials for Insulating Camper Windows
Visual guide about How to Insulate Camper Windows
Image source: shunauto.com
When it comes to insulating camper windows, you have several material options—each with pros and cons. The best choice depends on your budget, climate, and how permanent you want the solution to be. Here are the most effective materials used by RVers and DIYers.
Reflective Insulation (Radiant Barriers)
Reflective insulation, often sold as foil-faced bubble wrap or radiant barrier film, works by reflecting radiant heat rather than absorbing it. It’s especially useful in hot climates where solar heat is the main problem. These materials are lightweight, easy to install, and can be cut to fit any window size.
One popular product is AstroEase or similar reflective window covers. These are essentially large sheets of aluminized film that stick to the window frame with adhesive strips. They reflect up to 97% of radiant heat, keeping your camper cooler in summer. Some versions also have a layer of insulation, adding a bit of thermal resistance.
Pros: Inexpensive, easy to install, great for summer use.
Cons: Less effective in winter, can look shiny or industrial.
Foam Board Insulation
Rigid foam board, such as extruded polystyrene (XPS) or polyisocyanurate (polyiso), is a solid choice for adding real thermal resistance. These boards have high R-values—typically R-5 to R-6 per inch—making them excellent for blocking heat transfer.
To use foam board, cut it to fit inside the window frame or mount it on the interior wall around the window. You can secure it with adhesive, Velcro, or removable brackets. For a cleaner look, cover the foam with fabric or paint it to match your decor.
Pros: High insulation value, durable, can be customized.
Cons: Takes up interior space, not ideal for curved windows.
Thermal Curtains and Window Quilts
Thermal curtains are heavy-duty drapes designed to trap air and reduce heat transfer. They often have multiple layers, including a reflective backing and insulating filler. Window quilts are similar but are usually mounted directly to the wall or window frame and can be rolled up when not in use.
These are great for nighttime insulation and can double as blackout curtains. Look for products with a high R-value (some claim R-3 or more) and a tight seal around the edges.
Pros: Aesthetic, functional, easy to use.
Cons: May not seal perfectly, less effective than rigid insulation.
Weatherstripping and Caulking
Don’t underestimate the power of sealing gaps. Weatherstripping tape or foam sealant can close air leaks around the window frame, sash, and moving parts. This is a low-cost, high-impact fix that improves the performance of any insulation method.
Use self-adhesive foam tape for movable parts and silicone caulk for fixed gaps. Be careful not to interfere with window operation—especially if you need to open the window for ventilation.
Pros: Very affordable, easy to apply, improves all insulation methods.
Cons: Requires maintenance, may need reapplication over time.
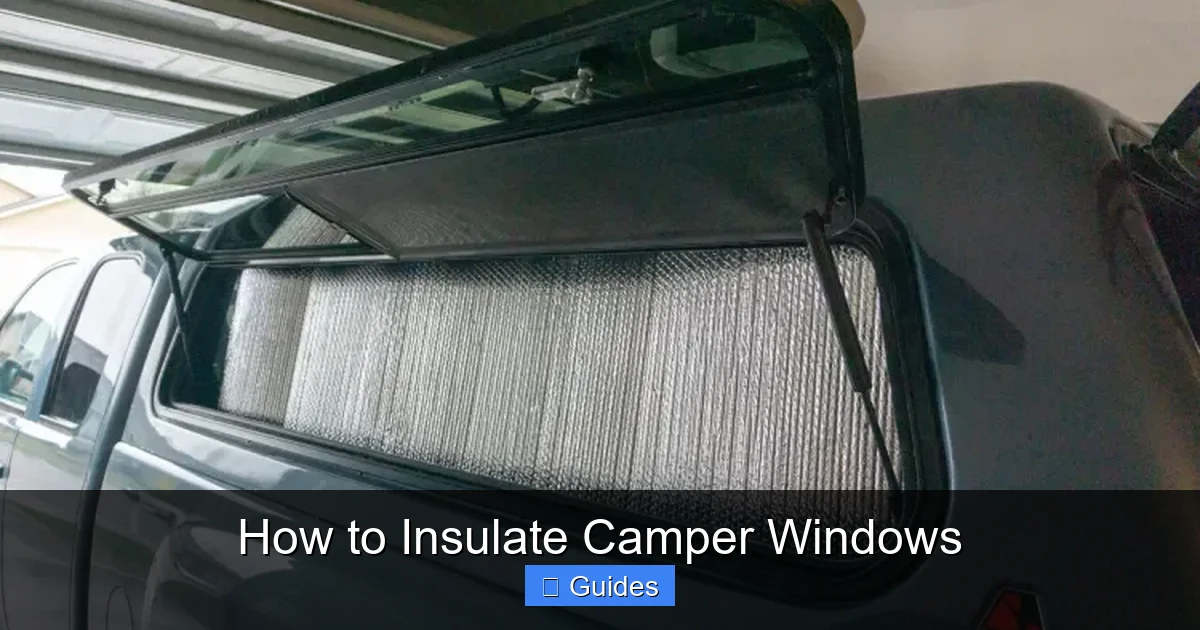
Insulated Window Covers and DIY Solutions
Many RVers create custom insulated covers using a combination of materials. For example, you might sandwich a layer of foam board between two pieces of plywood or acrylic, then cover it with fabric. These covers can be stored when not in use and installed seasonally.
Another DIY favorite is using Reflectix—a foil-faced bubble wrap product—cut to size and held in place with magnets or Velcro. It’s lightweight, reflective, and provides a bit of insulation.
Pros: Customizable, reusable, cost-effective.
Cons: Requires time and effort to build.
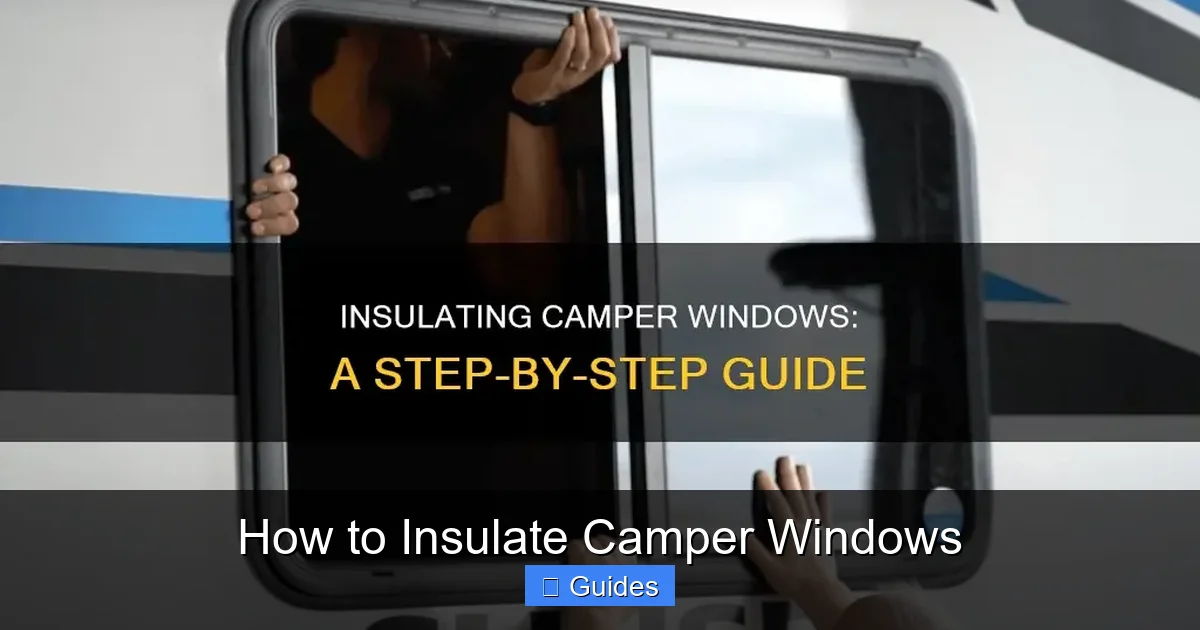
Step-by-Step Guide to Insulating Camper Windows
Visual guide about How to Insulate Camper Windows
Image source: i0.wp.com
Now that you know the materials, let’s walk through a practical approach to insulating your camper windows. The goal is to create a tight, insulated barrier that minimizes heat transfer and air leaks. Here’s a step-by-step method you can adapt to your setup.
Step 1: Assess Your Windows
Start by inspecting each window. Note the type (single-pane, double-pane), size, shape, and whether it opens. Check for existing seals, cracks, or gaps. Take measurements so you can buy or cut materials to the right size.
Ask yourself:
– Is condensation a problem?
– Do you feel drafts near the windows?
– Does sunlight overheat the space?
This will help you prioritize which windows need the most attention.
Step 2: Seal Air Leaks
Before adding insulation, seal any gaps. Use weatherstripping around moving parts and silicone caulk for fixed joints. Pay special attention to the area where the window frame meets the wall—this is a common leak point.
Tip: On a windy day, hold a lit candle or incense stick near the window. If the flame flickers, you’ve found a draft.
Step 3: Install Reflective Barriers (Summer Focus)
For hot climates or summer use, install reflective insulation on the interior side of the window. Cut the material to size and attach it with adhesive strips or Velcro. Make sure it covers the entire glass area.
If you’re using a product like AstroEase, follow the manufacturer’s instructions. Some versions come with a magnetic frame that makes removal easy.
Step 4: Add Rigid Insulation (Winter Focus)
For colder months, install foam board or a custom insulated cover. Cut the foam to fit snugly inside the window frame or mount it on the wall around the window. Use removable fasteners so you can take it off when not needed.
For a polished look, cover the foam with fabric or paint it. You can also build a frame to hold the insulation in place.
Step 5: Use Thermal Curtains or Quilts
Install thermal curtains or quilts for nighttime insulation. Mount them as close to the window as possible and ensure they seal tightly at the edges. Use magnetic strips or hook-and-loop tape to create a better seal.
Tip: Open curtains during the day in winter to let sunlight in, then close them at night to trap heat.
Step 6: Combine Methods for Maximum Effect
The best results come from layering. For example:
– Use reflective film during the day in summer.
– Add thermal curtains at night.
– Install foam board covers in winter.
– Seal all gaps with weatherstripping.
This multi-layer approach addresses radiant, conductive, and convective heat transfer.
DIY vs. Commercial Insulation Products
When insulating camper windows, you’ll face a choice: go DIY or buy commercial products. Both have advantages, and the right choice depends on your skills, budget, and needs.
DIY Insulation: Pros and Cons
DIY solutions are often more affordable and customizable. You can use materials you already have—like foam board, Reflectix, or old blankets—and tailor the design to your camper’s unique layout. Plus, building your own covers can be a fun project.
However, DIY methods require time, tools, and some skill. Cutting foam board precisely, sealing edges, and making removable mounts can be tricky. And if not done well, DIY insulation may not perform as effectively as commercial options.
Commercial Products: Pros and Cons
Commercial insulation products—like insulated window covers from brands such as RV Window Insulation, MagnaShield, or Camco—are designed specifically for RVs. They’re often easy to install, look neat, and come with features like magnetic frames or roll-up designs.
The downside? They can be expensive, especially if you have many windows. And they may not fit perfectly on older or custom campers.
Hybrid Approach: Best of Both Worlds
Many RVers use a hybrid approach: buy commercial products for hard-to-fit windows and DIY for the rest. For example, you might purchase a custom-fit insulated cover for your large front window and make your own foam board inserts for the smaller side windows.
This balances cost, performance, and convenience.
Maintaining and Upgrading Your Window Insulation
Insulating your camper windows isn’t a one-and-done task. Over time, materials wear out, seals degrade, and your needs may change. Regular maintenance ensures your insulation continues to work effectively.
Inspect and Clean Regularly
Check your insulation every few months. Look for signs of wear, such as torn fabric, loose adhesive, or compressed foam. Clean reflective surfaces with a soft cloth to maintain their efficiency.
Replace Weatherstripping as Needed
Weatherstripping can dry out, crack, or lose adhesion. Replace it annually or whenever you notice drafts returning.
Upgrade Based on Experience
After a season or two, you’ll learn what works and what doesn’t. Maybe you need thicker insulation for winter camping, or better ventilation to reduce condensation. Use this feedback to refine your system.
For example, if you’re still getting condensation, consider adding a small dehumidifier or improving airflow with a vent fan.
Consider Permanent Upgrades
If you’re a full-time RVer or plan to camp in extreme climates, you might consider more permanent upgrades—like replacing single-pane windows with double-pane ones or adding exterior awnings to reduce solar gain.
These are more expensive but can significantly improve comfort and efficiency.
Tips for Year-Round Comfort
Insulating camper windows is just one part of staying comfortable on the road. Here are a few extra tips to maximize your results:
– Use window awnings: Exterior awnings block sunlight before it hits the glass, reducing heat gain in summer.
– Install vent fans: Roof vents with fans help remove hot air and moisture, especially in humid conditions.
– Monitor humidity: Use a hygrometer to track indoor humidity. Aim for 30–50% to prevent condensation.
– Open windows strategically: In mild weather, open windows at night to cool the interior, then close them during the day.
– Use fans to circulate air: Ceiling or portable fans help distribute heat or cool air evenly.
Remember, insulation works best when combined with good ventilation and smart habits.
Conclusion
Learning how to insulate camper windows is one of the most impactful upgrades you can make to your RV. It improves comfort, saves energy, and protects your camper from moisture damage. Whether you’re a weekend warrior or a full-time traveler, taking the time to insulate your windows will pay off in better nights of sleep, lower utility costs, and a more enjoyable camping experience.
Start small—seal the gaps, add reflective film, or hang thermal curtains. Then, based on your results, layer in more insulation as needed. With a little effort and the right materials, you can turn your camper into a cozy, efficient retreat—no matter where the road takes you.
Frequently Asked Questions
What is the best material for insulating camper windows?
The best material depends on your climate and needs. Reflective insulation works well in hot weather, while foam board provides strong thermal resistance in cold climates. Many RVers use a combination of materials for year-round performance.
Can I insulate camper windows without making permanent changes?
Yes! Many insulation methods are removable, such as reflective covers, thermal curtains, and foam board inserts held in place with Velcro or magnets. These allow you to install and remove insulation as needed.
How do I prevent condensation on camper windows?
Condensation occurs when warm, moist air meets cold glass. To prevent it, insulate the windows, reduce indoor humidity with ventilation or a dehumidifier, and avoid activities that generate moisture, like boiling water without a lid.
Do insulated window covers block all light?
Most insulated covers are designed to block light, which helps with temperature control and privacy. However, some products have translucent options or can be opened partially to let in natural light during the day.
How much does it cost to insulate camper windows?
Costs vary widely. DIY solutions can be under $50 using materials like foam board and Reflectix. Commercial insulated covers may cost $100–$300 per window, depending on size and brand.
Can I use regular household insulation in my camper?
It’s not recommended. Household insulation like fiberglass batts can release particles, trap moisture, and be difficult to install in small spaces. Stick to RV-safe materials designed for mobile use.

At CarLegit, we believe information should be clear, factual, and genuinely helpful. That’s why every guide, review, and update on our website is created with care, research, and a strong focus on user experience.