
Installing a Maxxair vent cover is a simple yet powerful upgrade for any RV or camper. It enhances airflow, blocks rain, and keeps insects out—all without blocking your roof vent. This guide walks you through every step, from prep to final check, so you can install it safely and confidently.
If you’ve ever been caught in a sudden downpour while camping—only to realize your RV’s roof vent is wide open and letting water pour in—you know the frustration. Or maybe you’ve woken up to a trail of ants marching across your ceiling because bugs found their way through the vent screen. These are common problems for RV owners, but they don’t have to be. The solution? A Maxxair vent cover.
A Maxxair vent cover is a durable, aerodynamic shield that mounts directly over your existing roof vent. It allows air to flow freely in and out of your RV, even during rain or snow, while keeping moisture, debris, and pests out. Whether you’re boondocking in the desert or parked by a lake, this simple accessory can dramatically improve your comfort and peace of mind.
But here’s the best part: installing a Maxxair vent cover is easier than you might think. You don’t need to be a handyman or spend hundreds on professional installation. With the right tools, a little patience, and this step-by-step guide, you can have it mounted and working in under an hour. In this article, we’ll walk you through everything you need to know—from choosing the right model to sealing it properly and maintaining it over time.
In This Article
- 1 Key Takeaways
- 2 📑 Table of Contents
- 3 Why Install a Maxxair Vent Cover?
- 4 Choosing the Right Maxxair Vent Cover
- 5 Tools and Materials You’ll Need
- 6 Step-by-Step Installation Guide
- 7 Tips for a Leak-Free Installation
- 8 Maintenance and Care
- 9 Troubleshooting Common Issues
- 10 Conclusion
- 11 Frequently Asked Questions
- 11.1 Can I install a Maxxair vent cover myself?
- 11.2 Will a Maxxair cover fit my existing roof vent?
- 11.3 Can I use a Maxxair cover with a powered fan?
- 11.4 Do I need to remove my old vent to install the cover?
- 11.5 How do I prevent leaks when installing?
- 11.6 How often should I maintain my Maxxair cover?
Key Takeaways
- Maxxair vent covers improve ventilation by allowing constant airflow even when it’s raining, making them ideal for all-weather camping.
- Installation requires basic tools like a drill, screwdriver, measuring tape, and silicone sealant—no professional skills needed.
- Proper sealing prevents leaks, so applying high-quality RV roof sealant around the mounting area is essential.
- Choose the right model based on your existing roof vent size (typically 14” x 14”) and desired features like fan compatibility.
- Regular maintenance extends lifespan—clean the cover and check seals twice a year to ensure peak performance.
- Maxxair covers are compatible with most RV vents, including those with built-in fans, but double-check dimensions before purchasing.
- Safety first: Always use a stable ladder, wear non-slip shoes, and have a helper when working on the roof.
📑 Table of Contents
Why Install a Maxxair Vent Cover?
Before we dive into the installation process, let’s talk about why this upgrade is worth your time and effort. Many RV owners overlook roof vents, treating them as static fixtures. But in reality, your vent is one of the most important components for regulating temperature, humidity, and air quality inside your rig.
Without a cover, your vent is exposed to the elements. Rain can blow in sideways, especially during storms or high winds. Snow can accumulate and block airflow in winter. And let’s not forget about insects—mosquitoes, flies, and even small rodents can find their way through the standard mesh screen, especially if it’s damaged or worn.
A Maxxair vent cover solves all these problems. Its patented design features a curved, dome-shaped cover that deflects rain and snow while allowing air to pass underneath. The cover sits about 3 to 4 inches above the roof, creating a constant airflow channel that helps reduce condensation and prevent mold growth. Plus, the built-in bug screen keeps pests out without restricting ventilation.
But the benefits go beyond weather protection. If you have a powered roof vent fan—like the popular MaxxFan—the cover enhances its performance. It reduces wind resistance and allows the fan to pull air more efficiently, which means better cooling on hot days and faster moisture removal after showers or cooking.
And let’s talk about energy efficiency. By improving natural ventilation, a Maxxair cover can reduce your reliance on air conditioning, especially during mild weather. That means lower energy bills and less strain on your RV’s electrical system—perfect for off-grid adventures.
Choosing the Right Maxxair Vent Cover
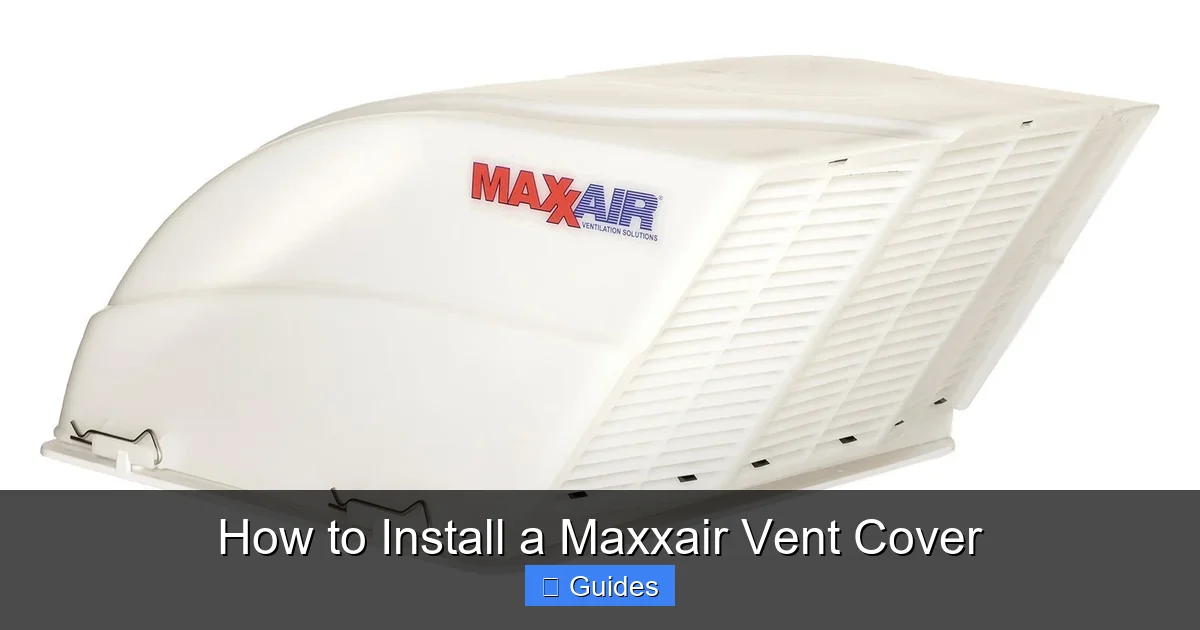
Visual guide about How to Install a Maxxair Vent Cover
Image source: gocarlife.com
Not all Maxxair vent covers are created equal. While they all serve the same basic function, there are several models to choose from, each designed for specific needs and setups. Picking the right one is the first step to a successful installation.
Standard Maxxair Cover (Non-Fan Models)
The standard Maxxair vent cover is ideal if your RV has a passive (non-powered) roof vent. These covers are simple, lightweight, and highly effective at blocking rain and debris. They come in a few color options—typically white, black, or smoke—to match your roof’s aesthetic.
One of the biggest advantages of the standard model is its universal fit. It’s designed to mount over most 14” x 14” roof vents, which is the industry standard for RVs and campers. That means you don’t need to worry about compatibility with your existing vent.
Maxxair Fan Covers (For Powered Vents)
If your RV has a powered roof vent fan—like a MaxxFan, Fan-Tastic Vent, or similar—you’ll want a Maxxair cover that’s compatible with fans. These models are slightly taller and have a reinforced mounting system to accommodate the fan’s motor and blades.
The Maxxair Fan Cover is specifically designed to work with the MaxxFan series, but many users report success with other brands as well. Just make sure to check the dimensions and mounting requirements before buying. Some fan covers also include a built-in rain sensor or remote control compatibility, which can be a nice upgrade if you’re looking for smart features.
Maxxair Deluxe and Maxxair II Models
For those who want maximum performance, the Maxxair Deluxe and Maxxair II offer enhanced features. The Deluxe model includes a built-in solar-powered LED light, which can be handy for nighttime ventilation. The Maxxair II is a newer version with improved aerodynamics and a more secure mounting system.
Both models are compatible with most 14” x 14” vents and can be used with or without a fan. They’re a bit more expensive than the standard cover, but the added functionality may be worth it if you camp frequently or in extreme conditions.
Color and Finish Options
Maxxair covers come in a few color options to match your RV’s exterior. White is the most common and reflects sunlight well, helping to keep your roof cooler. Black and smoke finishes offer a more modern look and blend in with darker roofs.
Keep in mind that darker colors may absorb more heat, which could slightly increase roof temperature in direct sunlight. However, the difference is usually minimal, and the cover’s airflow design helps dissipate heat effectively.
Where to Buy
You can purchase Maxxair vent covers directly from the manufacturer’s website, or through major RV retailers like Camping World, Amazon, or RV Parts Country. Prices typically range from $120 to $200, depending on the model and features.
When shopping, look for bundles that include mounting hardware and sealant. Some kits come with everything you need, while others require you to buy sealant separately. Reading customer reviews can also help you avoid compatibility issues or quality concerns.
Tools and Materials You’ll Need

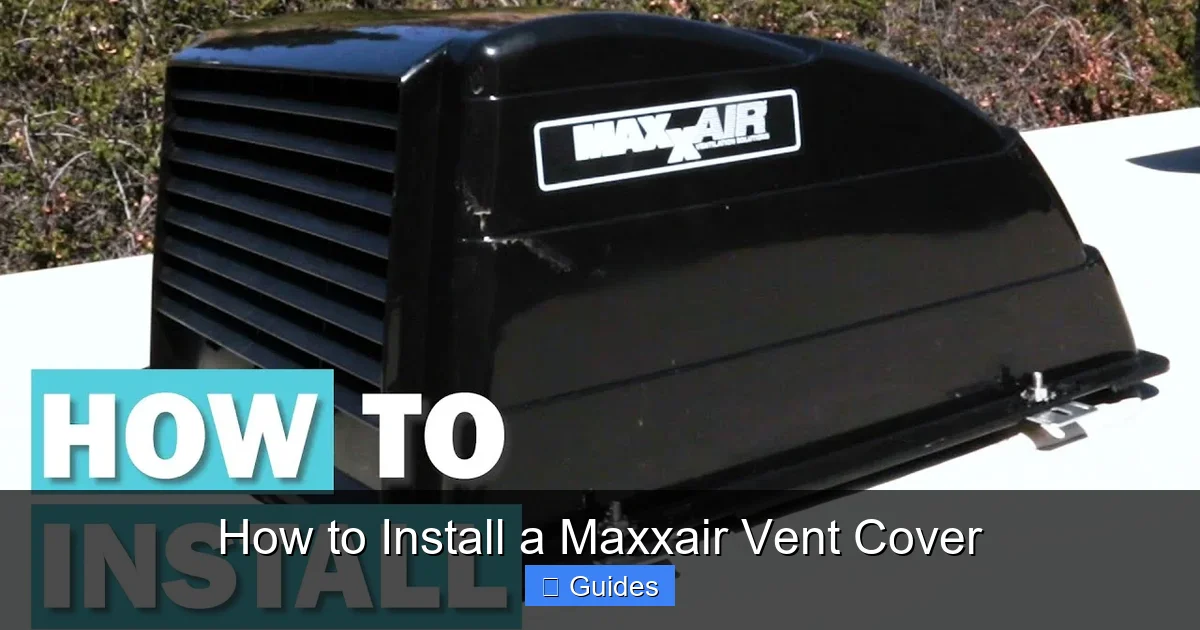
Visual guide about How to Install a Maxxair Vent Cover
Image source: rvparts.co.nz
Before you climb onto your roof, make sure you have all the necessary tools and materials. Having everything ready will save you time and prevent frustrating mid-installation trips to the hardware store.
Essential Tools
- Drill with drill bits: You’ll need a drill to create pilot holes for the mounting screws. A cordless drill is ideal for roof work.
- Screwdriver (Phillips and flathead): For tightening screws and adjusting the cover.
- Measuring tape: To ensure proper alignment and centering over the vent.
- Marker or pencil: For marking drill points.
- Caulking gun: For applying roof sealant.
- Utility knife or scissors: To trim excess sealant or packaging.
Materials
- Maxxair vent cover kit: Includes the cover, mounting brackets, screws, and instructions.
- RV roof sealant: Use a high-quality, UV-resistant sealant like Dicor Self-Leveling Lap Sealant or Eternabond tape. Avoid silicone-based sealants, as they can degrade over time and aren’t ideal for RV roofs.
- Isopropyl alcohol and clean cloth: For cleaning the roof surface before applying sealant.
- Ladder: A sturdy, non-slip ladder that extends at least 3 feet above the roof edge.
- Safety gear: Non-slip shoes, gloves, and safety glasses.
Optional but Helpful
- Helper: Having someone hold the ladder or hand you tools makes the job safer and easier.
- Roof ladder stabilizer: Prevents the ladder from slipping and protects your roof from damage.
- Extension cord: If using a corded drill, make sure you have enough reach.
- Flashlight or headlamp: Useful if you’re working in low light or under the cover of the vent.
Step-by-Step Installation Guide
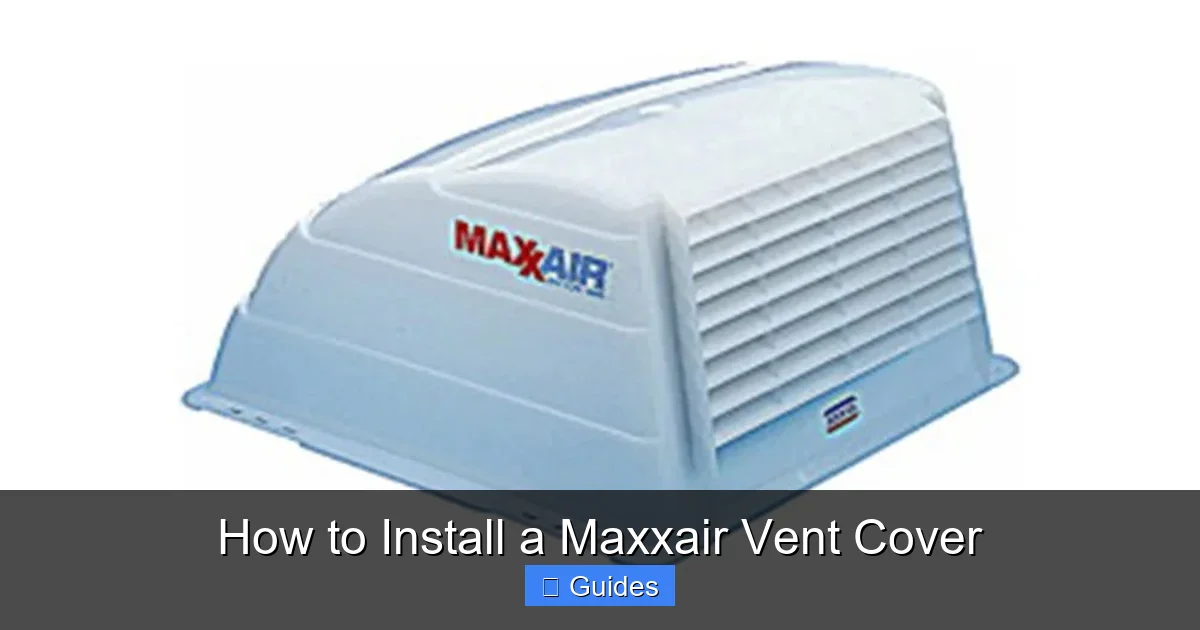
Visual guide about How to Install a Maxxair Vent Cover
Image source: edmontonrv.com
Now that you’ve chosen your Maxxair cover and gathered your tools, it’s time to install. Follow these steps carefully to ensure a secure, leak-free installation.
Step 1: Prepare the Roof Surface
Start by cleaning the area around your existing roof vent. Use a broom or brush to remove dirt, leaves, and debris. Then wipe the surface with isopropyl alcohol and a clean cloth to remove grease, wax, or old sealant. A clean surface ensures the new sealant will adhere properly.
Inspect the vent frame for cracks, rust, or damage. If you find any issues, repair them before installing the cover. A damaged vent can compromise the entire installation.
Step 2: Position the Cover
Place the Maxxair cover over the vent opening to check the fit. It should sit evenly around the vent, with the mounting brackets aligning with the roof surface. Most covers are designed to overhang slightly, which helps deflect water.
Use a measuring tape to center the cover over the vent. Mark the positions of the mounting holes with a pencil. Double-check your measurements—misalignment can lead to leaks or instability.
Step 3: Drill Pilot Holes
Using a drill bit slightly smaller than the mounting screws, drill pilot holes at the marked locations. This prevents the roof material from cracking and makes screw insertion easier.
Be careful not to drill too deep—you only need to go through the roof membrane, not into the interior ceiling. If you feel resistance, stop immediately.
Step 4: Apply Sealant
Apply a generous bead of RV roof sealant around the base of each mounting bracket and along the edges where the cover will sit. Use a caulking gun for even application.
Don’t skimp on sealant—this is your first line of defense against leaks. Make sure the sealant forms a continuous barrier around the entire mounting area.
Step 5: Mount the Cover
Carefully place the cover over the vent, aligning the mounting holes with the pilot holes. Insert the screws through the brackets and into the roof. Tighten them gradually, alternating between sides to ensure even pressure.
Avoid over-tightening, as this can warp the cover or damage the roof. The goal is a snug fit—not a vice grip.
Step 6: Seal the Screw Heads
Once the cover is securely mounted, apply a small dab of sealant over each screw head. This prevents water from seeping into the screw holes and causing leaks over time.
Smooth the sealant with your finger or a putty knife for a clean finish.
Step 7: Final Inspection
Step back and inspect your work. The cover should sit level and centered, with no gaps or loose areas. Give it a gentle shake to test stability.
Check the interior of your RV for any signs of drilling—dust or debris on the ceiling could indicate you drilled too far.
Tips for a Leak-Free Installation
Even with careful installation, leaks can happen if small details are overlooked. Here are some expert tips to ensure your Maxxair cover stays dry and secure.
Use the Right Sealant
Not all sealants are created equal. Avoid silicone-based products, which can shrink and crack over time. Instead, use a high-quality RV roof sealant like Dicor or Eternabond. These are designed to flex with temperature changes and resist UV damage.
Overlap Existing Sealant
If your roof already has sealant around the vent, don’t remove it completely. Instead, apply new sealant over the old layer, ensuring full coverage. This creates a stronger, more durable barrier.
Check for Gaps
After installation, run your hand around the edges of the cover. Feel for any gaps or uneven spots. If you find any, apply additional sealant and smooth it out.
Test with Water
Once the sealant has dried (usually 24 hours), test your installation by spraying water over the cover with a hose. Check the interior for any signs of leakage. If you spot water, reapply sealant to the affected area.
Maintenance and Care
A Maxxair vent cover is built to last, but regular maintenance will keep it performing at its best for years to come.
Clean the Cover
Every few months, clean the cover with mild soap and water. Use a soft brush to remove dirt, pollen, and bird droppings. Avoid harsh chemicals or abrasive scrubbers, which can scratch the surface.
Inspect the Sealant
Twice a year—before and after camping season—check the sealant around the mounting area. Look for cracks, peeling, or gaps. Reapply sealant as needed to maintain a watertight seal.
Check the Bug Screen
The built-in bug screen can collect debris over time, reducing airflow. Remove the cover (if possible) and gently clean the screen with a brush or compressed air.
Lubricate Moving Parts (If Applicable)
If your cover has a fan or adjustable vents, lubricate the hinges and motors with a silicone-based lubricant. This prevents sticking and ensures smooth operation.
Troubleshooting Common Issues
Even with proper installation, you might encounter a few hiccups. Here’s how to handle the most common problems.
Leaks After Installation
If you notice water inside after rain, the sealant may not have been applied correctly. Turn off the water, dry the area, and reapply sealant around the mounting brackets and screw heads.
Cover Wobbles or Rattles
This usually means the screws aren’t tight enough or the cover isn’t seated properly. Turn off the fan, remove the cover, and re-tighten the screws. Make sure the mounting surface is flat and level.
Reduced Airflow
If your fan seems less powerful, check the bug screen and interior vent for blockages. Also, ensure the cover isn’t installed upside down—the curved side should face outward.
Condensation Buildup
While the cover improves ventilation, extreme humidity can still cause condensation. Use a dehumidifier or run the fan more frequently to reduce moisture levels.
Conclusion
Installing a Maxxair vent cover is one of the smartest upgrades you can make for your RV. It’s affordable, easy to install, and delivers real benefits—better airflow, weather protection, and peace of mind. Whether you’re a full-time RVer or a weekend warrior, this simple accessory can enhance your camping experience in countless ways.
By following this guide, you’ve learned how to choose the right model, gather the right tools, and install the cover safely and effectively. You’ve also picked up tips for maintaining it and troubleshooting common issues. With a little care, your Maxxair cover will serve you well for many seasons to come.
So the next time a storm rolls in or the temperature climbs, you can rest easy knowing your RV is protected—and your vent is doing its job better than ever.
Frequently Asked Questions
Can I install a Maxxair vent cover myself?
Yes, absolutely! Most RV owners can install a Maxxair vent cover in under an hour with basic tools. The process doesn’t require professional skills, just careful attention to sealing and alignment.
Will a Maxxair cover fit my existing roof vent?
Most Maxxair covers are designed to fit standard 14” x 14” roof vents, which are used in the majority of RVs and campers. Always double-check your vent size before purchasing.
Can I use a Maxxair cover with a powered fan?
Yes, Maxxair offers specific models designed for use with powered roof fans like the MaxxFan. These covers are taller and have reinforced mounting to support the fan’s weight and movement.
Do I need to remove my old vent to install the cover?
No, you don’t need to remove the existing vent. The Maxxair cover mounts directly over it, using the same opening for airflow.
How do I prevent leaks when installing?
Use high-quality RV roof sealant around the mounting brackets and screw heads. Apply it generously and ensure full coverage to create a watertight seal.
How often should I maintain my Maxxair cover?
Clean the cover and inspect the sealant twice a year—before and after camping season. This helps prevent leaks and ensures optimal performance.

At CarLegit, we believe information should be clear, factual, and genuinely helpful. That’s why every guide, review, and update on our website is created with care, research, and a strong focus on user experience.