
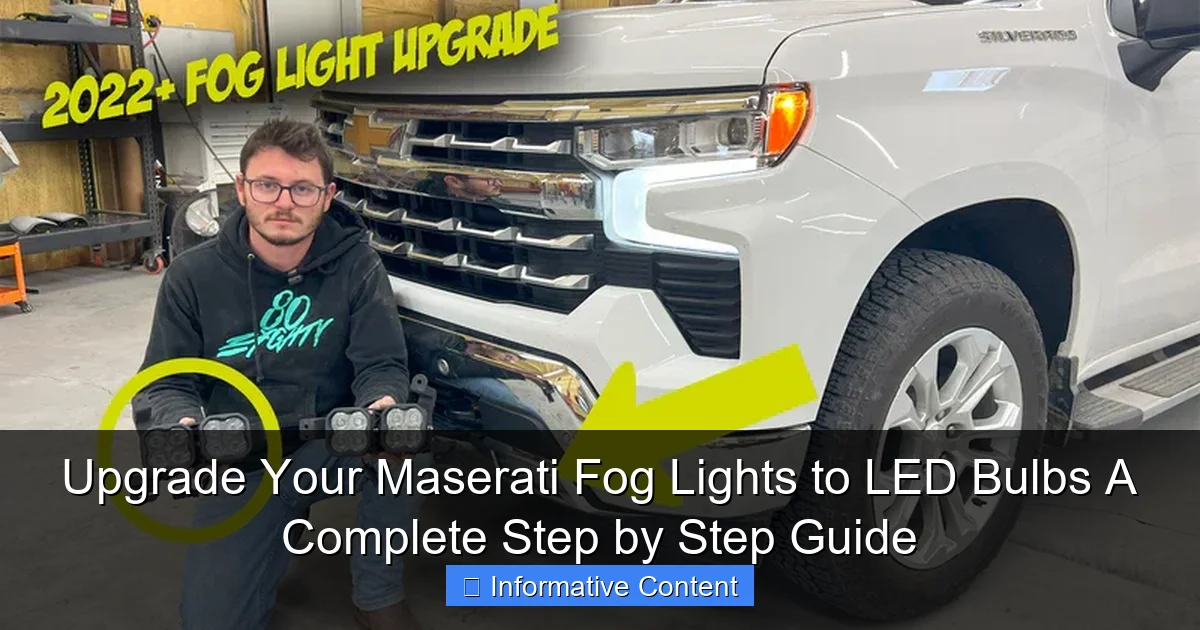
Featured image for How To Replace Upgrade Maserati Fog Lights To Led Bulb
Image source: midsouthled.net
Upgrading your Maserati fog lights to LED bulbs instantly boosts illumination and modernizes your car’s aesthetic. Our clear, step-by-step guide walks you through the entire replacement process for a seamless DIY installation. Transform your drive with superior visibility and long-lasting LED performance in just a short time.
In This Article
- 1 Key Takeaways
- 2 📑 Table of Contents
- 3 Upgrade Your Maserati Fog Lights to LED Bulbs A Complete Step by Step Guide
- 4 Why Upgrade to LED Fog Lights?
- 5 Finding the Right LED Bulbs for Your Maserati
- 6 Tools and Preparation You’ll Need
- 7 The Step-by-Step Installation Process
- 8 Data Comparison: Halogen vs. LED Fog Lights
- 9 Troubleshooting Common Issues
- 10 Conclusion
- 11 Frequently Asked Questions
- 11.1 Why should I upgrade my Maserati fog lights to LED bulbs?
- 11.2 What are the benefits of LED fog lights for my Maserati?
- 11.3 How do I choose the right LED bulbs for my Maserati fog lights?
- 11.4 Is it difficult to replace Maserati fog lights with LED bulbs?
- 11.5 What tools are needed to install LED fog lights on a Maserati?
- 11.6 Will upgrading to LED fog lights affect my Maserati’s warranty or legality?
Key Takeaways
- Check compatibility first: Ensure LED bulbs match your Maserati’s fog light housing.
- Disconnect the battery: This prevents electrical shorts during the installation process.
- Gain proper access: You may need to remove the bumper or wheel liner.
- Handle bulbs with care: Avoid touching LEDs to prevent oil damage.
- Secure connections firmly: Loose wiring can cause flickering or bulb failure.
- Test before finishing: Verify operation to avoid reassembly errors.
- Expect better performance: LEDs provide brighter light and longer lifespan.
📑 Table of Contents
- Upgrade Your Maserati Fog Lights to LED Bulbs A Complete Step by Step Guide
- Why Upgrade to LED Fog Lights?
- Finding the Right LED Bulbs for Your Maserati
- Tools and Preparation You’ll Need
- The Step-by-Step Installation Process
- Data Comparison: Halogen vs. LED Fog Lights
- Troubleshooting Common Issues
- Conclusion
Upgrade Your Maserati Fog Lights to LED Bulbs A Complete Step by Step Guide
Let’s be honest. You didn’t buy a Maserati to blend in. You bought it for the roar of the engine, the sweep of the curves, and that undeniable presence on the road. But have you ever driven on a misty backroad or through a downpour and found yourself leaning forward, squinting a little, wishing your fog lights did more than just cast a feeble yellow glow? I have.
For years, I just accepted that the warm, dull light from my Maserati’s halogen fog lights was part of the deal. Then, one night, I was behind a modern car with crisp, white LED fog lights cutting through the gloom. The difference wasn’t just cosmetic; it was a matter of clarity and safety. That’s when I knew an upgrade was in order. Replacing those old bulbs with modern LEDs transformed the front end of my car, both in looks and performance.
If you’re thinking about making the switch, you’re in the right place. This guide isn’t just a cold set of instructions. It’s the friendly, detailed roadmap I wish I’d had. We’ll walk through everything: why LEDs are worth it, exactly what bulbs you need, the tools required, and a step-by-step guide to getting it done safely. Let’s shed some light on the subject.
Why Upgrade to LED Fog Lights?
It’s easy to think an LED upgrade is just for looks. While the modern, white light does make your Maserati look more contemporary and aggressive, the benefits run much deeper. It’s one of those simple modifications that genuinely improves your driving experience.
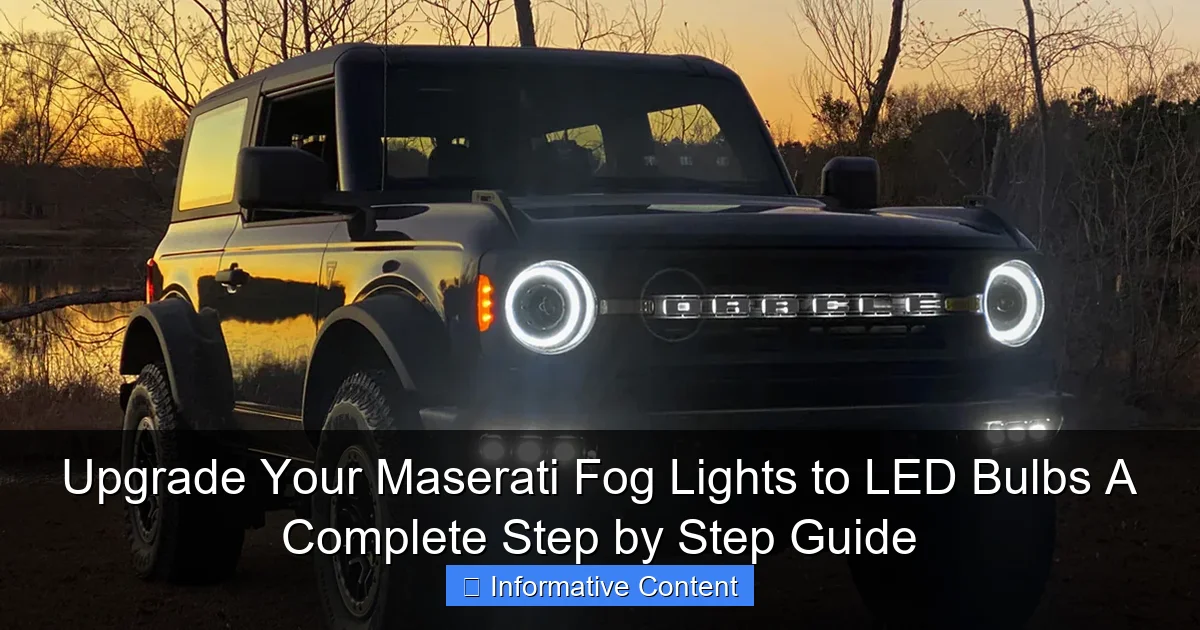
Visual guide about How To Replace Upgrade Maserati Fog Lights To Led Bulb
Image source: oraclelights.com
The Clear Advantages Over Halogen
Your factory halogen bulbs work by heating a tiny filament until it glows. It’s an old, inefficient technology. LEDs (Light Emitting Diodes) produce light electronically. This difference is the source of all their benefits:
- Brighter, Whiter Light: LEDs produce a color temperature closer to daylight. This reduces eye strain and dramatically improves contrast. You’ll see road markings, debris, and the shoulder of the road with much more definition in poor weather.
- Increased Safety: This is the big one. Better illumination means you see hazards sooner, and more importantly, other drivers see you sooner. The instant-on nature of LEDs also means there’s no delay when you flick the switch.
- Longevity: While a halogen bulb might last 500-1,000 hours, a quality LED bulb can last 30,000 hours or more. You’re likely to sell the car before you ever need to replace them again.
- Energy Efficiency: LEDs draw significantly less power from your Maserati’s electrical system. This reduces load on the alternator and wiring, a small but meaningful benefit.
I noticed the difference immediately. The light output wasn’t just brighter; it was cleaner. The beam pattern felt more purposeful, filling in the area close to the front of the car where the headlights sometimes miss.
Finding the Right LED Bulbs for Your Maserati
This is the most critical step. Get it wrong, and you’ll be frustrated with flickering lights, error messages on your dash, or a bulb that simply won’t fit. Maserati has used a few different fog light assemblies over the years, so you need to match the bulb type precisely.
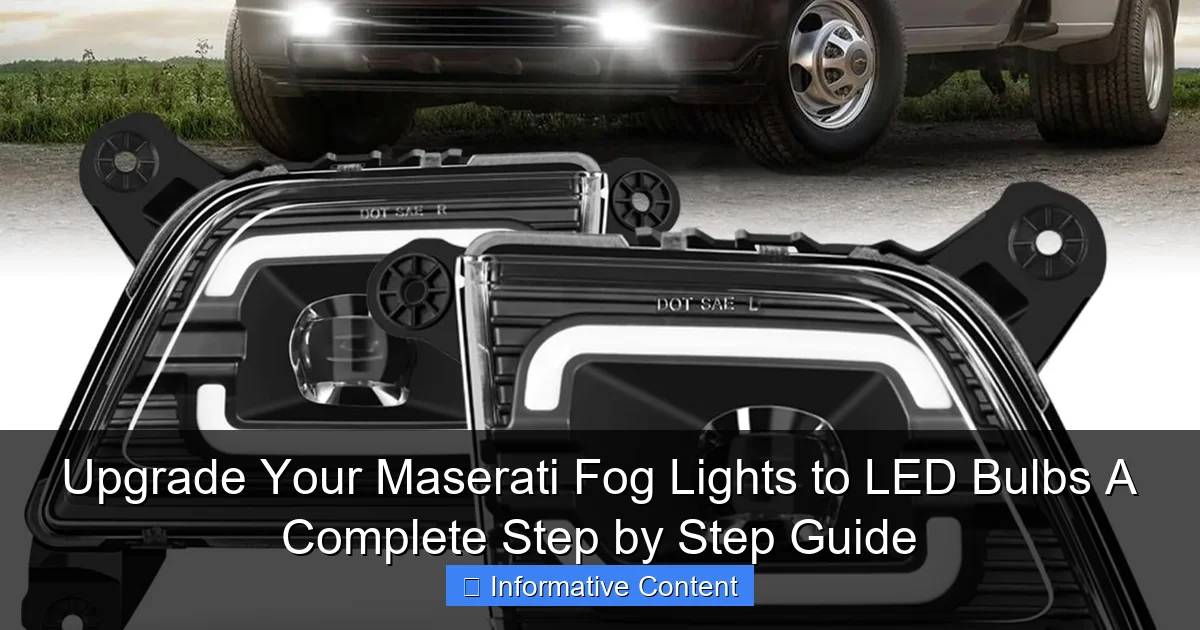
Visual guide about How To Replace Upgrade Maserati Fog Lights To Led Bulb
Image source: m.media-amazon.com
Know Your Model and Bulb Size
The first thing to do is consult your owner’s manual. It will list the exact fog light bulb size for your specific model and year. If the manual is missing, a quick online search for “[Your Maserati Model Year] fog light bulb size” usually works. The most common bulb sizes for Maserati fog lights in recent models (like the Ghibli, Quattroporte, Levante, and GranTurismo) are H8, H11, or H16 (PSX24W).
Pro Tip: Don’t just trust a website’s vehicle filter blindly. Once you think you know the size (e.g., H11), physically check your existing bulb if possible, or look for a parts diagram for your exact car to confirm. A few minutes of verification can save you a return headache.
Key Features to Look For in LED Bulbs
Not all LED bulbs are created equal. Here’s what separates the good from the great:
- CANBus Compatibility: Modern Maseratis use a CANBus system to monitor bulb health. A halogen bulb’s resistance is part of this check. A simple LED bulb can trick the system into thinking a bulb is out, causing an error light. Look for LEDs labeled “CANBus Ready” or “Error Free.” They have built-in resistors or decoders to prevent this.
- Heat Management: LEDs hate heat. A quality bulb will have a large, aluminum heat sink and sometimes a cooling fan to dissipate heat and ensure a long life. Avoid bulbs that are just a tiny LED chip on a stick.
- Beam Pattern: The best LED bulbs are designed to mimic the filament placement of the halogen bulb they replace. This ensures the light is projected correctly by your fog light housing and isn’t scattered, which would blind other drivers.
Tools and Preparation You’ll Need
You don’t need a full mechanic’s toolkit, but having the right few items will make the job smooth and prevent damage to your car.
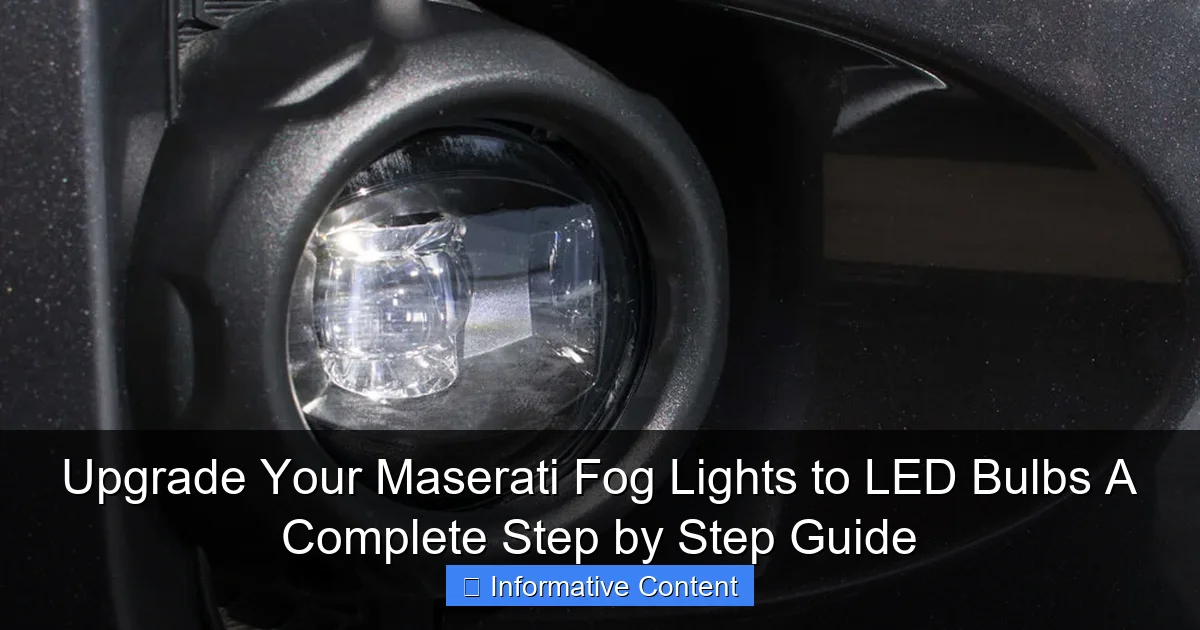
Visual guide about How To Replace Upgrade Maserati Fog Lights To Led Bulb
Image source: trail4runner.com
Gathering Your Supplies
- Your New LED Bulbs: Keep them in their packaging until you’re ready to install to avoid touching the LED chip with your fingers (skin oils can create hot spots).
- Basic Tool Set: A set of precision screwdrivers (flathead and Phillips) and a set of socket wrenches. Often, a 10mm socket is useful.
- Trim Removal Tools (Highly Recommended): These are inexpensive plastic pry tools. They are essential for safely removing plastic clips and trim pieces without scratching or cracking your bumper or fender liner. Using a screwdriver as a pry tool is asking for trouble.
- Work Glove or Rag: If you need to handle the halogen bulb you’re removing, a glove or rag protects you from the oils on your skin and from a potentially hot bulb.
- Flashlight or Headlamp: You’ll be working in shadows.
Setting the Stage for Success
Before you touch a single bolt, do this:
- Park on a Level, Well-Lit Surface: Give yourself plenty of space to work and see.
- Let the Car Cool Down Completely: If you’ve been driving, the engine bay, lights, and exhaust components will be hot. Wait at least an hour.
- Disconnect the Battery: This is a crucial safety step. Disconnect the negative terminal to eliminate any risk of short circuits while you’re working with the electrical connectors. Wait a few minutes for any residual power to dissipate in the system.
The Step-by-Step Installation Process
Now for the main event. The exact process can vary slightly by model, but the general principles are the same. We’ll use a common scenario—accessing the fog light from behind the front bumper liner.
Step 1: Gaining Access to the Fog Light Assembly
For many Maseratis, the easiest access is through the wheel well liner. Turn your steering wheel fully in the opposite direction of the side you’re working on (turn left to work on the right fog light). This gives you more room.
Locate the plastic clips and screws holding the front part of the fender liner to the bumper. Using your trim tool, carefully pop the clips out. Remove any screws with your screwdriver or socket. You don’t need to remove the whole liner, just peel it back enough to get your hand and arm behind the fog light housing.
Step 2: Removing the Old Halogen Bulb
Reach behind the fog light assembly. You’ll feel the back of the light housing with a wiring harness plugged into it. This connector usually has a locking tab. Press the tab down and pull the connector straight off.
Now, you’ll encounter the bulb retaining mechanism. This is often a wire clip or a plastic ring. For a clip, squeeze the ends together and swing it out of the way. For a ring, turn it counter-clockwise (usually). The old halogen bulb can now be pulled straight out. Be careful not to tilt or bang it. Place it aside.
Step 3: Installing the New LED Bulb
Take your new LED bulb out of the package, holding it by the base or heat sink. Do not touch the actual LED chips or the clear casing. Align the tabs on the LED bulb base with the slots in the fog light housing—it should only go in one way. Push it in firmly and secure it with the clip or ring you removed earlier.
Now, plug the vehicle’s wiring harness into the new LED bulb’s connector. It should click into place. Before you reassemble anything, it’s time for a test.
Step 4: Testing and Final Assembly
Reconnect your car’s battery. Turn on your ignition and activate your fog lights. Does the new LED bulb light up? Is it bright and white? Great! Turn everything off and disconnect the battery again for safety.
If it doesn’t light up, or you get an error message, double-check all connections. Ensure the bulb is seated fully and the harness is clicked in. Once confirmed working, tuck the wiring and the bulb’s driver/heat sink neatly behind the housing. You may need to use a zip-tie to secure things and prevent rattling. Carefully reattach the fender liner, pushing the plastic clips back into their holes until they snap and replacing all screws.
Repeat the entire process on the other side. When both are done, reconnect the battery for the final time and test both fog lights together.
Data Comparison: Halogen vs. LED Fog Lights
Let’s break down the tangible differences between the old and new technology. This table summarizes why the upgrade is so compelling.
| Feature | Standard Halogen Bulb | Modern LED Bulb |
|---|---|---|
| Lifespan (Hours) | 500 – 1,000 | 30,000 – 50,000+ |
| Power Draw (Watts) | Typically 55W | Typically 15-30W |
| Light Color | Warm White/Yellow (~3200K) | Pure White/Cool White (5000K-6000K) |
| Time to Full Brightness | Small delay as filament heats | Instantaneous |
| Heat Output | Very High (Inefficient) | Low (Managed by heat sink) |
| Impact on Vehicle Electrical System | Higher load | Significantly lower load |
As you can see, the upgrade to LED bulbs is a comprehensive improvement across every measurable category. The lower power draw alone is a nice bonus for your car’s electrical system.
Troubleshooting Common Issues
Even with careful installation, you might run into a small hiccup. Don’t worry, most have simple fixes.
Bulb Error Messages on the Dashboard
This is the most common issue. If your dash warns of a fog light fault, the car’s computer isn’t detecting the proper resistance from the new LED bulbs. The solution is to ensure you purchased CANBus Error-Free bulbs. If you did and still get an error, some bulbs come with a small additional inline decoder or resistor. You may need to connect this between the car’s harness and the bulb, often securing it to a metal part of the chassis to dissipate heat.
Flickering or Uneven Lighting
Flickering usually points to a loose connection. Go back and check that the main harness and any adapters are plugged in tightly. If one light is dim or a different color than the other, it could be a faulty bulb or a connection issue on that specific side. Try swapping the bulbs from left to right. If the problem moves, you have a bad bulb. If it stays on the same side, the issue is with your car’s wiring or connector on that side.
Fitment and Beam Alignment Concerns
If the bulb seems loose or won’t sit right, double-check that you have the correct bulb size and that you’ve aligned the tabs correctly. Regarding beam pattern, if the light seems to scatter too much, ensure the LED chips on the bulb are aligned horizontally (usually at 3 and 9 o’clock) to match the halogen filament’s orientation. Some premium LED bulbs are adjustable for this very reason.
Conclusion
Upgrading your Maserati’s fog lights to LED bulbs is one of the most satisfying and sensible mods you can do. It’s not about being flashy; it’s about embracing modern technology to enhance safety, style, and longevity. The process might seem a bit daunting at first glance, but as you’ve seen, it’s a very approachable DIY project with the right information and a little patience.
Remember the feeling of squinting through a foggy beam? That’s gone now, replaced by a clean, confident sweep of light that matches the capable performance of your car. You’ll appreciate the upgrade every time you hit the switch in less-than-ideal conditions. So, gather your tools, find the right bulbs for your model, and give it a go. The road ahead has never looked clearer.
Frequently Asked Questions
Why should I upgrade my Maserati fog lights to LED bulbs?
Upgrading to LED bulbs provides brighter, whiter light that enhances visibility in adverse weather like fog or rain. LEDs also last longer and use less energy than traditional halogen bulbs, making them a cost-effective improvement.
What are the benefits of LED fog lights for my Maserati?
LED fog lights offer superior illumination for safer driving in low-visibility conditions, while giving your Maserati a modern, sleek appearance. They are more durable and energy-efficient, reducing the need for frequent replacements.
How do I choose the right LED bulbs for my Maserati fog lights?
Refer to your vehicle’s manual or the existing bulb specifications to find the correct size and type, such as H11 or 9005. Select LED bulbs with high lumens for brightness and a compatible beam pattern to ensure proper light distribution without glare.
Is it difficult to replace Maserati fog lights with LED bulbs?
The replacement process is usually simple and can be completed with basic tools in under an hour. However, accessibility may vary by Maserati model, so consulting a detailed guide can help avoid any complications.
What tools are needed to install LED fog lights on a Maserati?
You’ll typically need a screwdriver, pliers, and possibly a trim removal tool to access the fog light housing. Always disconnect the car battery first to prevent electrical shorts during installation.
Will upgrading to LED fog lights affect my Maserati’s warranty or legality?
Installing LED bulbs generally doesn’t void the warranty if done correctly, but check your warranty terms for modifications. Ensure the bulbs meet local regulations for brightness and color to stay street-legal and avoid fines.

At CarLegit, we believe information should be clear, factual, and genuinely helpful. That’s why every guide, review, and update on our website is created with care, research, and a strong focus on user experience.