
Creating a tube exoskeleton for a car is a smart way to enhance protection, improve aesthetics, and boost off-road capability. This guide walks you through planning, materials, design, welding, and installation—making it accessible even for DIY beginners with basic tools and safety knowledge.
In This Article
- 1 Key Takeaways
- 2 📑 Table of Contents
- 3 What Is a Tube Exoskeleton and Why Build One?
- 4 Planning Your Tube Exoskeleton Design
- 5 Choosing the Right Materials and Tools
- 6 Step-by-Step Building Process
- 7 Mounting the Exoskeleton to Your Car
- 8 Finishing Touches and Maintenance
- 9 Common Mistakes to Avoid
- 10 Conclusion
- 11 Frequently Asked Questions
- 11.1 Is a tube exoskeleton street legal?
- 11.2 Can I build a tube exoskeleton without welding?
- 11.3 How much does it cost to build a tube exoskeleton?
- 11.4 Will a tube exoskeleton affect my car’s warranty?
- 11.5 Can I install a tube exoskeleton on any car?
- 11.6 How do I prevent rust on my steel exoskeleton?
Key Takeaways
- Understand the purpose: A tube exoskeleton adds structural protection, improves vehicle rigidity, and gives a rugged look—ideal for off-roading or show vehicles.
- Choose the right materials: Use high-strength steel tubing (like DOM or chromoly) in 1.5″ to 2″ diameter for durability and weight balance.
- Plan your design carefully: Sketch your layout, consider weight distribution, and ensure it doesn’t interfere with doors, suspension, or safety systems.
- Prioritize safety and legality: Check local regulations, avoid blocking airbags or sensors, and use proper welding techniques to prevent weak joints.
- Use proper tools and techniques: A MIG welder, tubing bender, and clamps are essential; practice welding on scrap metal first.
- Test and refine: After installation, inspect all welds, test fit, and make adjustments before final use.
- Maintain regularly: Inspect for rust, cracks, or loose mounts, especially after rough terrain use.
📑 Table of Contents
What Is a Tube Exoskeleton and Why Build One?
If you’ve ever seen a rugged off-road truck or a custom-built rally car with a cage-like frame wrapped around its body, you’ve likely seen a tube exoskeleton. This isn’t just for show—it’s a functional upgrade that adds serious protection and performance benefits. Think of it as a skeleton made of steel tubes that wraps around your car’s exterior, reinforcing its structure and shielding vital components.
Unlike an internal roll cage, which is built inside the cabin, a tube exoskeleton mounts on the outside. It’s commonly used on trucks, Jeeps, SUVs, and custom builds where off-road durability matters. Whether you’re tackling rocky trails, muddy paths, or just want your ride to stand out, this modification can be a game-changer.
But why go through the effort? For starters, it dramatically increases impact resistance. If you hit a rock, tree, or another vehicle, the exoskeleton absorbs and distributes the force, protecting the body and passengers. It also improves chassis rigidity, which can enhance handling and reduce flex—especially useful on uneven terrain. Plus, let’s be honest: it looks awesome. A well-designed exoskeleton gives your car a tough, custom-built appearance that turns heads.
Common Uses and Benefits
Tube exoskeletons are popular in several vehicle niches. Off-road enthusiasts use them to protect their rigs from trail damage. Overland adventurers install them to mount gear like spare tires, fuel cans, or light bars. Even show cars and street trucks use them for style and added strength.
The benefits go beyond looks. Here’s what you gain:
– Enhanced protection: Shields fenders, doors, and undercarriage from impacts.
– Improved structural integrity: Reduces body flex, especially on lifted or modified vehicles.
– Mounting points: Provides secure spots for accessories like winches, lights, or recovery gear.
– Customization: Lets you personalize your vehicle’s look and function.
– Resale value: A well-built exoskeleton can increase appeal for buyers seeking rugged builds.
Of course, it’s not all upside. Added weight, increased wind resistance, and potential legal restrictions are factors to consider. But with smart design and execution, the pros often outweigh the cons.
Planning Your Tube Exoskeleton Design
Visual guide about How to Create a Tube Exoskeleton for a Car
Image source: richard-goodwin.com
Before you grab a welder and start cutting metal, take time to plan. A good design is the foundation of a safe, functional exoskeleton. Rushing this step can lead to poor fit, weak joints, or even safety hazards.
Start by asking: What do I want this exoskeleton to do? Is it for off-road protection? Aesthetic enhancement? Gear mounting? Your goals will shape the design. For example, a rock-crawling Jeep needs heavy-duty side bars and a front bumper integration, while a street truck might focus on sleek, minimal tubing.
Sketch Your Layout
Grab paper or use free design software like SketchUp or Fusion 360. Draw your vehicle from multiple angles—front, side, top. Then, sketch where the tubes will go. Common placements include:
– Front and rear bumpers
– Side rock sliders (along the doors)
– Roof rack supports
– Rear tire carriers
Keep in mind door clearance. The exoskeleton shouldn’t block doors from opening fully. Also, avoid covering sensors, cameras, or airbag zones. Modern cars have safety systems that can be disrupted by metal obstructions.
Consider Weight and Balance
Adding steel tubing increases weight. Too much can hurt fuel economy, handling, and suspension performance. Aim for a balance between strength and weight. Use 1.5″ to 2″ diameter tubing—larger isn’t always better. Thicker walls (like 0.120″ or 0.188″) add strength without excessive bulk.
Place heavier components low and centered. For example, mount a spare tire on the rear bumper rather than the roof to keep the center of gravity down.
Check Local Laws and Regulations
Not all modifications are street-legal. Some states or countries restrict external cages, especially if they extend beyond the vehicle’s original dimensions or block lights. Research your local vehicle code. In many places, exoskeletons are allowed for off-road use only. If you plan to drive on public roads, ensure your design complies with safety and lighting requirements.
Choosing the Right Materials and Tools
Visual guide about How to Create a Tube Exoskeleton for a Car
Image source: carxplorer.com
The success of your tube exoskeleton depends heavily on the materials and tools you use. Skimping here can lead to weak joints, rust, or even failure under stress.
Selecting the Right Tubing
Not all steel is created equal. For exoskeletons, you want strong, durable, and weldable tubing. Here are the top options:
– DOM (Drawn Over Mandrel) Steel: High strength, smooth finish, excellent for bending and welding. Common in roll cages and chassis builds.
– Chromoly (4130 Steel): Lighter and stronger than mild steel, ideal for performance builds. More expensive but worth it for serious off-roaders.
– ERW (Electric Resistance Welded) Steel: Cheaper and widely available, but has a weld seam that can weaken under stress. Use only for non-critical parts.
Avoid galvanized or painted tubing—these can release toxic fumes when welded and don’t bond well with filler metal.
Diameter matters too. For most applications:
– 1.5″ to 1.75″: Good for side bars and light-duty frames.
– 2″: Best for bumpers, roof racks, and high-impact zones.
Wall thickness should be at least 0.120″ (11 gauge). For extreme use, go up to 0.188″ (7 gauge).
Essential Tools and Equipment
You don’t need a professional shop, but you do need the right tools. Here’s a basic list:
– MIG Welder: Ideal for steel tubing. Look for one with at least 140 amps.
– Tubing Bender: Manual or hydraulic. Essential for smooth, tight-radius bends.
– Angle Grinder: For cutting, grinding welds, and smoothing edges.
– Clamps and Vise: To hold pieces in place while welding.
– Measuring Tools: Tape measure, square, and marker.
– Safety Gear: Welding helmet, gloves, respirator, and fire-resistant clothing.
If you don’t own these, consider renting or borrowing. Many hardware stores rent welders and benders by the day.
Optional but Helpful Tools
– Plasma Cutter: For precise, clean cuts on thick tubing.
– Drill Press: For accurate mounting holes.
– Jig or Fixture: A custom frame to hold parts in place during welding.
– Digital Caliper: For precise measurements.
Investing in quality tools pays off in the long run. Poor cuts or weak welds can compromise the entire structure.
Step-by-Step Building Process
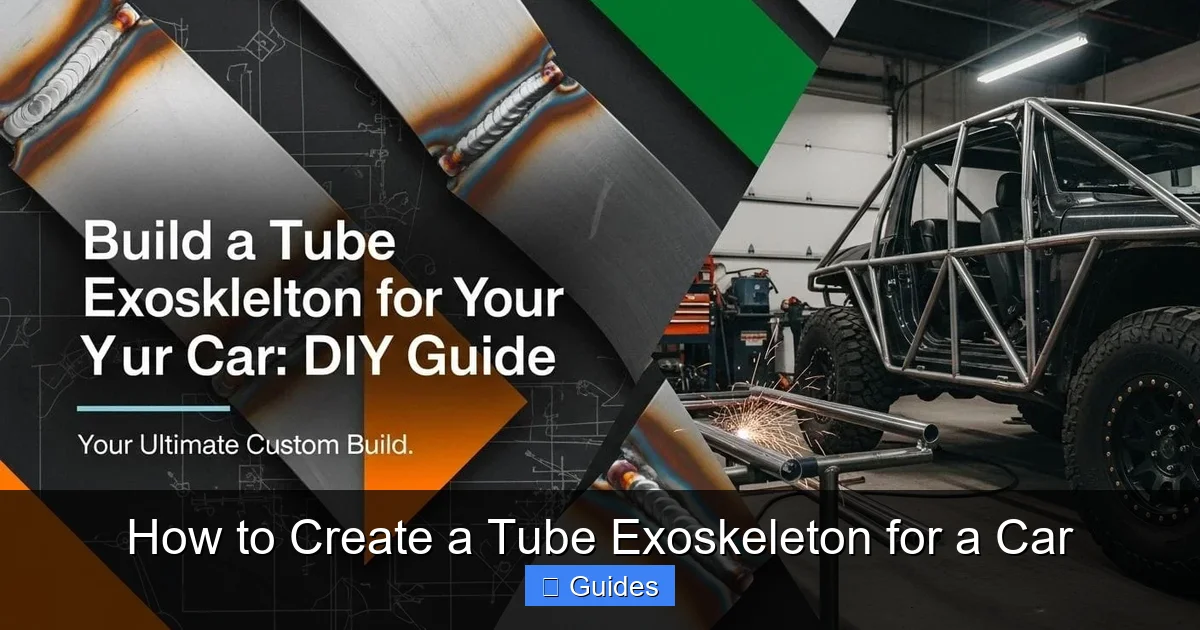
Visual guide about How to Create a Tube Exoskeleton for a Car
Image source: carxplorer.com
Now that you’ve planned and gathered materials, it’s time to build. Follow these steps carefully to ensure a strong, safe exoskeleton.
Step 1: Measure and Cut the Tubing
Start by measuring your vehicle’s dimensions. Use painter’s tape to mark where tubes will go. Then, transfer those measurements to your steel tubing.
Cut the tubes to length using a chop saw, angle grinder with a cutoff wheel, or plasma cutter. Always wear eye and ear protection. Leave a little extra length—you can trim later.
Step 2: Bend the Tubing
Use a tubing bender to create curves. Most exoskeletons need gentle bends to follow the car’s contour. Avoid sharp kinks—they weaken the metal.
For complex shapes, make a template out of wood or cardboard. Bend slowly and check frequently. If you’re new to bending, practice on scrap metal first.
Step 3: Dry Fit the Pieces
Before welding, assemble the entire frame without glue or heat. Use clamps to hold everything in place. Walk around the vehicle and check:
– Does it clear doors, mirrors, and suspension?
– Are all joints aligned?
– Does it look balanced?
Make adjustments as needed. It’s much easier to fix now than after welding.
Step 4: Weld the Frame
Once everything fits, it’s time to weld. Use a MIG welder with flux-core or gas shielding. Set the voltage and wire speed according to your tubing thickness.
Weld in short bursts to avoid warping. Use a backstep technique—weld a little, move back, then continue. This reduces heat buildup.
Focus on strong, clean welds. Avoid cold laps, porosity, or undercutting. If you’re unsure, practice on scrap joints first.
Step 5: Reinforce Critical Joints
High-stress areas—like where the frame mounts to the chassis—need extra support. Add gussets (small metal plates) at corners and junctions. Weld them in place for added strength.
For example, where a side bar meets the front bumper, a triangular gusset can prevent cracking under impact.
Step 6: Grind and Finish the Welds
Use an angle grinder with a flap disc to smooth rough welds. This improves appearance and reduces stress concentrations. Be careful not to grind too deep—you don’t want to weaken the joint.
Once smooth, wipe down the frame with a wire brush to remove slag and rust.
Mounting the Exoskeleton to Your Car
Welding the frame is only half the job. Now you need to securely attach it to your vehicle. Poor mounting can lead to vibration, noise, or even detachment.
Choose the Right Mounting Points
Look for strong, factory-reinforced areas on your chassis. Common spots include:
– Frame rails
– Bumper brackets
– Crossmembers
– Suspension mounts
Avoid mounting to body panels—they’re not designed to handle stress. Use existing bolt holes when possible, or drill new ones into structural members.
Use High-Strength Bolts and Brackets
Don’t rely on welding alone. Use Grade 8 bolts (at least 3/8″ diameter) with lock washers and nuts. Weld custom brackets to the exoskeleton, then bolt them to the chassis.
For extra security, add a backup weld after bolting. This creates a “bolt-and-weld” system that’s nearly unbreakable.
Check for Interference
After mounting, test everything:
– Open and close all doors.
– Turn the steering wheel lock-to-lock.
– Compress the suspension (have someone bounce the car).
– Check clearance with tires at full turn.
Make sure nothing rubs, binds, or hits. Adjust if needed.
Finishing Touches and Maintenance
Your exoskeleton is almost ready. But before hitting the trails, add the final touches.
Paint or Coat for Protection
Raw steel rusts. Apply a rust-inhibiting primer, then a durable topcoat. Use high-heat paint if near exhaust components.
For a rugged look, consider powder coating. It’s tougher than spray paint and resists chips and UV damage.
Add Accessories
Now’s the time to install gear:
– LED light bars
– Winch mounts
– Recovery points
– Spare tire carriers
– Roof racks
Use U-bolts, clamps, or welded brackets. Ensure everything is secure and won’t vibrate loose.
Regular Maintenance
Inspect your exoskeleton regularly. Look for:
– Cracks or rust
– Loose bolts
– Weld fatigue
– Paint damage
Touch up scratches promptly. Re-tighten bolts after the first few drives—vibration can loosen them.
After off-road trips, wash the frame to remove mud and debris. Check for hidden damage.
Common Mistakes to Avoid
Even experienced builders make errors. Here are pitfalls to watch for:
– Skipping the design phase: Rushing leads to poor fit and weak joints.
– Using weak materials: Thin or low-grade steel can fail under stress.
– Poor welding: Cold welds or lack of penetration weaken the structure.
– Ignoring safety systems: Blocking airbags or sensors can be dangerous.
– Overloading the frame: Adding too much weight hurts performance.
– Neglecting maintenance: Rust and cracks can develop unnoticed.
Take your time, double-check measurements, and prioritize safety.
Conclusion
Building a tube exoskeleton for your car is a rewarding project that blends engineering, craftsmanship, and personal expression. It’s not just about making your vehicle tougher—it’s about creating something uniquely yours.
From planning and material selection to welding and mounting, each step matters. With the right tools, patience, and attention to detail, you can build a frame that protects, performs, and turns heads.
Whether you’re prepping for off-road adventures or just want a bold new look, a tube exoskeleton is a powerful upgrade. Just remember: safety first, quality always, and never stop learning.
So grab your tools, sketch your design, and start building. Your car—and your next adventure—will thank you.
Frequently Asked Questions
Is a tube exoskeleton street legal?
It depends on your location. Some areas allow external cages for off-road use only, while others permit them on public roads if they meet safety and lighting standards. Always check local regulations before installation.
Can I build a tube exoskeleton without welding?
While possible with bolt-together kits, welding provides the strongest and most durable connection. For high-stress applications, welding is strongly recommended.
How much does it cost to build a tube exoskeleton?
Costs vary, but expect to spend $300–$800 on materials and tools if you’re DIYing. Pre-made kits can cost $1,000–$3,000, depending on size and quality.
Will a tube exoskeleton affect my car’s warranty?
Modifications like this can void parts of your warranty, especially if they relate to structural integrity or safety systems. Check with your dealer before starting.
Can I install a tube exoskeleton on any car?
Most trucks, SUVs, and off-road vehicles are suitable. Compact cars or low-clearance vehicles may not have enough space or structural strength for a full exoskeleton.
How do I prevent rust on my steel exoskeleton?
Use rust-resistant paint or powder coating, and inspect regularly. Wash after off-road use and touch up any scratches promptly to prevent corrosion.

At CarLegit, we believe information should be clear, factual, and genuinely helpful. That’s why every guide, review, and update on our website is created with care, research, and a strong focus on user experience.