
Filling your RV’s fresh water tank correctly ensures clean, safe drinking water and prevents damage to your system. This guide walks you through the entire process—from locating the fill port to maintaining water quality—so you can enjoy stress-free adventures on the road.
In This Article
- 1 Key Takeaways
- 2 📑 Table of Contents
- 3 Why Filling Your RV Fresh Water Tank Matters
- 4 Understanding Your RV’s Fresh Water System
- 5 Step-by-Step Guide to Filling Your Fresh Water Tank
- 6 Best Practices for Safe and Clean Water
- 7 Troubleshooting Common Issues
- 8 Winterizing Your Fresh Water Tank
- 9 Conclusion
- 10 Frequently Asked Questions
- 10.1 Can I use a regular garden hose to fill my RV fresh water tank?
- 10.2 How often should I sanitize my RV fresh water tank?
- 10.3 What happens if I overfill the fresh water tank?
- 10.4 Why is my water pressure low after filling the tank?
- 10.5 Can I drink water directly from the RV tap?
- 10.6 Do I need to drain the fresh water tank when not in use?
Key Takeaways
- Locate the fresh water fill port: Usually labeled and found on the exterior of your RV, often near the door or under a cover.
- Use a clean, dedicated hose: Never use a garden hose that’s been on the ground—opt for a drinking water-safe hose to avoid contamination.
- Fill slowly to prevent airlocks: Rapid filling can trap air in the tank, leading to pump issues and inaccurate gauge readings.
- Don’t overfill the tank: Leave space for expansion and to avoid spills or pressure buildup in the plumbing system.
- Sanitize the tank regularly: Clean your fresh water tank every 3–6 months to prevent bacteria, mold, and odors.
- Check the water level gauge: Use the onboard monitor or a dipstick to verify how full your tank is before and after filling.
- Winterize if storing in cold climates: Drain the tank completely and use RV antifreeze to protect against freezing damage.
📑 Table of Contents
Why Filling Your RV Fresh Water Tank Matters
When you’re out on the open road, exploring national parks, deserts, or coastal campgrounds, having access to clean, fresh water is essential. Whether you’re brushing your teeth, washing dishes, or taking a hot shower, your RV’s fresh water tank is the heart of your onboard water system. But simply pouring water into a tank isn’t enough—how you fill it can make a big difference in safety, efficiency, and longevity of your RV’s plumbing.
Many new RVers make the mistake of using any old hose or filling the tank too quickly, which can introduce contaminants or cause airlocks. Others forget to sanitize the tank regularly, leading to unpleasant odors or even health risks. By learning the proper way to fill your fresh water tank, you’ll not only protect your health but also extend the life of your RV’s water system and avoid costly repairs down the line.
Think of your fresh water tank like the gas tank in your car—it needs to be filled correctly, maintained regularly, and monitored closely. With a few simple steps and a little know-how, you can ensure your water stays clean, your system runs smoothly, and your adventures stay enjoyable.
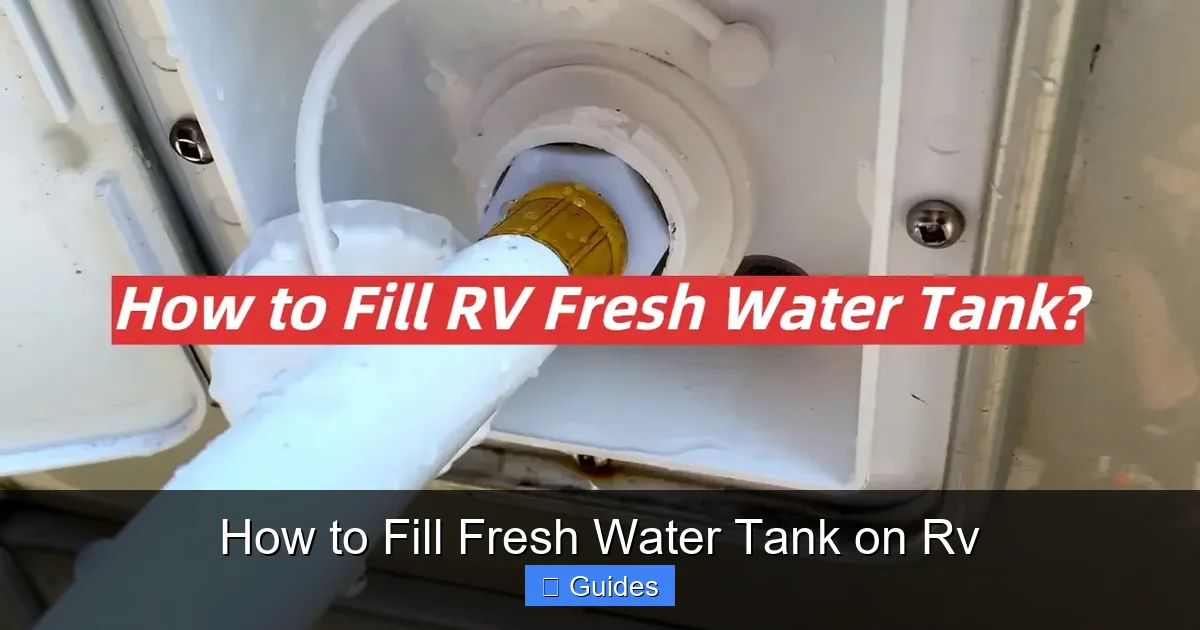
Understanding Your RV’s Fresh Water System
Visual guide about How to Fill Fresh Water Tank on Rv
Image source: rvtalk.net
Before you even think about filling your tank, it’s important to understand how your RV’s fresh water system works. Most RVs come equipped with three main water tanks: the fresh water tank, the gray water tank (for sinks and showers), and the black water tank (for the toilet). The fresh water tank is the only one that holds potable—drinkable—water, so it requires extra care.
The fresh water tank is typically located underneath the RV, often near the frame or under the floor. It’s connected to a water pump that pressurizes the system when you turn on a faucet. When you’re hooked up to city water at a campground, the pump isn’t needed—water flows directly from the external source. But when you’re boondocking or dry camping, the pump draws water from the tank to supply your fixtures.
The tank also has a fill port, usually labeled “Fresh Water” or “Drinking Water,” and sometimes marked with a blue cap or sticker. This port is where you connect your hose to fill the tank. Some RVs also have a vent or overflow tube that allows air to escape as the tank fills, preventing pressure buildup.
Types of Fresh Water Tanks
Not all fresh water tanks are created equal. The material and design can vary depending on your RV’s make and model. Common types include:
– **Polyethylene tanks:** Lightweight, durable, and resistant to cracking. Most common in modern RVs.
– **Aluminum tanks:** Strong and long-lasting, but can corrode over time if not maintained.
– **Fiberglass tanks:** Less common, but offer excellent durability and insulation.
Knowing your tank type helps when it comes to cleaning and maintenance. For example, polyethylene tanks can be sanitized with a bleach solution, while aluminum tanks may require gentler cleaners to avoid corrosion.
How Much Water Can Your Tank Hold?
Fresh water tank capacities vary widely. Small travel trailers might hold 20–30 gallons, while large fifth wheels or motorhomes can store 80–100 gallons or more. Check your owner’s manual or look for a label near the fill port to find your tank’s capacity.
Why does this matter? Overfilling can cause water to spill out the vent, waste resources, and potentially damage seals or gaskets. Underfilling means you’ll run out of water faster, especially if you’re boondocking. A good rule of thumb is to fill the tank to about 90% capacity, leaving room for expansion and air circulation.
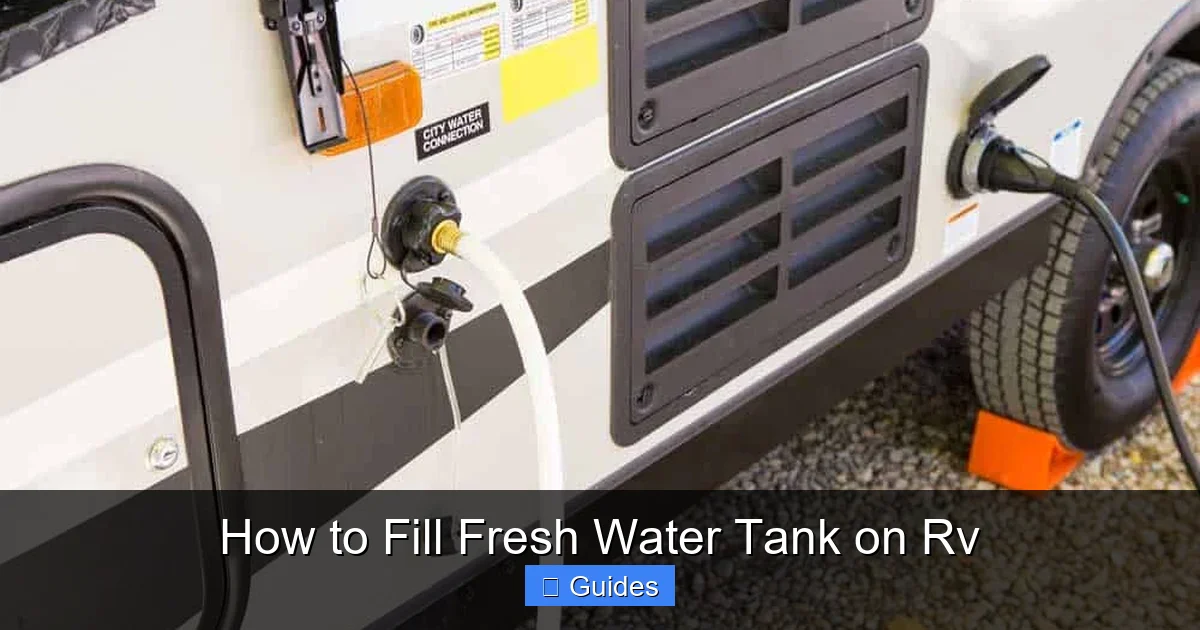
Step-by-Step Guide to Filling Your Fresh Water Tank
Visual guide about How to Fill Fresh Water Tank on Rv
Image source: camperfaqs.com
Now that you understand the basics, let’s walk through the actual process of filling your RV’s fresh water tank. Follow these steps carefully to ensure a safe, efficient fill every time.
Step 1: Locate the Fresh Water Fill Port
The first step is finding the fill port. It’s usually on the exterior sidewall of your RV, often near the entrance door or under a small access panel. Look for a cap labeled “Fresh Water,” “Drinking Water,” or “Potable Water.” Some RVs have multiple ports—make sure you’re using the one specifically for fresh water, not the city water connection.
If you’re having trouble finding it, consult your owner’s manual or look for a blue or white cap (gray or black caps usually indicate waste water ports). Once located, remove the cap and set it aside in a clean place—don’t let it touch the ground.
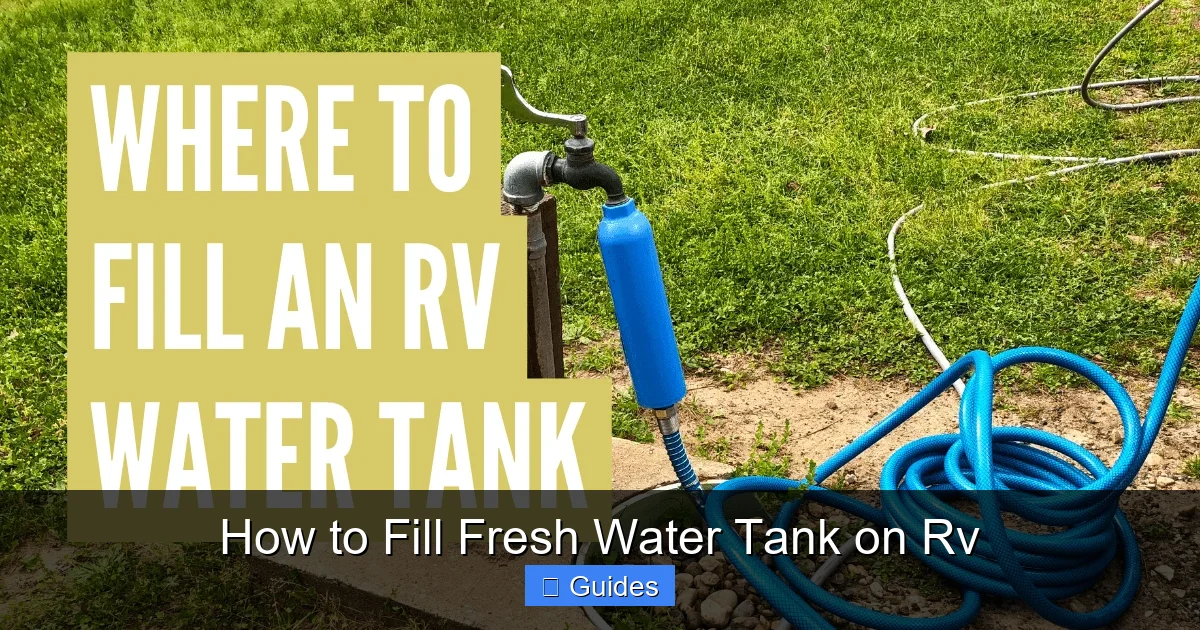
Step 2: Use the Right Hose
This is where many RVers go wrong. Using a regular garden hose that’s been lying on the ground can introduce dirt, chemicals, and bacteria into your fresh water supply. Instead, always use a **drinking water-safe hose**—these are typically white or blue and labeled “NSF Certified” or “Drinking Water Safe.”
Avoid hoses that smell like rubber or plastic, as they can leach chemicals into the water. If you’re unsure, buy a new hose dedicated solely to your RV. Store it in a clean bag or case when not in use to keep it free from contaminants.
Step 3: Connect the Hose and Start Filling
Attach one end of the hose to a clean water source—this could be a campground spigot, a water jug with a spout, or a portable water filler. Make sure the connection is secure to prevent leaks.
Insert the other end into the fill port. Don’t force it—most ports are designed to accept standard hose fittings. If it doesn’t fit easily, double-check that you’re using the right port.
Turn on the water slowly. Start at a low flow rate to allow air to escape from the tank through the vent. If you fill too quickly, air can get trapped, creating an airlock that prevents proper water flow and can damage your pump.
Step 4: Monitor the Fill Level
As the tank fills, keep an eye on the water level. Most RVs have a water level gauge inside, usually located near the control panel. These gauges use sensors to estimate how full the tank is, but they’re not always 100% accurate—especially if the sensors are dirty or corroded.
A better method is to listen for the sound of water. When the tank is nearly full, you’ll hear a gurgling or bubbling sound as air escapes through the vent. You may also see water start to trickle out of the overflow tube.
Alternatively, you can use a dipstick—a long, marked rod inserted into the fill port—to check the water level manually. This is especially useful if your gauge isn’t working.
Step 5: Turn Off the Water and Secure the Port
Once the tank is full (or close to it), turn off the water source. Disconnect the hose carefully to avoid spills. Wipe the fill port and cap with a clean cloth, then screw the cap back on tightly. This prevents dirt, insects, and debris from entering the tank.
Store your hose properly—coil it neatly and keep it in a clean storage bag. Never leave it lying on the ground where it can collect contaminants.
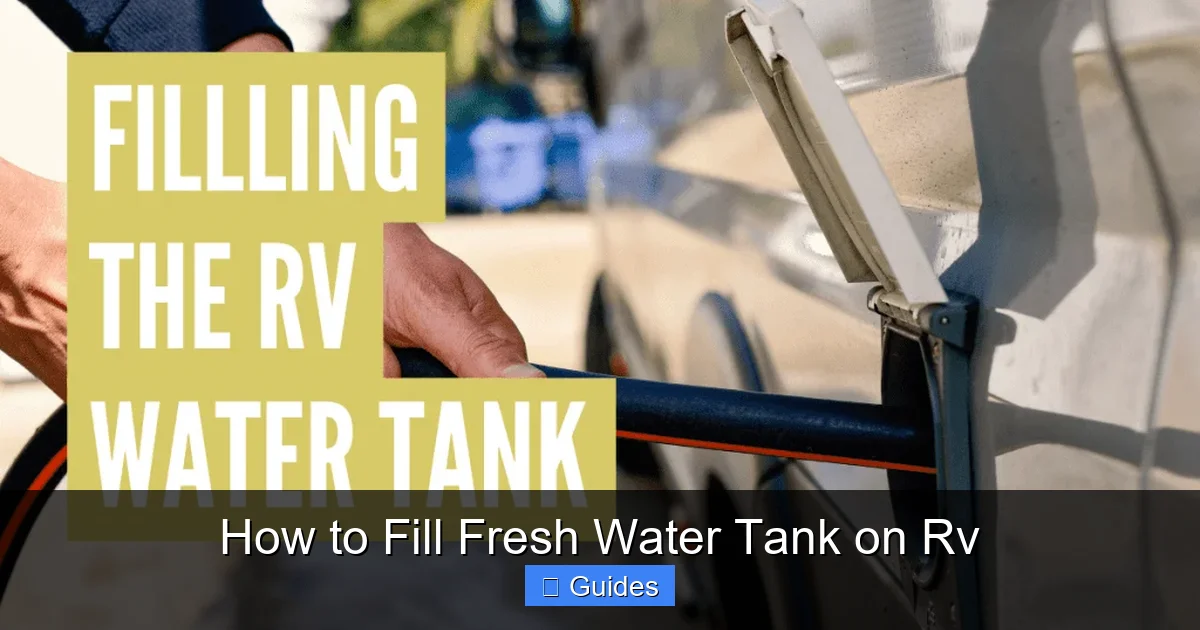
Best Practices for Safe and Clean Water
Visual guide about How to Fill Fresh Water Tank on Rv
Image source: camperfaqs.com
Filling your tank is just the beginning. To keep your water safe and your system running smoothly, follow these best practices.
Sanitize Your Tank Regularly
Over time, bacteria, mold, and algae can grow in your fresh water tank—even if you’re careful. That’s why it’s essential to sanitize the tank every 3–6 months, or whenever you notice a strange taste, smell, or discoloration.
To sanitize:
1. Drain the tank completely.
2. Mix 1/4 cup of unscented household bleach per 15 gallons of water.
3. Pour the solution into the tank.
4. Fill the tank with fresh water.
5. Turn on all faucets (hot and cold) until you smell bleach.
6. Let the solution sit for 4–6 hours (or overnight).
7. Drain the tank and rinse thoroughly with fresh water.
8. Refill and use as normal.
Always use unscented bleach—scented versions contain additives that can be harmful if ingested.
Use a Water Filter
Even with a clean hose and sanitized tank, the water you’re filling from might not be perfect. Campground water can contain sediment, chlorine, or minerals that affect taste and quality.
Installing a water filter—either inline on your hose or at the tank inlet—can significantly improve your water. Look for filters rated for sediment, chlorine, and bacteria. Replace them according to the manufacturer’s instructions.
Avoid Overfilling
It’s tempting to fill the tank to the brim, especially if you’re planning a long trip. But overfilling can cause water to spill out the vent, waste resources, and put pressure on seals and gaskets. It can also make your RV heavier than necessary, affecting fuel efficiency and handling.
Aim to fill the tank to about 90% capacity. This leaves room for expansion and ensures the water level stays below the vent.
Check for Leaks
After filling, inspect the area around the fill port, hose connections, and tank for any signs of leaks. A small drip might seem harmless, but over time it can lead to mold, rot, or water damage.
If you notice a leak, tighten connections or replace worn seals. For persistent issues, consult a professional.
Troubleshooting Common Issues
Even with the best care, problems can arise. Here’s how to handle some common issues when filling your fresh water tank.
Airlocks in the System
If your faucets sputter or don’t produce water after filling, you might have an airlock. This happens when air gets trapped in the tank or lines, blocking water flow.
To fix it:
– Turn on the water pump.
– Open all faucets (hot and cold) one by one, starting with the one farthest from the tank.
– Let the water run until it flows steadily.
– Repeat until all air is purged.
In severe cases, you may need to bleed the system manually or consult a technician.
Inaccurate Water Level Gauge
If your gauge shows “full” when the tank is empty (or vice versa), the sensors may be dirty or faulty. Clean the sensors with a soft brush and vinegar solution, or replace them if necessary.
Alternatively, rely on the dipstick method or listen for the gurgling sound when filling.
Slow Fill Rate
If water is flowing very slowly, check for kinks in the hose, low water pressure, or a clogged filter. Also, ensure the vent isn’t blocked—if air can’t escape, water can’t enter.
Bad Taste or Odor
If your water smells or tastes off, it’s likely due to bacteria or stale water. Sanitize the tank as described above. Also, flush the lines by running water through all faucets for a few minutes after refilling.
Winterizing Your Fresh Water Tank
If you live in a cold climate or plan to store your RV during winter, winterizing is crucial. Water left in the tank can freeze, expand, and crack the tank or damage plumbing.
Steps to Winterize
1. Drain the fresh water tank completely using the drain valve (usually located underneath the RV).
2. Open all faucets (hot and cold) to release any remaining water.
3. Blow out the lines with compressed air (optional but recommended).
4. Add RV antifreeze to the tank and plumbing system. Follow the manufacturer’s instructions for the correct amount.
5. Store the RV in a sheltered area if possible.
When spring arrives, flush the system thoroughly with fresh water before using it again.
Conclusion
Filling your RV’s fresh water tank might seem like a simple task, but doing it correctly is key to enjoying clean, safe water on your adventures. From using the right hose to sanitizing regularly and avoiding overfills, every step plays a role in protecting your health and your RV.
By following this guide, you’ll not only fill your tank efficiently but also maintain a reliable water system that lasts for years. Whether you’re a weekend camper or a full-time RVer, taking the time to do it right pays off in comfort, safety, and peace of mind.
So next time you’re at a campground or filling up before a boondocking trip, remember: a little care goes a long way. Your future self—and your taste buds—will thank you.
Frequently Asked Questions
Can I use a regular garden hose to fill my RV fresh water tank?
No, you should never use a regular garden hose. These hoses often contain lead, phthalates, or other chemicals that can leach into your drinking water. Always use a hose labeled “drinking water safe” or “NSF certified.”
How often should I sanitize my RV fresh water tank?
It’s recommended to sanitize your fresh water tank every 3 to 6 months, or whenever you notice a change in taste, smell, or color. Regular sanitizing prevents bacteria and mold growth.
What happens if I overfill the fresh water tank?
Overfilling can cause water to spill out the vent, waste resources, and put pressure on seals and gaskets. It can also make your RV heavier and affect handling. Always leave some space for expansion.
Why is my water pressure low after filling the tank?
Low pressure could be due to an airlock, a clogged filter, or a malfunctioning water pump. Try purging the air from the lines by opening all faucets, or check and replace your filter if needed.
Can I drink water directly from the RV tap?
Yes, as long as your fresh water tank is clean and you’re using safe, potable water to fill it. However, using a water filter can improve taste and remove impurities, especially when filling from unknown sources.
Do I need to drain the fresh water tank when not in use?
It’s a good idea to drain the tank if you’re storing your RV for more than a few weeks, especially in cold weather. Stagnant water can develop bacteria or odors, and freezing can damage the tank.

At CarLegit, we believe information should be clear, factual, and genuinely helpful. That’s why every guide, review, and update on our website is created with care, research, and a strong focus on user experience.