
Putting Freon in a 2007 Nissan Altima is a manageable DIY task if done correctly. This guide walks you through the process safely, including checking for leaks, using the right tools, and following proper procedures to restore cool air to your car’s AC system.
In This Article
- 1 Key Takeaways
- 2 📑 Table of Contents
- 3 Why Your 2007 Nissan Altima’s AC Isn’t Blowing Cold Air
- 4 Understanding Your 2007 Nissan Altima’s AC System
- 5 Tools and Materials You’ll Need
- 6 Step-by-Step Guide: How to Put Freon in a 2007 Nissan Altima
- 6.1 Step 1: Locate the Low-Pressure Port
- 6.2 Step 2: Prepare the Recharge Kit
- 6.3 Step 3: Connect the Hose to the Low-Pressure Port
- 6.4 Step 4: Start the Engine and Turn On the AC
- 6.5 Step 5: Add Refrigerant Slowly
- 6.6 Step 6: Monitor the Gauge and System Performance
- 6.7 Step 7: Disconnect and Replace the Cap
- 6.8 Step 8: Test Drive and Monitor
- 7 Safety Precautions and Best Practices
- 8 Maintaining Your AC System After Recharging
- 9 Conclusion
- 10 Frequently Asked Questions
Key Takeaways
- Use the correct refrigerant: The 2007 Nissan Altima uses R-134a refrigerant, not older Freon types. Always verify compatibility before adding.
- Check for leaks first: Adding refrigerant won’t fix a leak. Inspect hoses, seals, and the compressor for damage before recharging.
- Safety is essential: Wear gloves and safety goggles. Refrigerant can cause frostbite or eye injury if mishandled.
- Use a recharge kit with a gauge: A DIY recharge kit with a pressure gauge ensures you add the right amount without overcharging.
- Start the engine and turn on AC: The system must be running to circulate refrigerant. Set AC to max cool and high fan speed.
- Monitor pressure levels: Low or high pressure readings indicate problems. Ideal low-side pressure is 25–45 psi when the AC is on.
- Know when to call a pro: If the system won’t hold pressure or the compressor fails, professional diagnosis is needed.
📑 Table of Contents
Why Your 2007 Nissan Altima’s AC Isn’t Blowing Cold Air
If you’re driving a 2007 Nissan Altima and the air conditioning isn’t blowing cold, you’re not alone. Many owners face this issue, especially as the car ages. The most common cause? Low refrigerant levels. Over time, even a well-sealed AC system can lose small amounts of refrigerant due to natural wear, minor leaks, or degraded seals. When levels drop, the AC can’t absorb and release heat effectively, leaving you with warm or lukewarm air.
But before you panic and head to the mechanic, know this: recharging your AC with refrigerant—commonly referred to as “putting Freon in”—is a task many DIYers can handle at home. The 2007 Nissan Altima uses R-134a refrigerant, which is widely available and compatible with most DIY recharge kits. However, it’s important to understand that simply adding refrigerant isn’t always the full solution. If there’s an underlying leak or a failing component like the compressor or condenser, the problem will return. That’s why a proper diagnosis is key.
In this guide, we’ll walk you through how to put Freon in a 2007 Nissan Altima step by step. We’ll cover the tools you need, safety precautions, how to check for leaks, and how to safely recharge your AC system. Whether you’re a seasoned DIYer or a first-timer, this guide will help you restore cool air to your car without breaking the bank.
Understanding Your 2007 Nissan Altima’s AC System
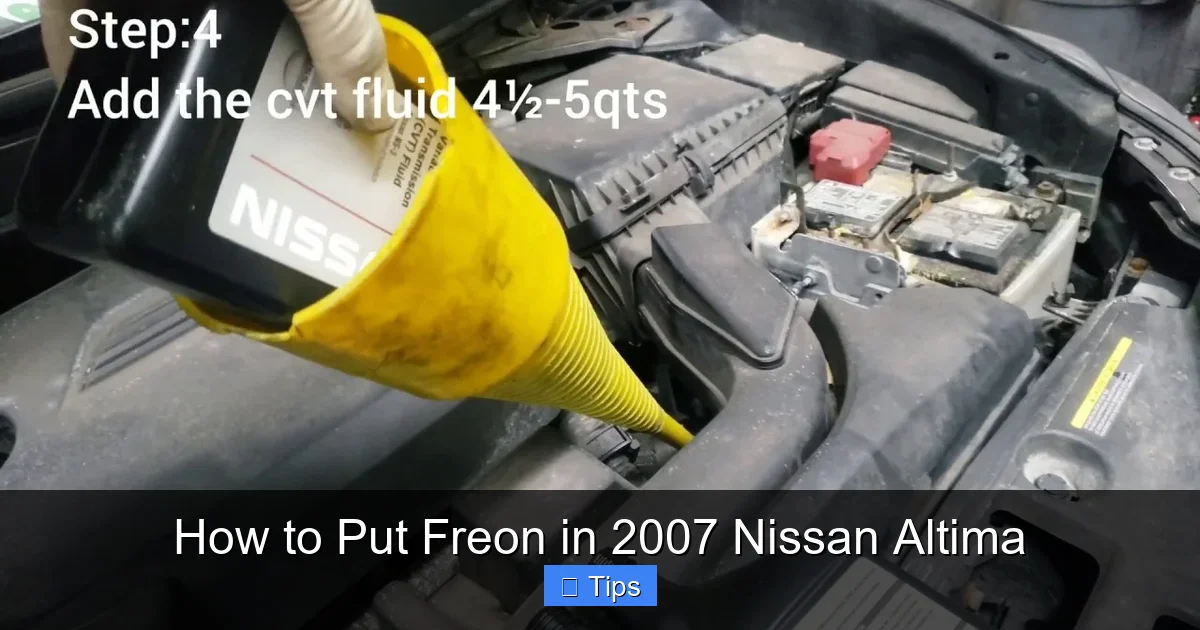
Visual guide about How to Put Freon in 2007 Nissan Altima
Image source: i.ytimg.com
To successfully recharge your AC, it helps to understand how the system works. The air conditioning in your 2007 Nissan Altima is a closed-loop system that uses refrigerant to transfer heat from inside the cabin to the outside. The main components include the compressor, condenser, evaporator, expansion valve, and refrigerant lines. When the AC is turned on, the compressor pressurizes the refrigerant, turning it into a hot gas. This gas flows to the condenser (located in front of the radiator), where it cools and becomes a liquid. The liquid then moves to the evaporator inside the dashboard, where it absorbs heat from the cabin air, cooling it down. A fan blows this cooled air into the car.
The refrigerant used in your 2007 Altima is R-134a, a hydrofluorocarbon (HFC) that replaced the older R-12 (commonly called Freon) due to environmental concerns. While people still say “Freon” when referring to refrigerant, it’s technically incorrect for modern vehicles. R-134a is safe, effective, and widely available, but it must be handled properly.
One critical thing to remember: the AC system must be sealed to work. If refrigerant is low, it’s usually because of a leak. Common leak points include the compressor shaft seal, O-rings at connection points, the condenser, or the evaporator core. Before adding refrigerant, it’s wise to inspect these areas or use a UV dye kit to detect leaks. Adding refrigerant without fixing a leak is like pouring water into a bucket with a hole—it won’t last.
Signs Your AC Needs a Recharge
How do you know if your 2007 Nissan Altima needs a refrigerant recharge? Look for these common symptoms:
- Warm air from vents: Even on the coldest setting, the air feels room temperature or slightly cool.
- Reduced airflow: The fan may blow, but the air isn’t as strong or cold as it used to be.
- Hissing sounds: A faint hiss near the AC components could indicate a refrigerant leak.
- AC compressor not engaging: The compressor clutch doesn’t click on when you turn the AC on.
- Ice on refrigerant lines: Frost or ice buildup on the low-pressure line can signal low refrigerant.
If you notice any of these signs, it’s time to check your refrigerant levels. But again, don’t assume a recharge is the only fix. A professional scan tool can check system pressure and detect faults, but for many, a DIY recharge is a good first step.
Tools and Materials You’ll Need
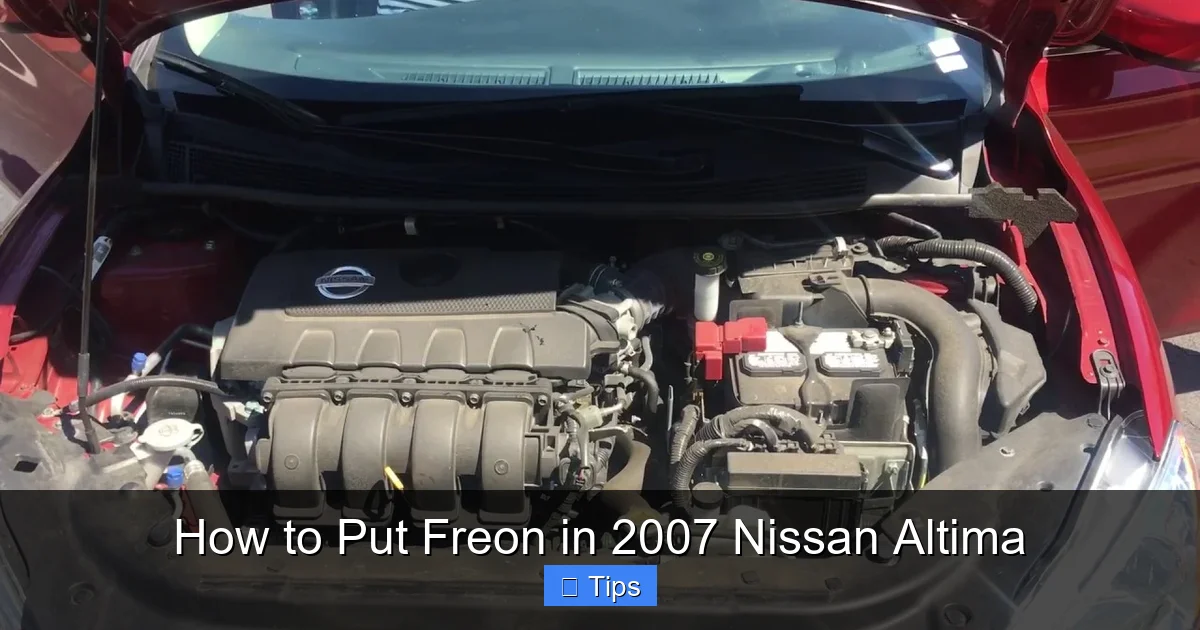
Visual guide about How to Put Freon in 2007 Nissan Altima
Image source: i.ytimg.com
Before you start, gather the right tools and materials. You don’t need a full mechanic’s garage, but having the correct items makes the job safer and more effective.
Essential Tools and Supplies
- Refrigerant (R-134a): Purchase a 12-ounce or 24-ounce can of R-134a with a built-in gauge or a separate recharge kit. Look for brands like Interdynamics, AC Pro, or Prestone.
- Recharge kit with hose and gauge: Most kits include a hose, trigger dispenser, and pressure gauge. The gauge is crucial—it helps you monitor low-side pressure.
- Safety goggles and gloves: Refrigerant can cause frostbite on skin or serious eye injury. Always protect yourself.
- UV leak detection kit (optional but recommended): This includes UV dye and a blacklight to find leaks.
- Wrench or socket set: You may need to remove a plastic engine cover to access the low-pressure port.
- Owner’s manual: Check for specific instructions or warnings for your 2007 Altima.
Where to Buy
You can find R-134a recharge kits at auto parts stores like AutoZone, O’Reilly, Advance Auto Parts, or online retailers like Amazon. A basic kit costs around $25–$40. If you plan to recharge your AC regularly or help friends, consider investing in a higher-quality kit with a better gauge and longer hose.
Important Notes
– Never use R-12 or other refrigerants in a system designed for R-134a. It can damage components and is illegal in many places.
– Avoid “stop-leak” additives unless recommended by a professional. They can clog the system.
– Only recharge the system if the compressor is running. If it’s not, there may be a deeper issue.
Step-by-Step Guide: How to Put Freon in a 2007 Nissan Altima
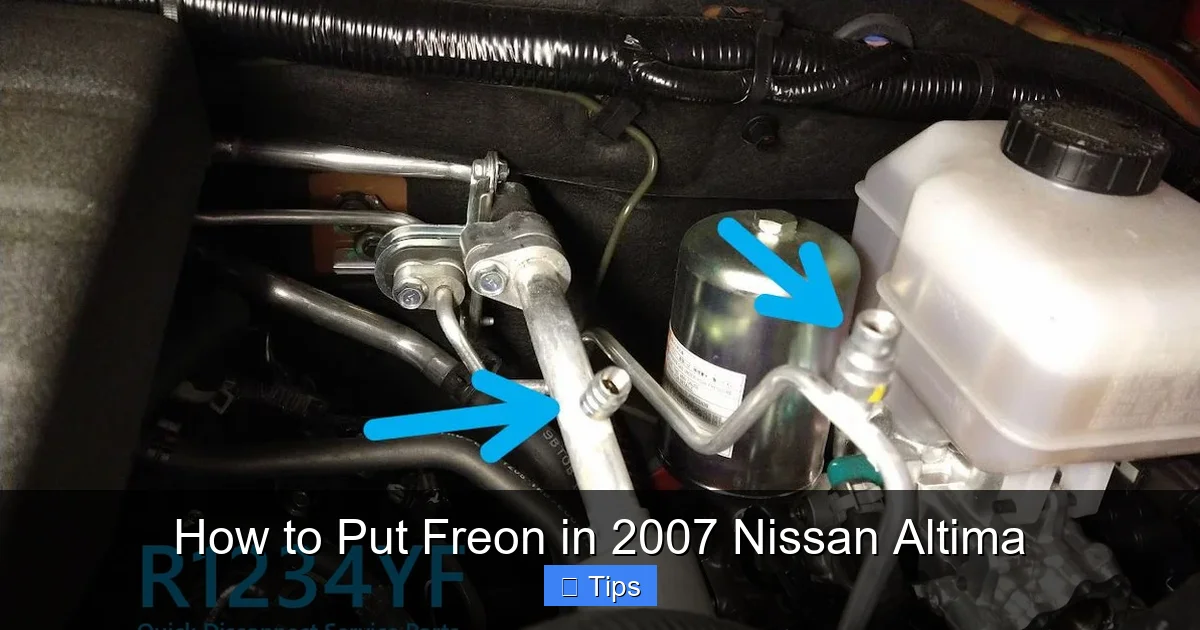
Visual guide about How to Put Freon in 2007 Nissan Altima
Image source: cdn11.bigcommerce.com
Now that you’re prepared, let’s walk through the process of recharging your AC system. Follow these steps carefully to ensure safety and effectiveness.
Step 1: Locate the Low-Pressure Port
The low-pressure port is where you’ll connect the recharge hose. In the 2007 Nissan Altima, it’s typically located on the passenger side of the engine bay, near the firewall. It’s a blue or black cap labeled “L” (for Low) and has a 1/4-inch threaded fitting. The high-pressure port (labeled “H”) is usually on the driver’s side and should not be used for recharging—only the low-side port is safe for DIY use.
Remove the plastic engine cover if necessary. Use a wrench or socket to gently lift it off. Be careful not to damage clips or wiring.
Step 2: Prepare the Recharge Kit
Shake the refrigerant can well. Attach the hose from the recharge kit to the can. Most kits have a threaded connector—screw it on securely. Open the valve on the can slightly to purge air from the hose, then close it. This prevents air from entering the AC system, which can reduce efficiency.
Step 3: Connect the Hose to the Low-Pressure Port
Remove the cap from the low-pressure port. Quickly attach the recharge hose to the port. It should click or thread on securely. Make sure the connection is tight to avoid leaks.
Step 4: Start the Engine and Turn On the AC
Start your 2007 Nissan Altima and turn the AC to the coldest setting. Set the fan to high. This ensures the compressor engages and circulates refrigerant. Let the system run for 2–3 minutes before adding refrigerant.
Step 5: Add Refrigerant Slowly
Hold the can upright. Open the valve on the recharge kit slowly. Watch the pressure gauge—ideal low-side pressure is between 25 and 45 psi when the AC is running. Add refrigerant in short bursts, pausing between each to let the system stabilize.
If the pressure is very low (below 20 psi), add refrigerant more quickly but still carefully. If it’s already in the 30–40 psi range, add only a small amount. Overcharging can damage the compressor.
Step 6: Monitor the Gauge and System Performance
As you add refrigerant, watch the gauge and listen to the compressor. The clutch should engage and disengage smoothly. If the pressure climbs above 50 psi, stop adding refrigerant—this could indicate a blockage or overcharge.
Feel the air from the vents. It should get progressively colder. If it doesn’t improve after adding one full can, there may be a leak or mechanical issue.
Step 7: Disconnect and Replace the Cap
Once the system is charged, close the valve on the can. Disconnect the hose from the low-pressure port. Replace the cap securely. Turn off the engine and AC.
Step 8: Test Drive and Monitor
Take your car for a short drive with the AC on. Check that cold air is blowing consistently. Monitor the system over the next few days. If the cold air returns, you likely had a minor leak or natural depletion.
Safety Precautions and Best Practices
Working with refrigerant requires caution. Here are key safety tips to follow:
- Never open the high-pressure side: Only use the low-pressure port. The high-side port is under extreme pressure and can cause injury.
- Avoid skin and eye contact: Refrigerant can freeze skin on contact. If exposed, flush with water and seek medical help.
- Work in a well-ventilated area: Refrigerant fumes are not toxic but can displace oxygen in enclosed spaces.
- Don’t shake the can violently: Gentle shaking is fine, but aggressive shaking can cause the can to rupture.
- Dispose of empty cans properly: Most auto shops accept empty refrigerant cans for recycling.
When to Call a Professional
While DIY recharging is possible, some issues require a mechanic:
- The compressor won’t engage even after recharging.
- You suspect a major leak (e.g., refrigerant smell, oil stains).
- The system loses refrigerant quickly after recharging.
- You hear unusual noises from the AC components.
A professional can perform a leak test, evacuate and recharge the system properly, and repair faulty parts.
Maintaining Your AC System After Recharging
Once your AC is working, take steps to keep it that way:
- Run the AC regularly: Even in winter, turn it on for 10 minutes monthly to keep seals lubricated.
- Replace the cabin air filter: A dirty filter restricts airflow and reduces cooling efficiency.
- Inspect hoses and belts: Look for cracks, leaks, or wear during routine maintenance.
- Use a UV dye kit annually: Add dye to detect leaks early.
Regular maintenance can extend the life of your AC system and prevent future recharges.
Conclusion
Putting Freon in a 2007 Nissan Altima is a practical DIY task that can save you money and restore comfort to your drives. By using the correct R-134a refrigerant, following safety procedures, and monitoring pressure levels, you can safely recharge your AC system at home. However, always check for leaks first—adding refrigerant won’t fix a broken system. With the right tools and knowledge, you can keep your Altima cool and comfortable for years to come.
Frequently Asked Questions
Can I use regular Freon in a 2007 Nissan Altima?
No, the 2007 Nissan Altima uses R-134a refrigerant, not the older R-12 (Freon). Using the wrong type can damage the AC system and is not recommended.
How much refrigerant does a 2007 Nissan Altima hold?
The system typically holds about 18–22 ounces (1.1–1.4 lbs) of R-134a. Most recharge kits come with 12-ounce cans, so you may need one or two depending on how low the system is.
Is it safe to recharge my AC myself?
Yes, if you follow safety guidelines and use the correct tools. Wear gloves and goggles, and only use the low-pressure port. If you’re unsure, consult a professional.
Why does my AC stop working after recharging?
This usually indicates a leak in the system. Refrigerant escapes over time, so the AC stops cooling again. A UV dye test can help locate the leak.
How often should I recharge my AC?
AC systems are sealed and shouldn’t need recharging often. If you’re recharging more than once every 2–3 years, have the system inspected for leaks.
Can overcharging the AC damage my car?
Yes, overcharging can increase pressure, strain the compressor, and cause system failure. Always use a gauge and stop when pressure reaches 25–45 psi on the low side.

At CarLegit, we believe information should be clear, factual, and genuinely helpful. That’s why every guide, review, and update on our website is created with care, research, and a strong focus on user experience.