
Removing an RV refrigerator may seem daunting, but with the right tools and careful planning, it’s a manageable DIY task. This guide walks you through every step—from disconnecting power and gas lines to safely extracting the unit—so you can upgrade, repair, or replace your fridge with confidence.
In This Article
- 1 Key Takeaways
- 2 📑 Table of Contents
- 3 Why You Might Need to Remove an RV Refrigerator
- 4 Tools and Materials You’ll Need
- 5 Step-by-Step Guide to Removing an RV Refrigerator
- 5.1 Step 1: Turn Off All Power and Fuel Sources
- 5.2 Step 2: Empty and Clean the Refrigerator
- 5.3 Step 3: Access the Interior and Exterior Panels
- 5.4 Step 4: Disconnect Electrical Wires
- 5.5 Step 5: Disconnect the Propane Line
- 5.6 Step 6: Remove Mounting Bolts and Brackets
- 5.7 Step 7: Slide the Refrigerator Out
- 5.8 Step 8: Inspect and Clean the Cavity
- 6 Safety Tips and Common Mistakes to Avoid
- 7 What to Do After Removal
- 8 When to Call a Professional
- 9 Conclusion
- 10 Frequently Asked Questions
- 10.1 Can I remove an RV refrigerator by myself?
- 10.2 Do I need to disconnect the propane line?
- 10.3 How do I know if my RV fridge is dual-power?
- 10.4 Can I reuse the old refrigerator in another RV?
- 10.5 What should I do if I find mold behind the fridge?
- 10.6 How long does it take to remove an RV refrigerator?
Key Takeaways
- Understanding How To Remove An Rv Refrigerator: Provides essential knowledge
📑 Table of Contents
Why You Might Need to Remove an RV Refrigerator
There are several reasons why you might find yourself needing to remove an RV refrigerator. Maybe your current unit has stopped cooling, developed a propane leak, or simply isn’t energy-efficient enough for your travel style. Upgrading to a newer, more reliable model is a common motivation—especially if you’re planning extended trips or full-time RV living. Some RVers also remove their fridge temporarily to access wiring, plumbing, or insulation behind it during renovations.
Whatever your reason, it’s important to understand that removing an RV refrigerator isn’t as simple as pulling it out like a kitchen appliance. These units are tightly integrated into your RV’s systems, including electrical, propane, and ventilation. A rushed or careless removal can lead to damaged components, gas leaks, or even personal injury. That’s why taking the time to plan and follow a detailed process is essential. With the right preparation, though, you can complete this task safely and efficiently—even as a DIY project.
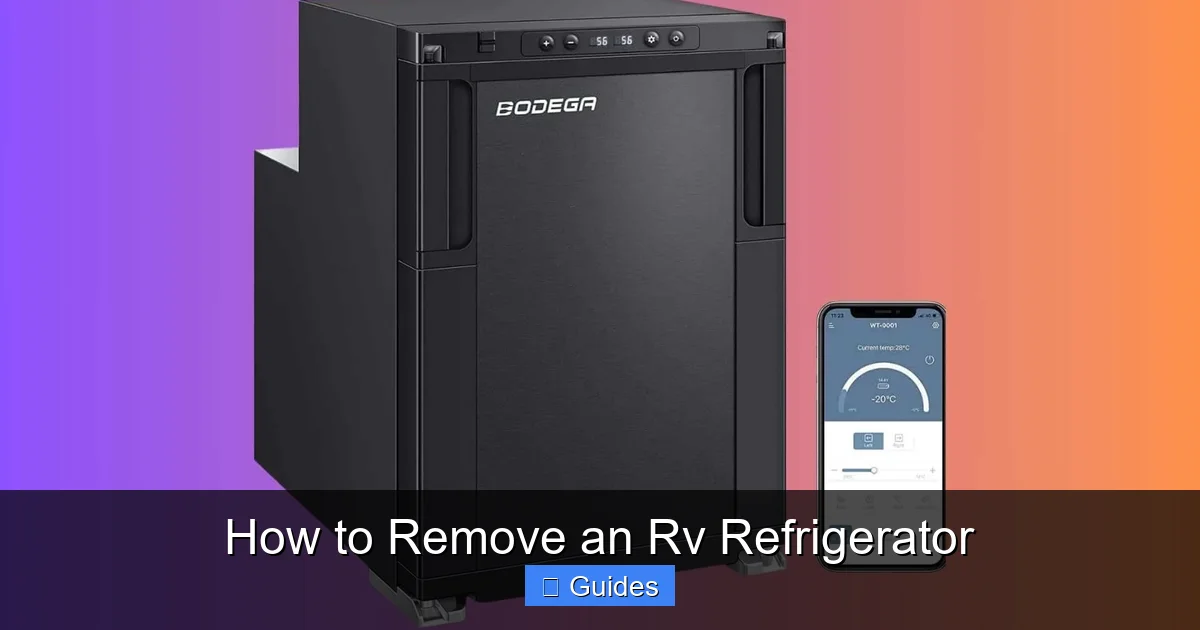
Tools and Materials You’ll Need
Before you begin, gather all the necessary tools and materials. Having everything on hand will save time and reduce frustration during the removal process. You don’t want to be halfway through and realize you’re missing a key tool.
Visual guide about How to Remove an Rv Refrigerator
Image source: highskyrvparts.com
Essential Tools
- Socket wrench set: For removing mounting bolts and brackets.
- Screwdrivers (Phillips and flathead): For interior and exterior panel screws.
- Pliers and wire cutters: To disconnect electrical wires and hose clamps.
- Adjustable wrench: For propane line fittings.
- Flashlight or work light: To see into tight spaces and behind the fridge.
- Utility knife: For cutting foam insulation or tape if needed.
- Moving dolly or furniture sliders: Helps with sliding the heavy unit out smoothly.
Safety Gear
- Gloves: Protect your hands from sharp edges and cold surfaces.
- Safety glasses: Prevent debris or insulation from getting into your eyes.
- Work boots: Sturdy footwear helps with stability and protects your feet.
Optional but Helpful Items
- Zip ties or labels: To mark wires and hoses for easy reconnection.
- Camera or smartphone: Take photos of connections before disconnecting.
- Cardboard or moving blankets: Protect your RV’s flooring and walls during removal.
- Assistant: A second person makes the job much safer and easier.
Having these tools ready ensures you won’t have to pause mid-task, which could leave your RV exposed or systems disconnected longer than necessary.
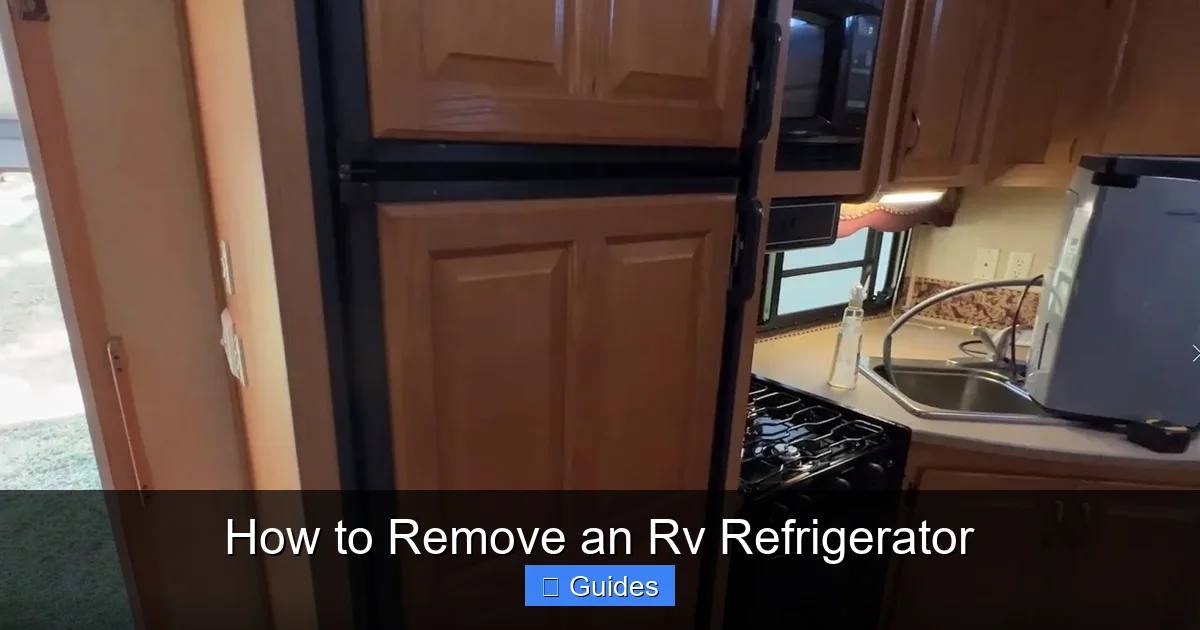
Step-by-Step Guide to Removing an RV Refrigerator
Now that you’re prepared, let’s walk through the actual removal process. This step-by-step guide is designed to be clear, safe, and thorough. Follow each step carefully, and don’t skip any—even if they seem minor.
Visual guide about How to Remove an Rv Refrigerator
Image source: i.ytimg.com
Step 1: Turn Off All Power and Fuel Sources
Safety first! Before touching anything, make sure all power and fuel sources are completely disconnected. Start by turning off the 120V AC power at the breaker panel. This prevents any risk of electric shock when handling wires. Next, disconnect the 12V DC power—usually found near the fridge or in the battery compartment. Finally, shut off the propane supply at the tank and close the valve on the fridge’s gas line.
It’s also a good idea to unplug the RV from shore power and remove the battery cables if you’re working near electrical connections. This eliminates any chance of accidental power surges or shorts.
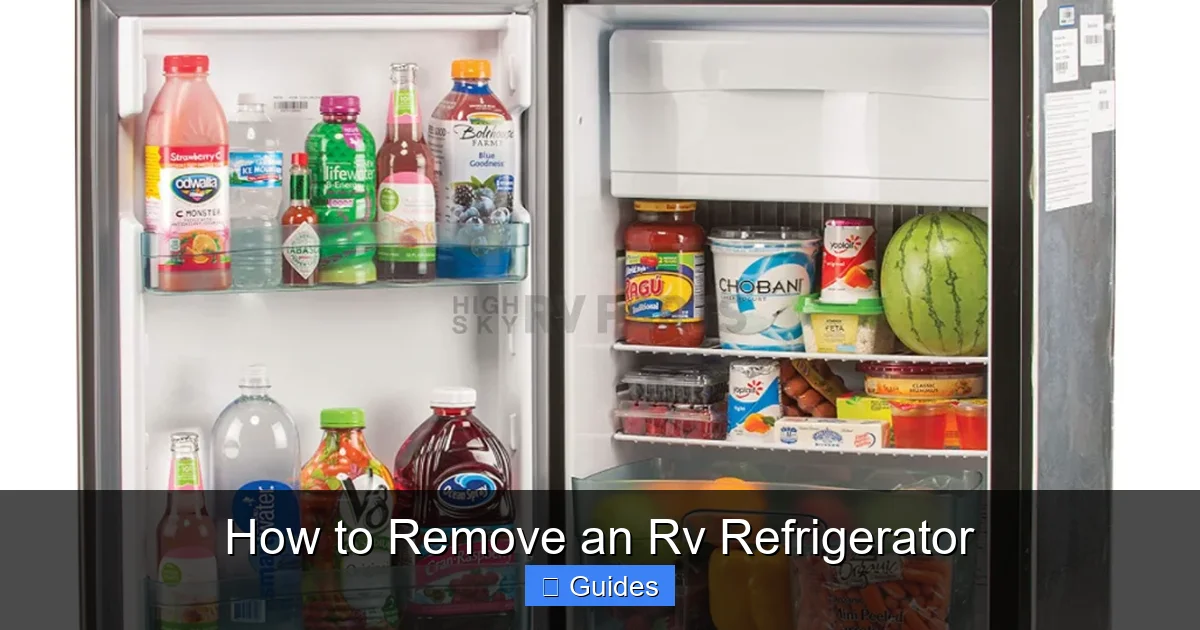
Step 2: Empty and Clean the Refrigerator
Remove all food, drinks, and removable shelves or drawers. Wipe down the interior to prevent spills or odors during removal. If your fridge has a freezer compartment, make sure it’s completely defrosted. Ice buildup can make the unit heavier and more difficult to handle.
Pro tip: Place a towel or absorbent pad at the bottom to catch any residual water from melting ice. This keeps your RV floor dry and prevents mold or mildew.
Step 3: Access the Interior and Exterior Panels
Most RV refrigerators are accessed from inside the cabin. Open the fridge door and look for screws securing the interior trim or access panel. These are often hidden behind plastic covers or behind the door gasket. Remove these screws carefully and set them aside in a labeled container so you don’t lose them.
On the outside of the RV, locate the exterior vent cover—usually on the side or rear of the vehicle. This cover protects the cooling unit and ventilation system. Remove the screws holding it in place and set the cover aside. You may need a drill or impact driver if the screws are rusted or tight.
Step 4: Disconnect Electrical Wires
Inside the fridge compartment, you’ll see a junction box or wiring harness connected to the refrigerator. These wires supply 12V DC and sometimes 120V AC power. Use your camera to take a clear photo of the wiring setup before disconnecting anything. This will serve as a reference when installing a new fridge.
Carefully disconnect the wires. Most connections are secured with wire nuts or quick-disconnect plugs. If they’re tight, use pliers to gently loosen them. Label each wire with tape or a marker (e.g., “12V+,” “Ground,” “AC Hot”) to avoid confusion later.
Step 5: Disconnect the Propane Line
Locate the propane supply line connected to the back of the refrigerator. It’s usually a small copper or flexible hose with a flare fitting. Use an adjustable wrench to loosen the fitting—turn it counterclockwise. Be gentle to avoid damaging the threads.
Once disconnected, cap the open end of the propane line with a flare cap or tape it securely to prevent gas leaks. Never leave an open propane line exposed. If you’re unsure about handling gas lines, consult a professional.
Step 6: Remove Mounting Bolts and Brackets
RV refrigerators are typically secured with mounting brackets or bolts along the bottom and sides. These may be inside the fridge cavity or behind the exterior vent. Use your socket wrench to remove all fasteners. Some models also have anti-tip brackets or support legs—don’t forget to check for these.
If the fridge is stuck, gently rock it side to side while pulling forward. Avoid using excessive force, as this can damage the cooling unit or surrounding cabinetry.
Step 7: Slide the Refrigerator Out
This is the most physically demanding part. With a helper, carefully slide the fridge out of its cavity. Use furniture sliders or a dolly if available. Protect your flooring by placing cardboard or moving blankets underneath.
As you pull the unit out, watch for any remaining wires or hoses that might still be connected. If something resists, stop and double-check for missed connections or brackets.
Step 8: Inspect and Clean the Cavity
Once the fridge is out, inspect the opening for damage, mold, or debris. Clean the area thoroughly—vacuum out dust, wipe down surfaces, and check for signs of water intrusion. This is also a good time to inspect the ventilation ducts and ensure they’re clear of obstructions.
If you’re installing a new fridge, measure the opening carefully to ensure the replacement will fit. Note any modifications needed, such as adjusting cabinet trim or reinforcing the floor.
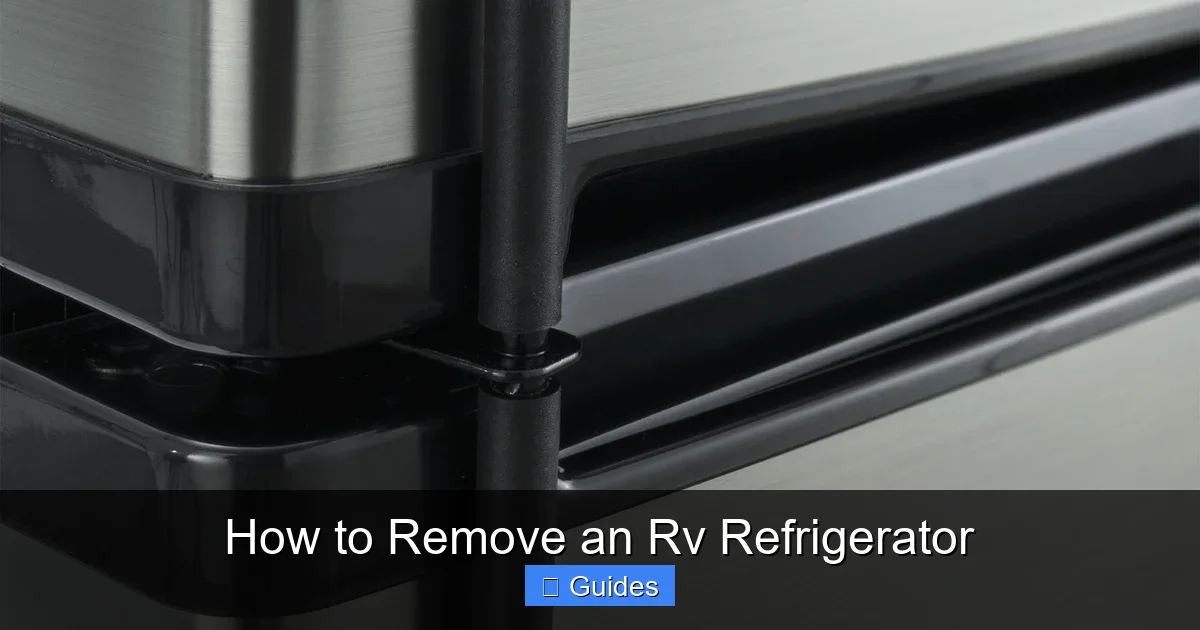
Safety Tips and Common Mistakes to Avoid
Even experienced RVers can make mistakes when removing a refrigerator. Here are some key safety tips and pitfalls to avoid.
Visual guide about How to Remove an Rv Refrigerator
Image source: cdn11.bigcommerce.com
Never Work Alone on Heavy Lifting
RV refrigerators can weigh 80 to 150 pounds or more, depending on the model. Trying to remove one alone is dangerous and can result in back injury or dropped equipment. Always have a helper—preferably someone strong and familiar with the process.
Don’t Skip the Propane Safety Steps
Propane leaks are serious and can lead to fire or explosion. Always shut off the gas at the tank and use a leak detector spray if you suspect a connection issue. Never use an open flame to check for leaks.
Avoid Forcing the Unit Out
If the fridge won’t budge, don’t yank it. Check for hidden screws, brackets, or adhesive seals. Forcing it can crack the cooling unit, damage the RV’s frame, or tear wiring.
Label Everything
It’s easy to forget how wires and hoses were connected, especially if you’re removing the fridge for repairs and plan to reinstall it later. Take photos, use labels, and keep screws organized in labeled bags.
Protect Your RV’s Interior
Use padding on corners and edges to prevent scratches or dents. A little prevention goes a long way in maintaining your RV’s value and appearance.
What to Do After Removal
Once the refrigerator is out, you have several options depending on your goals.
Install a New Refrigerator
If you’re upgrading, now is the time to install the new unit. Follow the manufacturer’s instructions carefully, reconnect all wires and hoses, and test the system before sealing everything up. Make sure the new fridge is level and secure.
Store the Old Unit
If you’re keeping the old fridge as a backup or for parts, store it in a dry, secure location. Disconnect the battery and propane lines, and cover the openings to prevent dust and pests.
Recycle or Dispose Responsibly
Many RV refrigerators contain refrigerants and materials that require proper disposal. Contact your local waste management facility or recycling center to find out how to dispose of it safely. Some retailers also offer take-back programs when you purchase a new appliance.
Use the Space for Storage or Renovation
Some RVers convert the fridge space into extra cabinets, a pantry, or even a mini office. If you’re renovating, this is the perfect time to upgrade insulation, add lighting, or reroute plumbing.
When to Call a Professional
While many RV owners successfully remove their refrigerators themselves, there are situations where hiring a professional is the smarter choice.
Complex Wiring or Gas Systems
If your RV has a dual-power fridge with advanced controls or a built-in ice maker, the wiring and plumbing can be complex. A certified RV technician can ensure everything is disconnected and reconnected safely.
Lack of Tools or Experience
If you don’t have the right tools or aren’t confident in your mechanical skills, it’s better to pay for professional help than risk damage or injury.
Older or Custom Models
Vintage RVs or custom builds may have unique refrigerator installations that require specialized knowledge. A professional can assess the setup and recommend the best approach.
Remember, safety and precision matter more than saving a few dollars. If in doubt, consult an expert.
Conclusion
Removing an RV refrigerator is a challenging but achievable task with the right preparation and care. By following this guide—turning off power and gas, disconnecting wires and hoses, and working with a partner—you can safely extract your fridge without damaging your RV or risking injury. Whether you’re upgrading to a more efficient model, repairing a faulty unit, or repurposing the space, taking your time and staying organized will lead to the best results.
Remember to label everything, protect your surroundings, and don’t hesitate to seek professional help if the job feels overwhelming. With these tips, you’ll be ready to tackle your next RV project with confidence. Safe travels and happy camping!
Frequently Asked Questions
Can I remove an RV refrigerator by myself?
It’s not recommended. RV refrigerators are heavy and awkward to handle, and working alone increases the risk of injury or damage. Always have at least one helper, especially during the lifting and sliding stages.
Do I need to disconnect the propane line?
Yes, absolutely. Propane is flammable and potentially dangerous if left connected. Always shut off the gas at the tank and disconnect the line at the fridge before removal.
How do I know if my RV fridge is dual-power?
Dual-power fridges run on both 120V AC (shore power) and 12V DC (battery). Check the control panel or owner’s manual. If it has an “Auto” mode that switches between power sources, it’s likely dual-power.
Can I reuse the old refrigerator in another RV?
Yes, if it’s in good working condition. Make sure it’s compatible with the new RV’s size, power, and gas systems. You may need to modify mounting brackets or wiring.
What should I do if I find mold behind the fridge?
Clean it immediately with a mixture of water and vinegar or a commercial mold remover. Identify and fix the source of moisture—often poor ventilation or a leak—to prevent it from returning.
How long does it take to remove an RV refrigerator?
For a first-timer, the process can take 2 to 4 hours. With experience and a helper, it may take as little as 1 to 2 hours. Rushing increases the risk of mistakes, so allow plenty of time.

At CarLegit, we believe information should be clear, factual, and genuinely helpful. That’s why every guide, review, and update on our website is created with care, research, and a strong focus on user experience.