
Removing a flow restrictor from your shower head can significantly increase water pressure and enhance your daily shower. This guide walks you through the process step by step, ensuring you do it safely without damaging your fixture or violating local water regulations.
In This Article
- 1 Key Takeaways
- 2 📑 Table of Contents
- 3 Why You Might Want to Remove a Flow Restrictor
- 4 What Is a Flow Restrictor and Why Is It There?
- 5 Should You Remove the Flow Restrictor?
- 6 Tools and Materials You’ll Need
- 7 Step-by-Step Guide to Removing the Flow Restrictor
- 8 Alternative Solutions to Improve Shower Pressure
- 9 Maintaining Your Shower Head After Removal
- 10 Conclusion
- 11 Frequently Asked Questions
- 11.1 Is it legal to remove a flow restrictor from a shower head?
- 11.2 Will removing the flow restrictor damage my shower head?
- 11.3 How much water will I use after removing the restrictor?
- 11.4 Can I reinstall the flow restrictor later?
- 11.5 What if my shower head doesn’t have a removable restrictor?
- 11.6 Will removing the restrictor void my warranty?
Key Takeaways
- Flow restrictors reduce water usage by limiting flow to 2.5 GPM or less, helping conserve water and lower utility bills.
- Removing the restrictor increases water pressure, giving you a more powerful and satisfying shower experience.
- Check local plumbing codes first—some areas prohibit removing flow restrictors due to water conservation laws.
- Use basic tools like pliers, screwdrivers, and vinegar to safely disassemble and clean your shower head.
- Not all shower heads have removable restrictors—some are built-in or sealed, requiring replacement instead.
- Clean mineral buildup regularly to maintain performance, whether you remove the restrictor or not.
- Consider water-efficient alternatives like high-pressure, low-flow shower heads if you want power without waste.
📑 Table of Contents
- Why You Might Want to Remove a Flow Restrictor
- What Is a Flow Restrictor and Why Is It There?
- Should You Remove the Flow Restrictor?
- Tools and Materials You’ll Need
- Step-by-Step Guide to Removing the Flow Restrictor
- Alternative Solutions to Improve Shower Pressure
- Maintaining Your Shower Head After Removal
- Conclusion
Why You Might Want to Remove a Flow Restrictor
Let’s be honest—there’s nothing worse than stepping into the shower only to be greeted by a weak, dribbling stream of water. If your shower feels more like a gentle mist than a refreshing rinse, you’re not alone. Many modern shower heads come equipped with a flow restrictor, a small device designed to limit water flow to 2.5 gallons per minute (GPM) or less. While this helps conserve water and reduce utility bills, it can also leave you feeling underwhelmed by your shower’s performance.
The good news? You don’t have to live with a lackluster shower. Removing the flow restrictor can dramatically improve water pressure, giving you that strong, invigorating spray you’ve been missing. Whether you’ve recently moved into an older home with outdated plumbing or you’re simply tired of waiting forever for your hair to get wet, this simple fix might be exactly what you need.
But before you grab your tools and start disassembling your shower head, it’s important to understand what a flow restrictor is, why it exists, and whether removing it is the right choice for you. In this guide, we’ll walk you through everything you need to know—from identifying the restrictor to safely removing it and maintaining your shower head afterward.
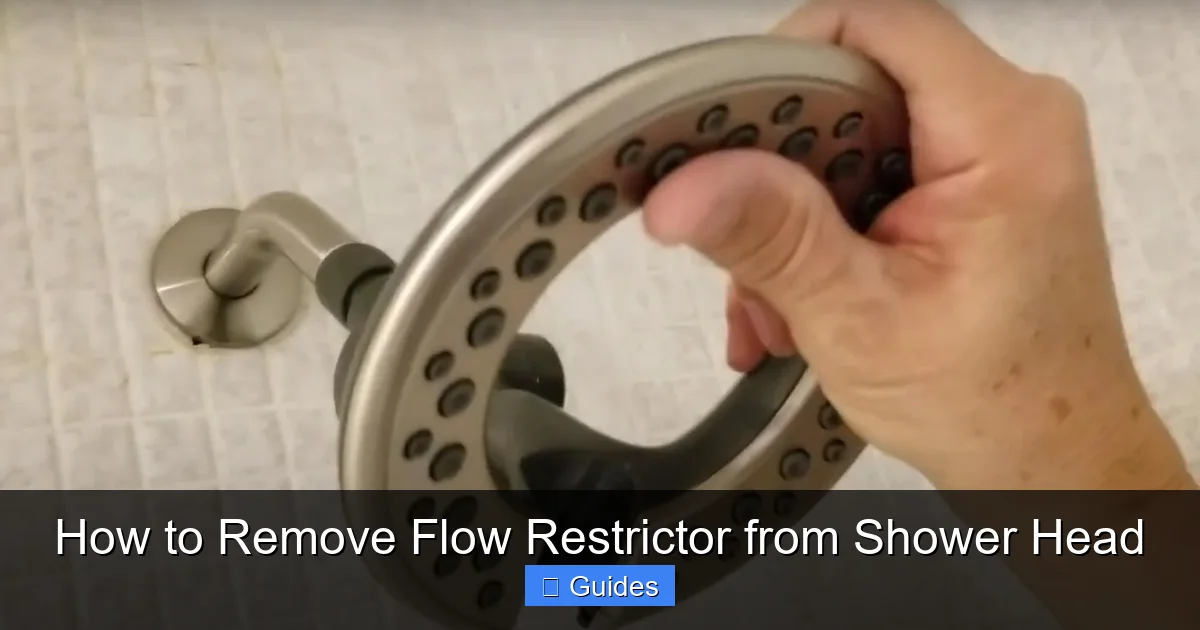
What Is a Flow Restrictor and Why Is It There?
Visual guide about How to Remove Flow Restrictor from Shower Head
Image source: homeyimprovements.com
A flow restrictor is a small, often disc-shaped component inside your shower head that limits the amount of water that can pass through at any given time. It’s typically made of plastic or metal and is positioned near the inlet of the shower head—the part that connects to the water supply pipe.
The Purpose of Flow Restrictors
Flow restrictors were introduced as part of water conservation efforts in the United States and other countries. In 1992, the U.S. government passed the Energy Policy Act, which mandated that all shower heads sold in the country must not exceed a flow rate of 2.5 GPM. This was done to reduce water and energy consumption, especially in regions prone to drought or with high utility costs.
By limiting water flow, flow restrictors help:
– Reduce water usage by up to 50% compared to older, unrestricted shower heads
– Lower water heating costs, since less hot water is used
– Decrease strain on municipal water systems and septic tanks
– Support environmental sustainability goals
How Flow Restrictors Work
The restrictor works by creating a narrow passage or series of small holes that water must pass through. This reduces the volume of water exiting the shower head, even if your home’s water pressure is high. Some restrictors are adjustable, allowing you to fine-tune the flow, while others are fixed and must be removed entirely to increase output.
It’s worth noting that not all low-pressure showers are due to flow restrictors. Mineral buildup, clogged nozzles, or low household water pressure can also cause weak streams. That’s why it’s important to diagnose the issue before assuming the restrictor is the culprit.
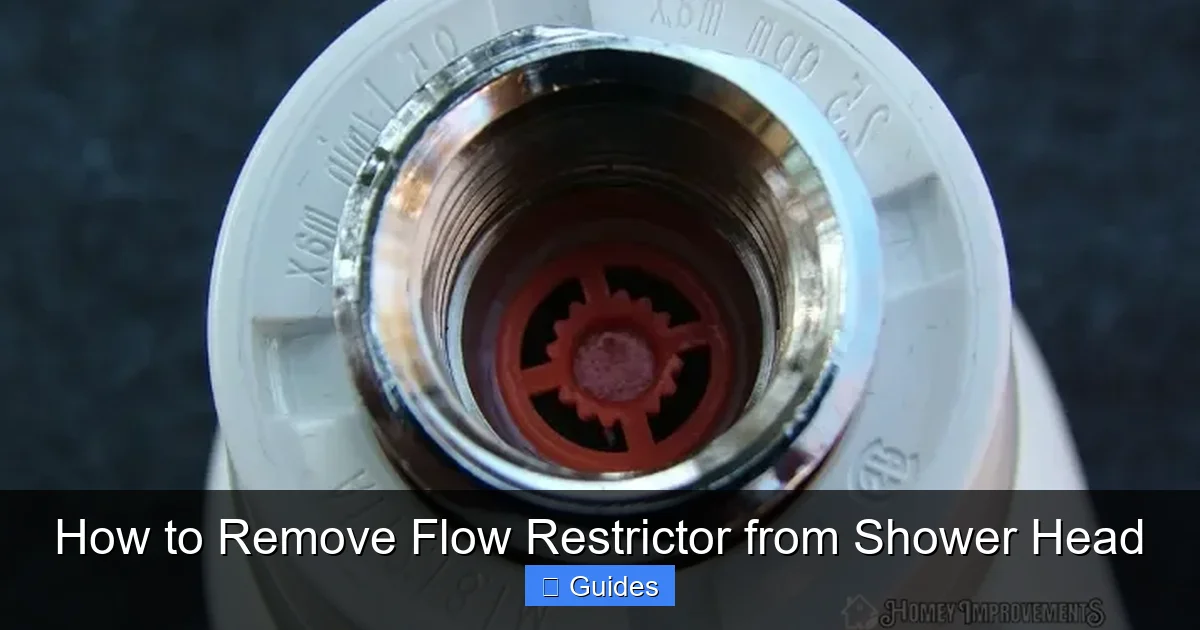
Should You Remove the Flow Restrictor?
Visual guide about How to Remove Flow Restrictor from Shower Head
Image source: showersight.com
Before you dive into removing the flow restrictor, take a moment to consider whether it’s the right move for your situation. While a stronger shower sounds great, there are some important factors to weigh.
Pros of Removing the Flow Restrictor
– **Improved water pressure**: The most obvious benefit is a more powerful, satisfying shower.
– **Faster shower times**: With better flow, you can rinse off more quickly, which might actually save water in the long run.
– **Better performance for long hair or thick bodies**: If you have long hair or find it hard to get fully wet, increased flow can make a big difference.
– **Enhanced shower experience**: Many people simply prefer a stronger spray for comfort and relaxation.
Cons and Considerations
– **Increased water usage**: Removing the restrictor can double your water consumption, leading to higher bills.
– **Environmental impact**: More water use means greater strain on natural resources and wastewater systems.
– **Legal restrictions**: Some states and municipalities have strict water conservation laws. Removing the restrictor may violate local plumbing codes.
– **Potential warranty voidance**: Tampering with the shower head could void the manufacturer’s warranty.
– **Not all shower heads allow removal**: Some models have permanently sealed restrictors or integrated designs that make removal difficult or impossible.
Check Local Regulations
Before proceeding, research your local water regulations. In places like California, Colorado, and Texas, there are strict limits on shower head flow rates. Removing the restrictor could result in fines or failed home inspections if you’re selling your property.
If you’re unsure, contact your local water authority or plumbing inspector. They can tell you whether modifying your shower head is allowed.
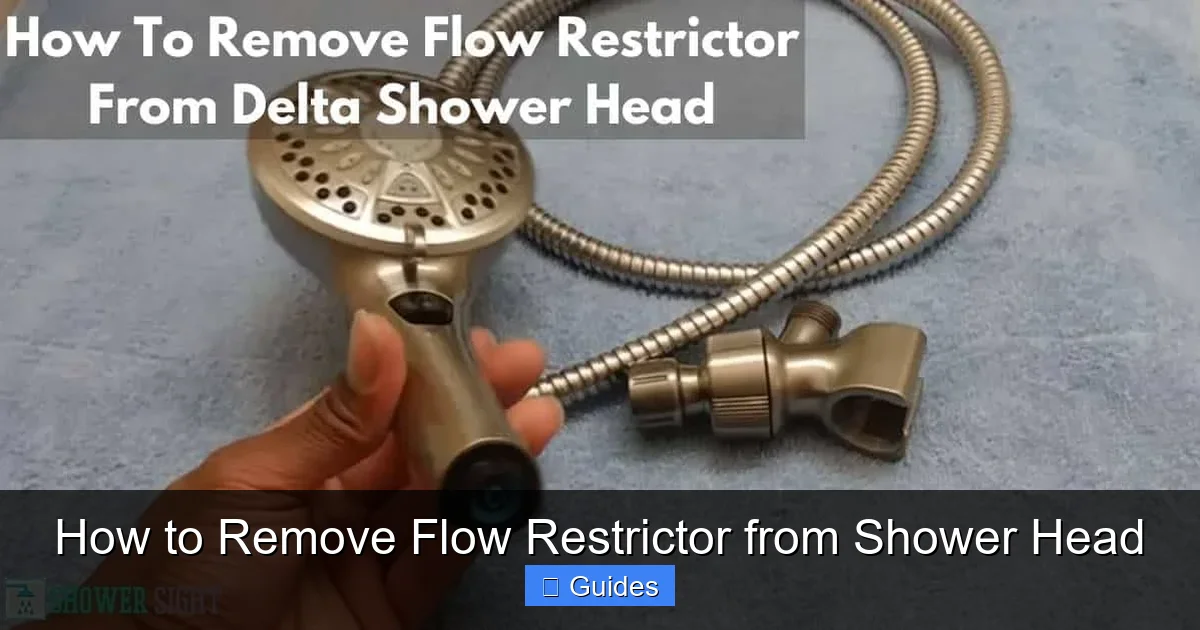
Tools and Materials You’ll Need
Visual guide about How to Remove Flow Restrictor from Shower Head
Image source: i.ytimg.com
Removing a flow restrictor is a straightforward DIY project, but having the right tools makes all the difference. Here’s what you’ll need:
Basic Tools
– **Adjustable wrench or pliers**: For loosening the shower head from the pipe.
– **Screwdriver (flathead or Phillips)**: To remove screws or pry open certain models.
– **Needle-nose pliers**: Useful for gripping and removing small parts.
– **Towel or rag**: To protect surfaces and catch drips.
– **Bucket or bowl**: To hold small parts and prevent loss.
Cleaning Supplies
– **White vinegar**: Helps dissolve mineral deposits that may be clogging the shower head.
– **Soft brush (toothbrush works well)**: For scrubbing nozzles and internal components.
– **Water**: For rinsing parts during and after cleaning.
Optional but Helpful
– **Penetrating oil (like WD-40)**: If the shower head is stuck due to corrosion.
– **Replacement O-rings or washers**: In case the original ones are damaged during disassembly.
– **Flashlight**: To see inside the shower head and locate the restrictor.
Safety Tips
– Turn off the water supply before starting. Most shower heads connect directly to a water line, so you may need to shut off the main water valve or use the shut-off valve near the shower (if available).
– Wear safety glasses to protect your eyes from debris.
– Work over a towel or in the bathtub to catch water and small parts.
Step-by-Step Guide to Removing the Flow Restrictor
Now that you’re prepared, let’s get to the main event: removing the flow restrictor. Follow these steps carefully to avoid damaging your shower head or plumbing.
Step 1: Turn Off the Water Supply
Before you touch anything, make sure the water is off. If your shower has a shut-off valve (usually located near the base of the shower arm), turn it clockwise to close it. If not, you may need to turn off the main water supply to your home.
Once the water is off, turn on the shower to release any remaining pressure in the line.
Step 2: Remove the Shower Head
Use your adjustable wrench or pliers to loosen the shower head from the shower arm (the pipe coming out of the wall). Wrap the jaws of the tool with a cloth to avoid scratching the finish.
Turn the shower head counterclockwise to unscrew it. If it’s stuck, apply a small amount of penetrating oil and let it sit for 10–15 minutes before trying again.
Once removed, place the shower head on a towel to prevent damage.
Step 3: Locate the Flow Restrictor
Look inside the inlet of the shower head—the end that connects to the pipe. You should see a small plastic or metal disc with tiny holes. This is the flow restrictor.
In some models, the restrictor is held in place by a rubber O-ring or a retaining clip. In others, it’s screwed in or pressed into place.
Use a flashlight if needed to get a clear view.
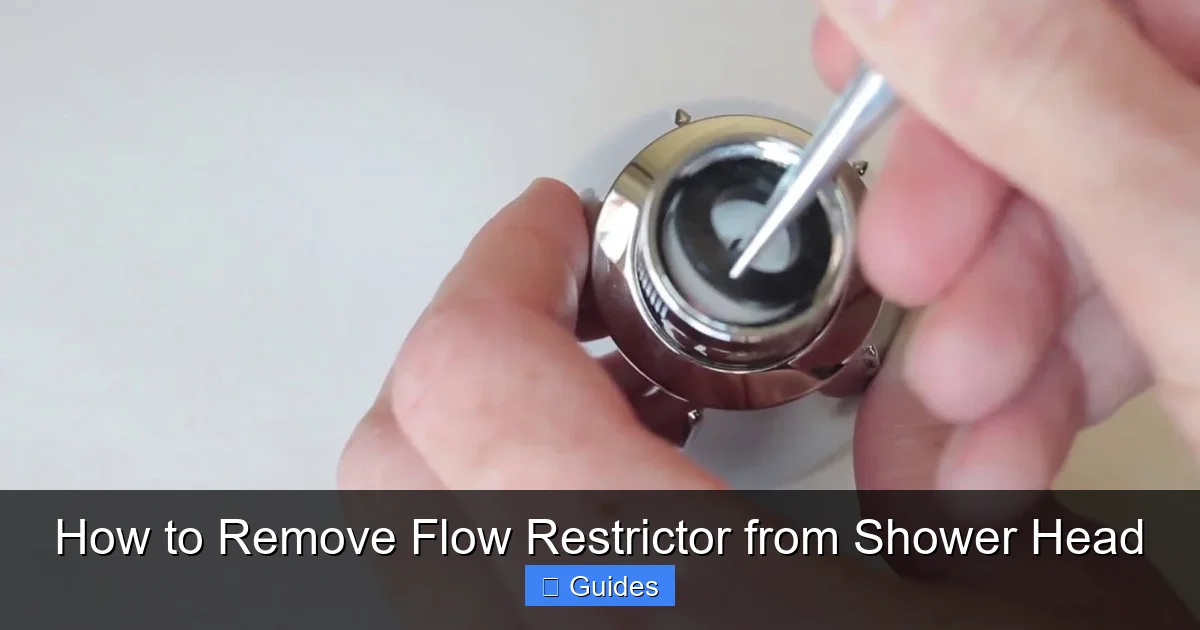
Step 4: Remove the Restrictor
The method for removal depends on how the restrictor is secured:
– **If it’s held by an O-ring**: Use needle-nose pliers to gently pull the restrictor out. Be careful not to damage the O-ring—you may need to reuse it.
– **If it’s screwed in**: Use a screwdriver or small wrench to turn it counterclockwise. Some restrictors have a slotted design for this purpose.
– **If it’s pressed in**: Gently pry it out with a flathead screwdriver or the tip of pliers. Work slowly to avoid cracking the plastic housing.
Once removed, inspect the restrictor. You’ll likely see mineral buildup or debris—this is normal and can be cleaned later.
Step 5: Clean the Shower Head
While the shower head is disassembled, take the opportunity to clean it thoroughly. Soak the shower head and restrictor in a bowl of white vinegar for 30 minutes to an hour. This will dissolve lime scale and mineral deposits.
After soaking, use a soft brush to scrub the nozzles and internal passages. Rinse everything with clean water.
Step 6: Reassemble the Shower Head
Once cleaned, reattach the shower head to the shower arm. Screw it on by hand first, then tighten gently with pliers—don’t over-tighten, as this can crack the threads.
Turn the water supply back on and test the shower. You should notice an immediate improvement in water pressure.
Step 7: Monitor Performance and Usage
After removing the restrictor, keep an eye on your water usage. You may want to install a timer or take shorter showers to offset the increased flow.
Also, check for leaks around the connection. If you notice dripping, tighten the shower head slightly or replace the O-ring.
Alternative Solutions to Improve Shower Pressure
If you’re not ready to remove the flow restrictor—or if it’s not possible with your model—there are other ways to boost shower pressure.
Clean the Shower Head Regularly
Mineral buildup is a common cause of low pressure. Soak your shower head in vinegar every few months to keep it clear. For stubborn clogs, use a pin to gently unblock individual nozzles.
Upgrade to a High-Pressure Shower Head
Many modern shower heads are designed to deliver strong pressure while still meeting water efficiency standards. Look for models labeled “high-pressure” or “low-flow with high performance.” These use advanced nozzle designs to create a powerful spray without exceeding 2.5 GPM.
Check Your Home’s Water Pressure
Low household water pressure can affect all your fixtures. Use a pressure gauge (available at hardware stores) to test your home’s water pressure. Ideal pressure is between 40–60 PSI. If it’s too low, consider installing a water pressure booster pump.
Inspect the Shower Arm and Valve
Sometimes, the issue isn’t the shower head at all. A clogged shower arm or a faulty shut-off valve can restrict flow. Remove the shower arm and check for debris. If the valve is old or corroded, it may need replacement.
Consider a Flow Regulator Instead
If you want more control, some shower heads come with adjustable flow regulators. These allow you to increase or decrease pressure without removing any parts.
Maintaining Your Shower Head After Removal
Once you’ve removed the flow restrictor, ongoing maintenance is key to keeping your shower performing at its best.
Regular Cleaning Schedule
Set a reminder to clean your shower head every 2–3 months. This prevents mineral buildup and ensures consistent water flow.
Use a Water Softener if Needed
If you live in an area with hard water, consider installing a water softener. This reduces mineral content in your water, extending the life of your plumbing and fixtures.
Monitor for Leaks and Wear
Check the shower head and connections periodically for leaks, cracks, or worn O-rings. Replace damaged parts promptly to avoid water waste.
Be Mindful of Water Usage
With increased flow, it’s easy to use more water than intended. Try to keep showers under 10 minutes and turn off the water while soaping up.
Conclusion
Removing a flow restrictor from your shower head can be a game-changer for your daily routine. It’s a simple, cost-effective way to boost water pressure and enjoy a more satisfying shower. However, it’s not a decision to take lightly. You’ll need to weigh the benefits of better performance against the potential downsides of higher water usage and legal restrictions.
By following the steps in this guide, you can safely and effectively remove the restrictor—if your model allows it—and maintain your shower head for years to come. And if removal isn’t the right choice, there are plenty of alternative solutions to improve your shower experience without breaking the rules or the environment.
Remember: a great shower doesn’t have to mean wasting water. With the right approach, you can have both power and efficiency.
Frequently Asked Questions
Is it legal to remove a flow restrictor from a shower head?
It depends on your location. In many U.S. states, removing the flow restrictor is legal as long as the shower head still meets federal flow rate standards. However, some areas with strict water conservation laws may prohibit modifications. Always check local regulations before proceeding.
Will removing the flow restrictor damage my shower head?
Not if done carefully. Most shower heads are designed to allow restrictor removal. However, forcing parts or using excessive tools can crack plastic components. Work gently and follow the steps in this guide to avoid damage.
How much water will I use after removing the restrictor?
Flow can increase from 2.5 GPM to 4–5 GPM or more, depending on your water pressure. This could double your water usage per shower. To offset this, consider taking shorter showers or installing a timer.
Can I reinstall the flow restrictor later?
Yes, if you kept the restrictor and it’s undamaged. Simply reverse the removal process and reinsert it into the shower head. This is useful if you move to a region with stricter water laws or want to reduce usage.
What if my shower head doesn’t have a removable restrictor?
Some models have built-in or sealed restrictors that can’t be removed. In this case, your best option is to replace the shower head with a high-pressure, low-flow model that delivers strong performance within legal limits.
Will removing the restrictor void my warranty?
Possibly. Many manufacturers consider tampering with internal components a violation of warranty terms. Check your product manual or contact the manufacturer before making any modifications.

At CarLegit, we believe information should be clear, factual, and genuinely helpful. That’s why every guide, review, and update on our website is created with care, research, and a strong focus on user experience.