
Removing paint protection film from a car doesn’t have to be stressful—with the right tools and techniques, you can do it safely at home. This guide walks you through every step, from softening the adhesive to cleaning residue, ensuring your paint stays flawless.
So, you’ve had paint protection film (PPF) on your car for a few years—maybe it’s starting to yellow, peel at the edges, or just doesn’t look as sleek as it once did. You’re thinking about removing it, but you’re worried: *Will it damage my paint? What if I mess it up?*
You’re not alone. Many car owners hesitate to remove PPF because they’ve heard horror stories—sticky residue, torn film, or worse, paint damage. But here’s the good news: **when done correctly, removing paint protection film is completely safe and can leave your car looking fresh and clean.** Whether you’re prepping for a new wrap, selling your vehicle, or simply want to restore the original finish, this guide will walk you through the entire process with confidence.
We’ll cover everything from the tools you’ll need to step-by-step removal techniques, how to handle stubborn adhesive, and how to finish your car like a pro. No fluff, no jargon—just practical, easy-to-follow advice that works. By the end, you’ll know exactly how to remove paint protection film from a car without breaking a sweat—or your paint job.
In This Article
- 1 Key Takeaways
- 2 📑 Table of Contents
- 3 Why Remove Paint Protection Film?
- 4 Tools and Supplies You’ll Need
- 5 Step-by-Step Guide to Removing Paint Protection Film
- 6 Tips for Tough or Old Paint Protection Film
- 7 Common Mistakes to Avoid
- 8 Aftercare: Protecting Your Car Post-Removal
- 9 Final Thoughts
- 10 Frequently Asked Questions
Key Takeaways
- Use heat to loosen the adhesive: A heat gun or hairdryer softens the film and glue, making it easier to peel off without damaging the paint.
- Peel slowly and at an angle: Removing the film too quickly can tear it or leave behind stubborn residue—gentle, steady pulls work best.
- Never use sharp tools on the paint: Avoid razor blades or metal scrapers directly on the surface; use plastic tools to prevent scratches.
- Clean residue with isopropyl alcohol or adhesive remover: These solvents break down leftover glue without harming your car’s clear coat.
- Wash and wax after removal: Restore shine and protect the exposed paint by thoroughly cleaning and applying a quality wax or sealant.
- Test a small area first: Always try your removal method on a hidden spot to ensure it won’t damage the paint.
- Professional help is an option: If the film is old, brittle, or covers large areas, consider hiring a detailer for safe removal.
📑 Table of Contents
Why Remove Paint Protection Film?
Before diving into the how, let’s talk about the why. Paint protection film is designed to shield your car’s paint from rock chips, UV rays, and minor abrasions. It’s a smart investment, especially on high-impact areas like the hood, fenders, and mirrors. But like any protective layer, it doesn’t last forever.
Over time, PPF can degrade. You might notice yellowing, especially on older films exposed to sunlight. Edges may start to lift or bubble, creating an unsightly appearance. In some cases, the film can trap moisture underneath, leading to mold or paint discoloration. And if you’re planning to sell your car, a worn-out PPF can actually hurt its value—buyers may assume the paint underneath is damaged.
Another common reason for removal is upgrading. Maybe you’re switching to a ceramic coating, applying a new vinyl wrap, or just want to return to the original factory finish. Whatever your motivation, removing PPF is a necessary step—and it’s totally doable at home with the right approach.
Signs It’s Time to Remove PPF
Not sure if your film needs to go? Here are a few telltale signs:
– **Yellowing or cloudiness:** The film has lost its clarity and is affecting the car’s appearance.
– **Lifting edges:** The corners or seams are peeling up, allowing dirt and moisture to get underneath.
– **Cracking or brittleness:** The film feels stiff or starts to crack when touched—this means it’s breaking down.
– **Staining or discoloration:** Dark spots or uneven coloring suggest the film is failing.
– **You’re prepping for a new finish:** Whether it’s a wrap, paint correction, or ceramic coating, starting with a clean surface is essential.
If you’re seeing any of these issues, it’s time to consider removal. The longer you wait, the harder it may become—especially if the adhesive has bonded tightly over time.
Tools and Supplies You’ll Need
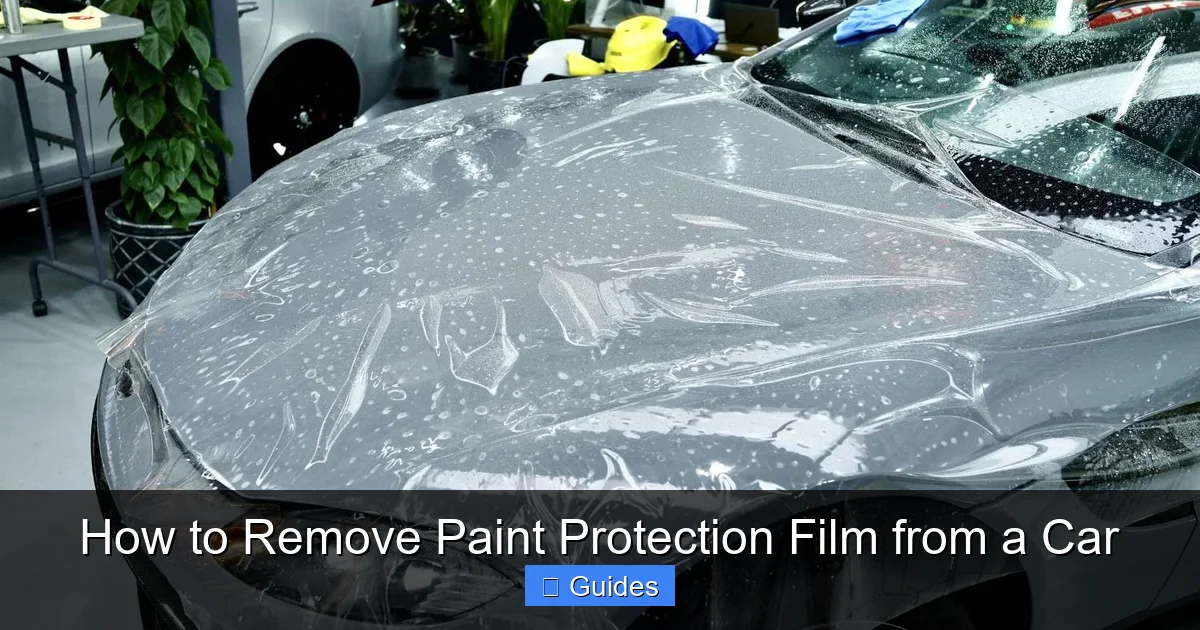
Visual guide about How to Remove Paint Protection Film from a Car
Image source: d1qt70pdm993vm.cloudfront.net
You don’t need a professional detailing shop to remove paint protection film—just a few key tools and some patience. Here’s what you’ll want to gather before starting:
– **Heat source:** A heat gun or high-quality hairdryer (preferably with adjustable settings). Heat softens the adhesive, making the film easier to peel.
– **Plastic razor blades or scrapers:** These are safe for use on paint and help lift stubborn edges without scratching.
– **Isopropyl alcohol (70% or higher):** Great for dissolving adhesive residue.
– **Adhesive remover (optional):** Products like Goo Gone or 3M Adhesive Remover work well for tough glue.
– **Microfiber towels:** Use clean, soft towels to wipe away residue and protect the paint.
– **Spray bottle with soapy water:** A mild mix of car wash soap and water helps lubricate the surface during removal.
– **Gloves:** Protect your hands from chemicals and sharp edges.
– **Masking tape (optional):** Useful for marking sections or protecting nearby trim.
Choosing the Right Heat Tool
Not all heat sources are created equal. A hairdryer is fine for small jobs, but a heat gun gives you more control and power—especially for larger areas or older films. Look for one with variable temperature settings (ideally 200°F to 300°F). Avoid open flames or torches—they can easily damage paint or melt plastic trim.
When using heat, keep the tool moving in slow, circular motions. Hold it about 6–8 inches away from the film. You’ll know it’s ready when the film feels soft and pliable—usually after 10–20 seconds of heating. Don’t overheat, or you risk bubbling the paint or warping the film.
Step-by-Step Guide to Removing Paint Protection Film
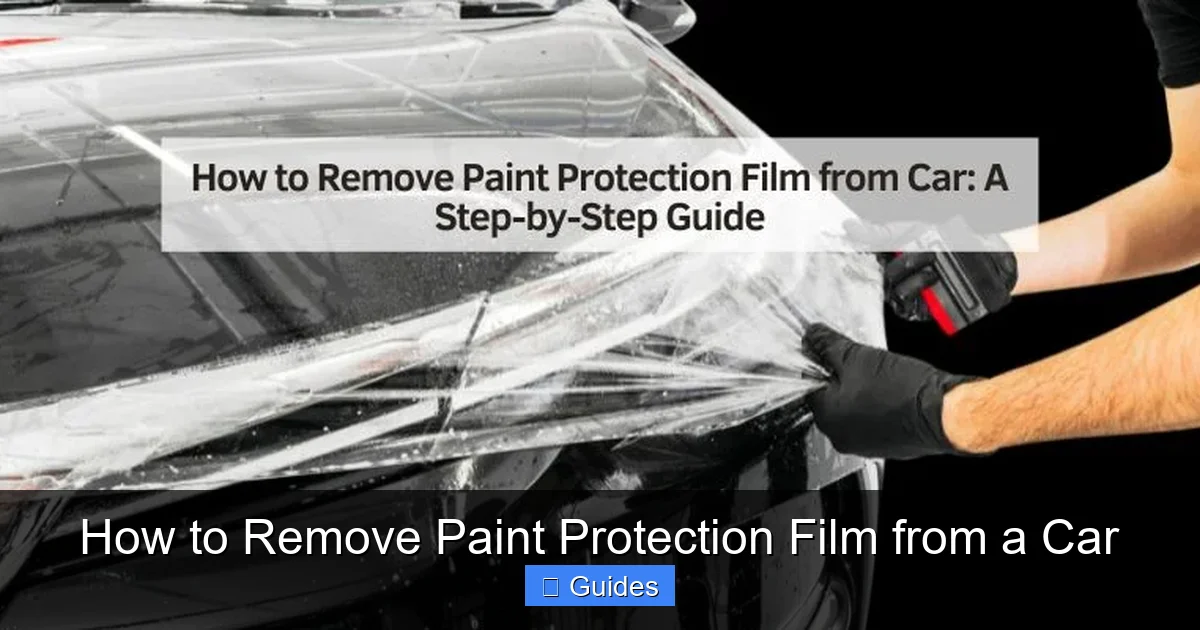
Visual guide about How to Remove Paint Protection Film from a Car
Image source: thedailyautomotive.com
Now for the main event: actually removing the film. Follow these steps carefully, and you’ll have a clean, residue-free surface in no time.
Step 1: Prepare the Area
Start by washing the car thoroughly. Use a pH-neutral car shampoo and a microfiber mitt to remove dirt, grease, and grime. Dry the area completely with a clean towel. This prevents contaminants from scratching the paint during removal.
Next, inspect the film. Look for areas where it’s already lifting—these make great starting points. If the film is tightly adhered, you’ll need to create a small tab to begin peeling. Use a plastic scraper or your fingernail to gently lift a corner. If it won’t budge, apply heat first.
Step 2: Apply Heat to Loosen the Adhesive
Turn on your heat gun or hairdryer and set it to medium heat. Hold it about 6 inches from the film and move it slowly over a 12-inch section. Focus on the edges and corners—these are usually the first to release.
As the film warms, you’ll notice it becoming more flexible. This is your cue to start peeling. Don’t rush—heat only one section at a time. If you try to remove a large area without heating, you risk tearing the film or pulling off chunks of paint.
Step 3: Peel the Film Slowly and at an Angle
Once the film is warm and pliable, grab the lifted edge with your fingers or a pair of pliers (use a cloth to protect the film). Begin peeling back at a 45-degree angle. Keep the tension steady—don’t yank or pull straight up.
If the film starts to tear, stop immediately. Reapply heat to that section and try again. For stubborn spots, use a plastic scraper to gently lift the film as you peel. Work in small sections, no more than a foot at a time.
Step 4: Remove Residual Adhesive
Even with careful removal, some adhesive will likely remain. This is normal—don’t panic. Spray a small amount of isopropyl alcohol onto a microfiber towel (not directly on the paint) and gently rub the sticky area. The glue should start to dissolve and lift off.
For tougher residue, use a dedicated adhesive remover. Apply it to a cloth and let it sit for 30–60 seconds before wiping. Always test any chemical on a small, hidden area first to ensure it won’t damage the clear coat.
Step 5: Clean and Polish the Surface
Once all the film and glue are gone, wash the area again to remove any remaining chemicals. Then, inspect the paint under good lighting. You may notice slight hazing or micro-scratches from the removal process.
Use a mild polish or finishing compound with a dual-action polisher or by hand to restore clarity. Follow up with a quality wax or sealant to protect the newly exposed paint. This step is crucial—your car’s finish is now unprotected until you apply a new layer of defense.
Tips for Tough or Old Paint Protection Film
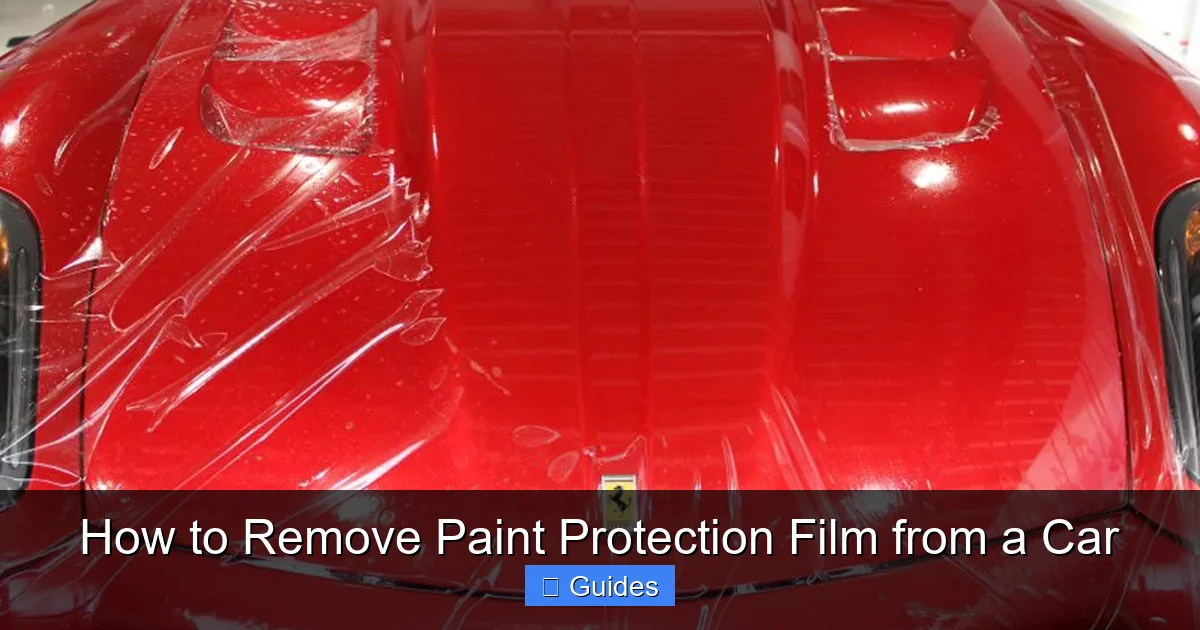
Visual guide about How to Remove Paint Protection Film from a Car
Image source: ahnoyark.com
Not all PPF removals go smoothly. Older films, especially those installed over five years ago, can be more challenging due to hardened adhesive or degradation. Here’s how to handle tricky situations:
Dealing with Brittle or Cracked Film
If the film is cracking or breaking into pieces as you peel, it’s likely dried out. In this case, heat is your best friend. Apply heat generously and work in very small sections. Use a plastic scraper to lift tiny pieces if needed. Be patient—rushing will only make it worse.
Handling Stubborn Adhesive
Some adhesives, particularly those used in high-performance films, can be extremely sticky. If isopropyl alcohol isn’t cutting it, try a citrus-based adhesive remover or a product specifically designed for automotive use. Apply, wait, and wipe—repeat as needed.
Avoid using acetone or nail polish remover—they can strip wax, damage clear coats, and even discolor paint. Stick to safe, paint-friendly solvents.
Working Around Trim and Edges
Be extra careful near rubber seals, plastic trim, and emblems. Heat can warp or melt these materials. Use a lower heat setting and keep the tool moving. If the film overlaps onto trim, use a plastic tool to carefully separate it before peeling.
For tight spaces like around door handles or mirrors, a dental pick or plastic trim tool can help lift the film without scratching.
Common Mistakes to Avoid
Even with the best intentions, it’s easy to make mistakes during PPF removal. Here are a few to watch out for:
– **Using metal scrapers on paint:** This is a recipe for scratches. Always use plastic tools.
– **Pulling too fast:** Ripping the film can leave large chunks of adhesive or even lift paint. Slow and steady wins the race.
– **Overheating the surface:** Too much heat can bubble or blister the paint. Keep the heat gun moving and use moderate settings.
– **Skipping the cleanup:** Leaving adhesive residue can attract dirt and cause long-term damage. Always clean thoroughly.
– **Not protecting the paint afterward:** Once the film is off, your paint is vulnerable. Wax or seal it immediately.
When to Call a Professional
If the film covers large areas (like the entire hood or bumper), is severely degraded, or you’re unsure about the paint condition underneath, it may be worth hiring a professional. Detailers have specialized tools and experience to remove PPF safely and efficiently. While it costs more, it can save you from costly paint repairs down the line.
Aftercare: Protecting Your Car Post-Removal
Removing paint protection film is only half the battle. Now that your car’s paint is exposed, it’s time to give it the care it deserves.
Start with a full wash using a high-quality car shampoo. Follow up with a clay bar treatment to remove any embedded contaminants. This step ensures a smooth surface for polishing and waxing.
Next, polish the area to restore shine and remove any light swirls or haze. Use a finishing polish and a soft applicator pad. Finally, apply a durable wax or ceramic coating to protect the paint. A ceramic coating offers longer-lasting protection than traditional wax and can even outperform some PPFs in terms of gloss and ease of cleaning.
Should You Reapply PPF?
That’s up to you. If you live in an area with lots of road debris, drive frequently on highways, or just want maximum protection, reapplying PPF is a smart move. Modern films are clearer, more durable, and easier to install than ever. Many come with self-healing properties that repair minor scratches with heat.
Alternatively, you might opt for a ceramic coating, which provides excellent UV protection, water beading, and a deep shine—without the bulk of a film. Some car owners even combine both: PPF on high-impact zones and ceramic coating on the rest.
Final Thoughts
Removing paint protection film from a car might seem daunting at first, but with the right tools, techniques, and a bit of patience, it’s a task any car owner can handle. The key is to work slowly, use heat wisely, and never rush the process.
Remember: your car’s paint is valuable—treat it with care. Avoid harsh chemicals, sharp tools, and excessive force. And always finish with a proper wash, polish, and protective coating to keep your ride looking its best.
Whether you’re prepping for a new look or just maintaining your vehicle, knowing how to remove paint protection film gives you greater control over your car’s appearance and longevity. So grab your heat gun, take a deep breath, and get started—you’ve got this.
Frequently Asked Questions
Can I remove paint protection film myself?
Yes, most car owners can safely remove PPF at home with basic tools like a heat gun, plastic scraper, and isopropyl alcohol. Just take your time and follow proper techniques to avoid damage.
Will removing PPF damage my car’s paint?
When done correctly, PPF removal should not damage the paint. The film is designed to protect the clear coat, and modern adhesives are formulated to release cleanly with heat and solvent.
How long does it take to remove paint protection film?
The time varies based on the size of the area and film condition. A small section like a mirror might take 15–30 minutes, while a full hood could take 1–2 hours.
What if the adhesive won’t come off?
Use a stronger adhesive remover or let the solvent sit longer. Reapply heat if needed, and gently work the residue with a microfiber towel. Avoid scrubbing too hard.
Can I use a razor blade to remove PPF?
Only if it’s a plastic razor blade and used carefully on non-painted surfaces. Never use metal blades directly on paint—they can scratch or gouge the clear coat.
Should I wax my car after removing PPF?
Yes! Once the film is off, your paint is exposed. Washing, polishing, and applying wax or sealant protects the surface and restores shine.

At CarLegit, we believe information should be clear, factual, and genuinely helpful. That’s why every guide, review, and update on our website is created with care, research, and a strong focus on user experience.