
Scratches on black plastic car interiors can be unsightly, but they’re often easy to fix with the right approach. From minor surface marks to deeper gouges, this guide walks you through safe, affordable, and effective solutions using common household products and specialized tools.
In This Article
- 1 Key Takeaways
- 2 📑 Table of Contents
- 3 Why Black Plastic Car Interiors Get Scratched—And Why It Matters
- 4 Understanding the Types of Scratches on Black Plastic
- 5 Tools and Materials You’ll Need
- 6 Step-by-Step Methods to Remove Scratches
- 7 When to Call a Professional
- 8 Final Thoughts: Keep Your Interior Looking Like New
- 9 Frequently Asked Questions
Key Takeaways
- Act quickly: The sooner you treat scratches, the better your results will be—fresh marks are easier to buff out.
- Clean first: Always clean the area before attempting any repair to avoid grinding dirt into the plastic.
- Use gentle abrasives: Toothpaste, baking soda, or plastic polish can smooth out light scratches without damaging the surface.
- Try heat for deeper marks: A hairdryer can help “heal” shallow scratches by slightly melting the plastic surface back into place.
- Apply protectants: After repair, use a UV-protectant plastic restorer to prevent fading and future damage.
- Avoid harsh chemicals: Ammonia-based cleaners and abrasive scrubbers can worsen scratches or discolor black plastic.
- Know when to replace: Severe damage may require professional help or part replacement for a flawless finish.
📑 Table of Contents
- Why Black Plastic Car Interiors Get Scratched—And Why It Matters
- Understanding the Types of Scratches on Black Plastic
- Tools and Materials You’ll Need
- Step-by-Step Methods to Remove Scratches
- Preventing Future Scratches on Black Plastic Interiors
- When to Call a Professional
- Final Thoughts: Keep Your Interior Looking Like New
Why Black Plastic Car Interiors Get Scratched—And Why It Matters
If you’ve ever opened your car door and noticed a fresh scratch on the dashboard, door panel, or center console, you’re not alone. Black plastic interiors are sleek, modern, and stylish—but they’re also magnets for visible wear and tear. Unlike lighter-colored materials, scratches, scuffs, and swirl marks stand out like sore thumbs against the deep black finish. Over time, these imperfections can make even a well-maintained car feel worn and neglected.
But here’s the good news: most scratches on black plastic car interiors aren’t permanent. With the right tools and techniques, you can restore that factory-fresh look without spending hundreds at a detailing shop. Whether it’s a tiny mark from dropping your keys or a deeper groove from repeated use, there’s a solution that fits your skill level and budget. The key is understanding the type of scratch you’re dealing with and choosing the right method to fix it.
In this guide, we’ll walk you through everything you need to know about how to remove scratches from black plastic car interior surfaces. From quick DIY fixes using items you already have at home to more advanced techniques for stubborn damage, you’ll learn how to bring back that smooth, glossy finish. We’ll also cover prevention tips so you can keep your interior looking sharp for years to come.
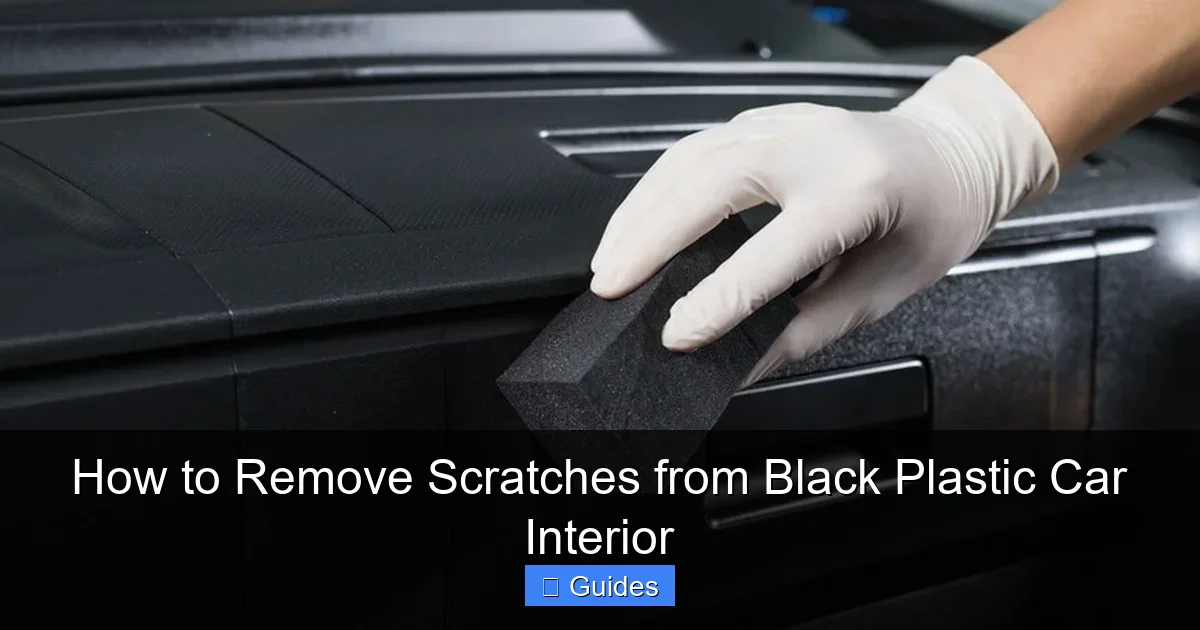
Understanding the Types of Scratches on Black Plastic
Visual guide about How to Remove Scratches from Black Plastic Car Interior
Image source: i0.wp.com
Before jumping into repairs, it’s important to identify what kind of scratch you’re working with. Not all marks are created equal—some are surface-level and easy to fix, while others go deeper and require more effort. Knowing the difference will save you time, frustration, and potential damage.
Surface Scratches (Hairline Marks)
These are the most common type of scratch on black plastic interiors. They appear as thin, light lines that only affect the top layer of the plastic. You might see them after wiping the dashboard with a dry cloth or from light contact with jewelry, keys, or phone cases. Surface scratches don’t penetrate deeply—they’re essentially cosmetic. Because they’re shallow, they respond well to gentle polishing and buffing. In many cases, you can make them disappear completely with household items like toothpaste or baking soda paste.
Moderate Scratches (Visible but Not Deep)
These scratches are more noticeable and may catch your fingernail when you run it over the surface. They’ve gone slightly deeper than surface marks but haven’t reached the underlying material. Moderate scratches often result from repeated friction—like sliding a phone across the center console or using a rough cleaning cloth. These require a bit more effort to fix, such as using a plastic polish or a fine-grit rubbing compound. With patience and the right technique, they can be significantly reduced or fully removed.
Deep Scratches (Gouges or Cuts)
These are the toughest to deal with. Deep scratches go through the outer layer and may expose lighter or differently colored plastic underneath. They’re often caused by sharp objects—like a key dragged across the dashboard or a dropped tool. In some cases, the plastic may even be cracked or chipped. While these are harder to fix at home, they’re not always hopeless. Techniques like heat treatment or plastic filler can help, but in severe cases, professional repair or part replacement might be the best option.
UV Damage and Fading (Not Technically Scratches, But Related)
Over time, exposure to sunlight can cause black plastic to fade, become brittle, and develop a chalky surface. This isn’t a scratch, but it can make the material more prone to cracking and scratching. UV damage often looks like a dull, grayish haze over the plastic. While it can’t be “repaired” in the traditional sense, using a plastic restorer can rejuvenate the appearance and protect against future harm.
Understanding these categories helps you choose the right approach. For example, using a heavy abrasive on a surface scratch might over-polish and create swirl marks, while trying to buff out a deep gouge with toothpaste won’t do much. Take a close look under good lighting, run your finger over the area, and assess the depth before starting any repair.
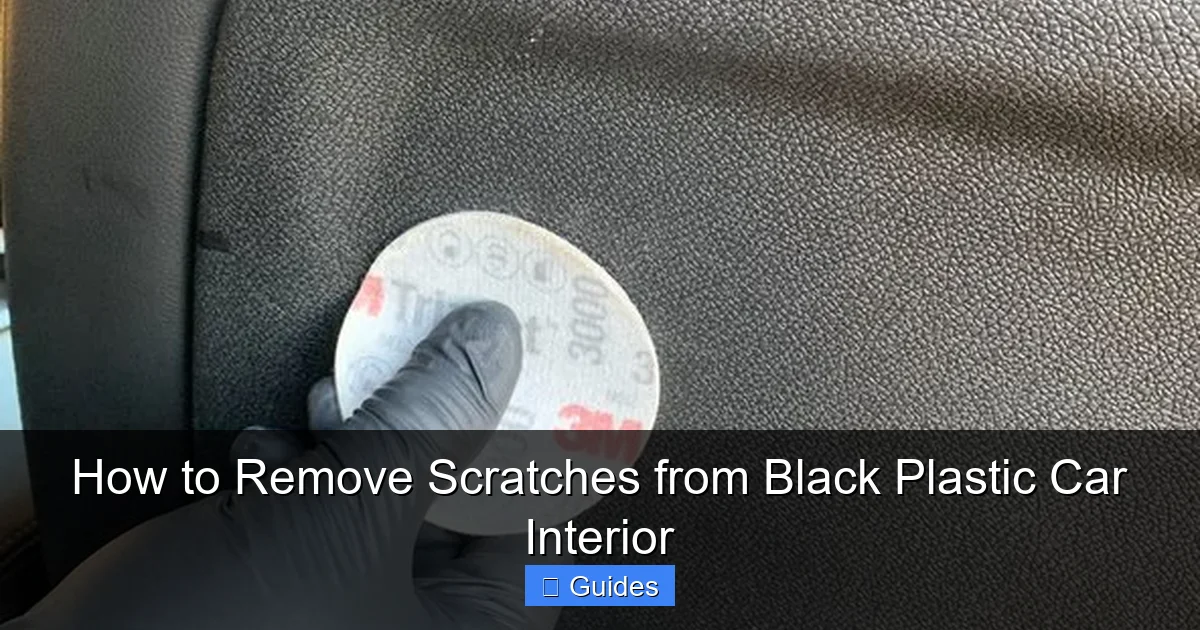
Tools and Materials You’ll Need
Visual guide about How to Remove Scratches from Black Plastic Car Interior
Image source: carproper.com
You don’t need a professional detailing kit to fix scratches on your black plastic car interior. Many effective solutions use items you probably already have at home. However, having the right tools on hand will make the process faster, safer, and more effective. Here’s a breakdown of what you’ll need, from basic household items to optional specialty products.
Household Items for Light Repairs
For surface and light moderate scratches, you can often get great results with common household products:
- Toothpaste (non-gel, non-whitening): Acts as a mild abrasive. Look for plain white toothpaste—avoid gel or colored varieties, which can leave residue.
- Baking soda: Mix with water to create a paste. It’s slightly more abrasive than toothpaste and great for slightly deeper marks.
- White vinegar: Helps clean the surface and can soften light scratches when used with a soft cloth.
- Microfiber cloths: Essential for applying and buffing without causing new scratches. Use clean, lint-free cloths.
- Water: For rinsing and diluting pastes.
Specialty Products for Better Results
If you’re dealing with more noticeable scratches or want a longer-lasting finish, consider investing in a few automotive-specific items:
- Plastic polish or rubbing compound: Designed specifically for plastic surfaces. Look for products labeled “for automotive use” or “safe for dashboards.”
- UV protectant plastic restorer: Products like Meguiar’s Ultimate Black Plastic Restorer or Mothers Back-to-Black help restore color and add a protective layer.
- Heat gun or hairdryer: Useful for heat-treating shallow scratches (more on this later).
- Fine-grit sandpaper (2000–3000 grit): Only for advanced users. Used wet, it can smooth out deeper scratches before polishing.
- Plastic filler or epoxy: For deep gouges, a two-part plastic filler can fill in the damaged area before sanding and polishing.
Cleaning Supplies
Before any repair, cleanliness is crucial. You’ll need:
- Isopropyl alcohol (70% or higher): Cleans grease and residue without leaving streaks.
- Mild soap and water: For initial cleaning.
- Cotton swabs or soft brushes: For getting into tight corners and vents.
Optional but Helpful Tools
- Soft-bristle toothbrush: Great for scrubbing textured plastic without damage.
- Foam applicator pad: Helps apply polish evenly.
- LED flashlight: Helps you see scratches clearly under different lighting angles.
Having these tools ready will streamline the process and reduce the risk of making the problem worse. Always test any product on a small, inconspicuous area first to ensure it doesn’t discolor or damage the plastic.
Step-by-Step Methods to Remove Scratches
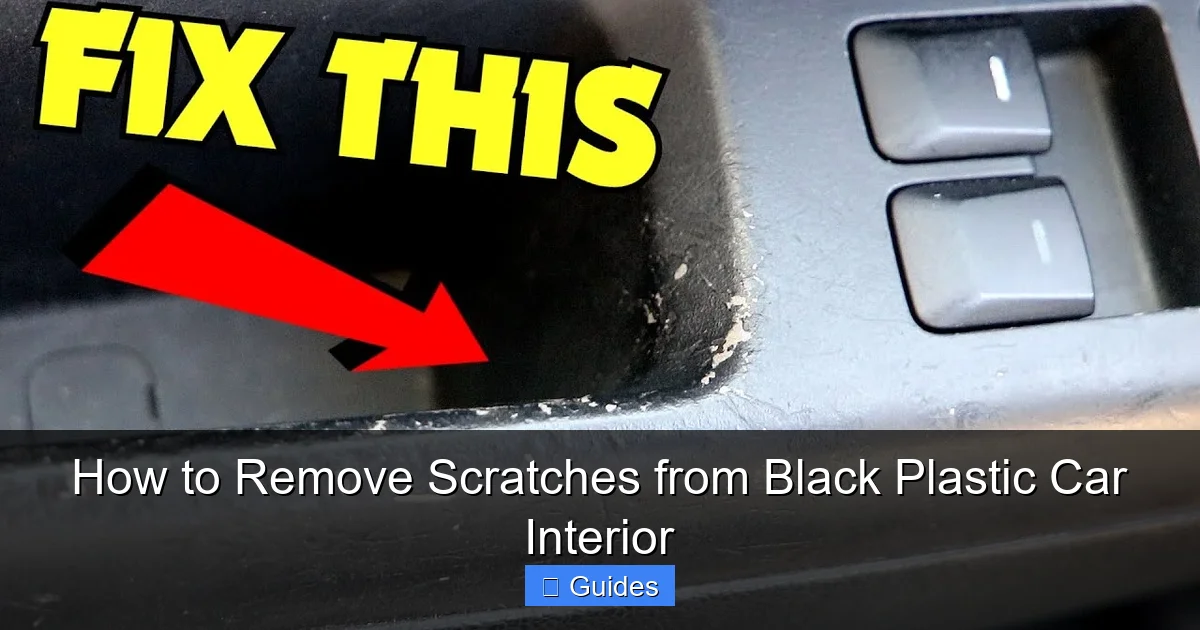
Visual guide about How to Remove Scratches from Black Plastic Car Interior
Image source: i.ytimg.com
Now that you know what you’re dealing with and have your tools ready, let’s dive into the actual repair process. We’ll cover several proven methods, starting with the simplest and moving to more advanced techniques. Choose the one that best matches your scratch type and comfort level.
Method 1: Toothpaste or Baking Soda Paste (Best for Surface Scratches)
This is the go-to method for light, everyday scratches. It’s safe, affordable, and effective.
Step 1: Clean the Area
Wipe the scratched surface with a damp microfiber cloth to remove dust and debris. Follow up with a wipe using isopropyl alcohol to eliminate oils and grime. Let it dry completely.
Step 2: Make the Paste
For toothpaste: Use a pea-sized amount of non-gel, non-whitening toothpaste. For baking soda: Mix 1 tablespoon of baking soda with a few drops of water to form a thick paste.
Step 3: Apply and Buff
Using a clean microfiber cloth, apply the paste directly to the scratch. Rub in small, circular motions with light to medium pressure. Focus only on the scratched area—don’t spread the paste too widely. Continue for 1–2 minutes.
Step 4: Wipe and Inspect
Use a damp cloth to wipe away the paste. Dry with a clean microfiber cloth. Check under good lighting. If the scratch is still visible, repeat the process. Most surface scratches disappear after 1–3 applications.
Pro Tip: Don’t press too hard—gentle, consistent pressure works better than aggressive scrubbing.
Method 2: Plastic Polish or Rubbing Compound (For Moderate Scratches)
Step 1: Clean ThoroughlyAs before, clean the area with soap and water, then wipe with alcohol. Dry completely.
Step 2: Apply Polish
Put a small amount of plastic polish on a foam applicator pad or microfiber cloth. Apply it directly to the scratch using circular motions. Work in a small section at a time.
Step 3: Buff to a Shine
After applying, continue buffing with firm, even pressure. You should see the scratch begin to fade. Keep going until the area looks smooth and uniform with the surrounding plastic.
Step 4: Wipe and Protect
Remove any residue with a clean cloth. For best results, follow up with a plastic restorer to add shine and UV protection.
Example: A scratch on the driver’s side door panel from repeated arm contact can often be erased with one application of Meguiar’s PlastX.
Method 3: Heat Treatment (For Shallow Scratches)
Step 1: Clean the AreaWipe the surface clean and dry.
Step 2: Apply Heat
Use a hairdryer on medium heat (not high—too much heat can warp the plastic). Hold it 6–8 inches away from the scratch and move it back and forth. Heat the area for 30–60 seconds. You’ll notice the scratch begin to fade as the plastic softens.
Step 3: Let It Cool
Turn off the hairdryer and let the plastic cool naturally. Do not touch it while warm.
Step 4: Polish if Needed
If a faint mark remains, follow up with toothpaste or plastic polish.
Warning: Do not use a heat gun unless you’re experienced—it’s easy to overheat and damage the plastic.
Method 4: Wet Sanding and Polishing (For Deep Scratches)
Step 1: Clean and MaskClean the area thoroughly. Use painter’s tape to protect surrounding surfaces.
Step 2: Wet Sand
Use 2000-grit wet sandpaper. Dip it in water and sand the scratched area using light, circular motions. Keep the surface wet at all times. Sand until the scratch is level with the surrounding plastic. Switch to 3000-grit for a finer finish.
Step 3: Polish
Apply plastic polish and buff with a microfiber cloth until the surface is smooth and shiny.
Step 4: Restore
Apply a plastic restorer to protect the newly smoothed surface.
Note: This method requires patience and practice. If done incorrectly, it can leave swirl marks or uneven texture.
Method 5: Plastic Filler for Deep Gouges
Step 1: Clean and DryEnsure the area is completely clean and dry.
Step 2: Apply Filler
Use a two-part plastic epoxy or filler. Mix according to instructions and apply it to the gouge using a plastic spatula or toothpick. Overfill slightly, as it will shrink as it dries.
Step 3: Let It Cure
Allow the filler to harden completely (usually 1–2 hours).
Step 4: Sand and Polish
Sand the filled area with 2000–3000 grit wet sandpaper until smooth. Polish and restore as described above.
This method can restore structural integrity and appearance, but it’s best for non-flexible parts like dashboards or trim pieces.
Preventing Future Scratches on Black Plastic Interiors
Once you’ve restored your black plastic interior, the last thing you want is to see new scratches appear. Prevention is just as important as repair. With a few simple habits and protective measures, you can keep your car’s interior looking sharp for years.
Use Soft, Clean Cloths for Cleaning
Always use microfiber cloths when wiping down plastic surfaces. Avoid paper towels, rough sponges, or old t-shirts, which can leave micro-scratches over time. Wash your microfiber cloths regularly to remove built-up dirt and oils.
Apply a Protective Coating
After cleaning or repairing, apply a high-quality plastic restorer with UV protection. These products not only enhance shine but also create a barrier against sun damage and minor abrasions. Reapply every 2–3 months, especially if your car is parked in direct sunlight.
Be Mindful of What You Place on Surfaces
Avoid placing hard or sharp objects directly on plastic panels. Use phone mounts instead of resting your device on the dashboard. Keep keys, pens, and tools in compartments or bags. Even soft items like sunglasses can cause scratches if dragged across the surface.
Use Dashboard Mats or Covers
Consider using a dashboard cover or sunshade, especially if your car is often parked outside. These reduce UV exposure and prevent heat buildup, which can weaken plastic over time. Some covers are designed to be stylish and blend with your interior.
Regular Maintenance
Make it a habit to wipe down your interior weekly. A quick pass with a damp microfiber cloth removes dust and prevents buildup that can lead to scratching during deeper cleaning. Use a mild cleaner designed for automotive interiors—avoid household cleaners with ammonia or bleach.
Park Smart
Whenever possible, park in the shade or use a car cover. UV rays are one of the biggest enemies of black plastic, causing fading, brittleness, and increased susceptibility to scratches.
By incorporating these habits, you’ll not only protect your investment but also reduce the need for frequent repairs. A little care goes a long way in maintaining that showroom-quality look.
When to Call a Professional
While most scratches on black plastic car interiors can be fixed at home, there are times when it’s best to seek professional help. Knowing when to step back can save you time, money, and potential damage.
Severe Structural Damage
If the plastic is cracked, warped, or missing large pieces, DIY methods may not be enough. Professionals have access to advanced tools and materials, such as plastic welding equipment, that can restore structural integrity.
Widespread Fading or Cracking
If your entire dashboard or door panels are faded, brittle, or covered in fine cracks, it may be a sign of advanced UV damage. In such cases, a professional detailer can assess whether restoration is possible or if replacement is the better option.
You’re Not Getting Results
If you’ve tried multiple methods and the scratches remain visible, it might be time to consult an expert. They can use professional-grade compounds, buffers, and techniques that go beyond what’s available to consumers.
Worried About Making It Worse
If you’re unsure about using heat, sanding, or fillers, don’t risk damaging your interior. A professional can handle the repair safely and often offers a warranty on their work.
Resale Value Concerns
If you’re preparing your car for sale, a professional touch-up can significantly boost its appeal and value. A flawless interior makes a strong impression on potential buyers.
Remember, there’s no shame in calling in the pros. Sometimes, the cost of professional repair is less than the value of a mistake made during DIY attempts.
Final Thoughts: Keep Your Interior Looking Like New
Scratches on black plastic car interiors are frustrating, but they don’t have to be permanent. With the right knowledge and tools, you can restore your car’s sleek, modern look using methods that are safe, affordable, and effective. From simple toothpaste fixes to advanced polishing techniques, there’s a solution for every type of damage.
The key is to act quickly, choose the right method for the job, and always prioritize cleaning and protection. Regular maintenance and smart habits can prevent most scratches before they happen. And when in doubt, don’t hesitate to seek professional help.
Your car’s interior is more than just a functional space—it’s a reflection of your pride and care. By learning how to remove scratches from black plastic car interior surfaces, you’re not just fixing imperfections; you’re preserving the beauty and value of your vehicle for years to come.
Frequently Asked Questions
Can I use WD-40 to remove scratches from black plastic?
WD-40 can temporarily hide light scratches by adding shine, but it’s not a repair solution. It doesn’t remove the scratch and can attract dust. For real results, use a proper plastic polish or abrasive method.
Will toothpaste damage my car’s interior?
Plain, non-gel toothpaste is generally safe for light polishing. Avoid whitening or gel formulas, which may contain harsh abrasives or dyes. Always test on a small area first.
How often should I apply plastic restorer?
For best results, apply a UV-protectant plastic restorer every 2–3 months, or more often if your car is exposed to direct sunlight daily. This helps maintain color and prevent future damage.
Can I use sandpaper on my dashboard?
Only use fine-grit wet sandpaper (2000–3000) on deep scratches and only if you’re experienced. Improper use can cause swirl marks or uneven surfaces. Start with gentler methods first.
Do scratches on black plastic affect resale value?
Yes, visible scratches can make your car look poorly maintained, potentially lowering its resale value. A clean, scratch-free interior signals care and attention to detail.
Is heat treatment safe for all plastic parts?
Heat treatment works best on rigid, non-flexible plastic like dashboards. Avoid using heat on thin or curved panels, as they can warp or melt. Always use a hairdryer on medium heat and keep it moving.

At CarLegit, we believe information should be clear, factual, and genuinely helpful. That’s why every guide, review, and update on our website is created with care, research, and a strong focus on user experience.