
Repairing a mobile home kitchen faucet doesn’t require a plumber or a big budget. With the right tools and a little know-how, you can fix common issues like leaks, drips, and low water pressure in under an hour.
In This Article
- 1 Key Takeaways
- 2 📑 Table of Contents
- 3 How to Repair a Mobile Home Kitchen Faucet
- 4 Understanding Your Mobile Home Kitchen Faucet
- 5 Tools and Materials You’ll Need
- 6 Step-by-Step Repair Process
- 7 Common Problems and How to Fix Them
- 8 When to Replace Instead of Repair
- 9 Preventative Maintenance Tips
- 10 Conclusion
- 11 Frequently Asked Questions
- 11.1 How do I know if my mobile home faucet is a compression or cartridge type?
- 11.2 Can I repair a mobile home faucet without turning off the water?
- 11.3 What causes a faucet to drip even after replacing the washer?
- 11.4 How often should I clean the aerator on my kitchen faucet?
- 11.5 Is it better to repair or replace an old mobile home faucet?
- 11.6 Can I use regular household tools to repair a mobile home faucet?
Key Takeaways
- Identify the faucet type first: Mobile homes often use compression or cartridge faucets, which require different repair approaches.
- Turn off the water supply before starting: Locate the shut-off valves under the sink to prevent flooding and water damage.
- Use the right tools: A basin wrench, adjustable wrench, and replacement parts like O-rings or cartridges are essential.
- Replace worn-out parts: Dripping faucets are often caused by damaged washers, O-rings, or cartridges—replace them to restore function.
- Check for mineral buildup: Hard water can clog aerators and valves; clean or replace them to improve water flow.
- Test after reassembly: Turn the water back on slowly and check for leaks or irregular spray patterns.
- Consider upgrading if repairs fail: If the faucet is old or frequently breaks, installing a new one may be more cost-effective.
📑 Table of Contents
How to Repair a Mobile Home Kitchen Faucet
If you live in a mobile home, you know how important it is to keep things running smoothly—especially the kitchen faucet. A dripping faucet or low water pressure can turn meal prep into a frustrating chore. The good news? You don’t need to call a plumber or spend hundreds of dollars to fix it. With a few basic tools and some patience, you can repair your mobile home kitchen faucet yourself.
Mobile home faucets are often smaller and more compact than those in traditional homes. They’re designed to fit tight spaces and work with lower water pressure. But that doesn’t mean they’re immune to wear and tear. Over time, parts like washers, O-rings, and cartridges can wear out, leading to leaks, drips, or even complete failure. The good news is that most of these issues are fixable with simple repairs.
In this guide, we’ll walk you through everything you need to know to repair your mobile home kitchen faucet. From identifying the type of faucet you have to replacing worn-out parts, we’ll cover it all. Whether you’re dealing with a constant drip, a loose handle, or no water at all, this step-by-step guide will help you get your faucet working like new again.
Understanding Your Mobile Home Kitchen Faucet
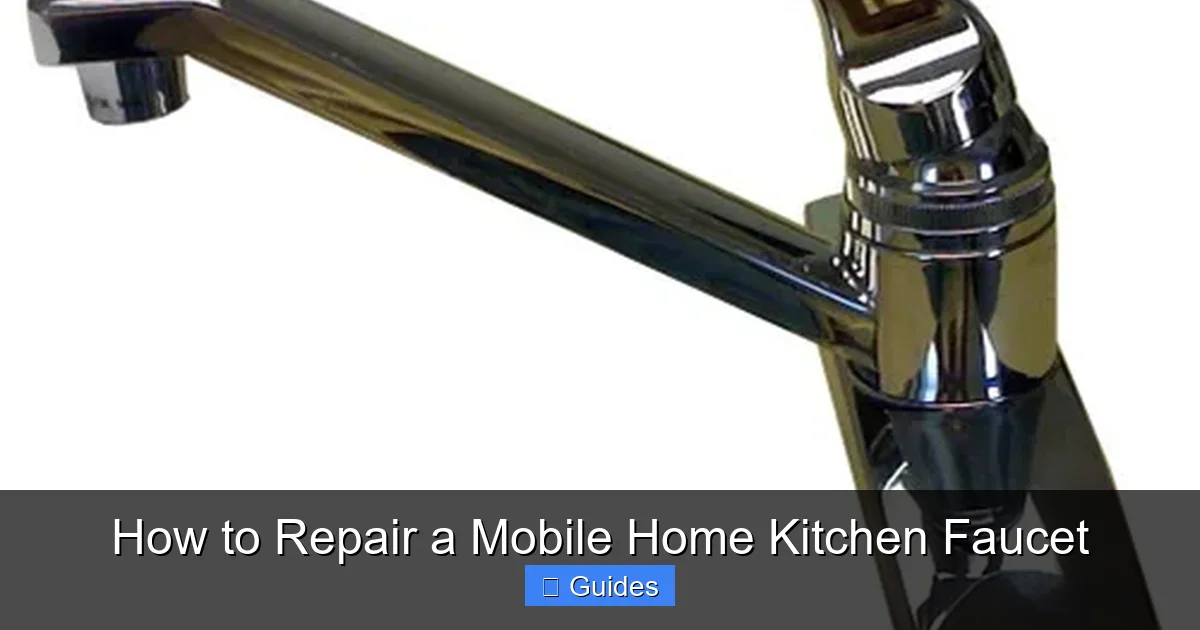
Visual guide about How to Repair a Mobile Home Kitchen Faucet
Image source: mobilehomeideas.com
Before you start any repair, it’s important to understand what kind of faucet you’re working with. Mobile homes typically use one of two types: compression faucets or cartridge faucets. Knowing the difference will help you choose the right repair method and replacement parts.
Compression Faucets
Compression faucets are the older style and are still common in many mobile homes. They have two handles—one for hot water and one for cold. When you turn the handle, it presses a rubber washer against a valve seat to stop the water flow. Over time, the washer can wear out, causing leaks.
These faucets are simple but require more maintenance. If your faucet drips even when the handle is fully closed, it’s likely a worn washer. You’ll also notice that the handles may feel stiff or hard to turn.
Cartridge Faucets
Cartridge faucets are more modern and common in newer mobile homes. They usually have a single handle that moves side to side and up and down to control temperature and flow. Inside, a cartridge controls the water mix and pressure. These faucets are more durable and less prone to leaks, but when they do fail, the entire cartridge often needs replacing.
If your faucet has a single handle and leaks from the spout or handle base, it’s probably a cartridge faucet. You might also notice inconsistent water temperature or difficulty adjusting the flow.
Identifying Your Faucet Type
To determine which type you have, look at the handles. Two separate handles mean it’s a compression faucet. A single handle that moves in multiple directions suggests a cartridge faucet. You can also check the manufacturer’s label under the sink or look up your mobile home model online for faucet specs.
Once you know the type, you can gather the right tools and parts. For compression faucets, you’ll need replacement washers and O-rings. For cartridge faucets, you’ll need a compatible cartridge. Most hardware stores carry universal kits that work with common mobile home faucets.
Tools and Materials You’ll Need
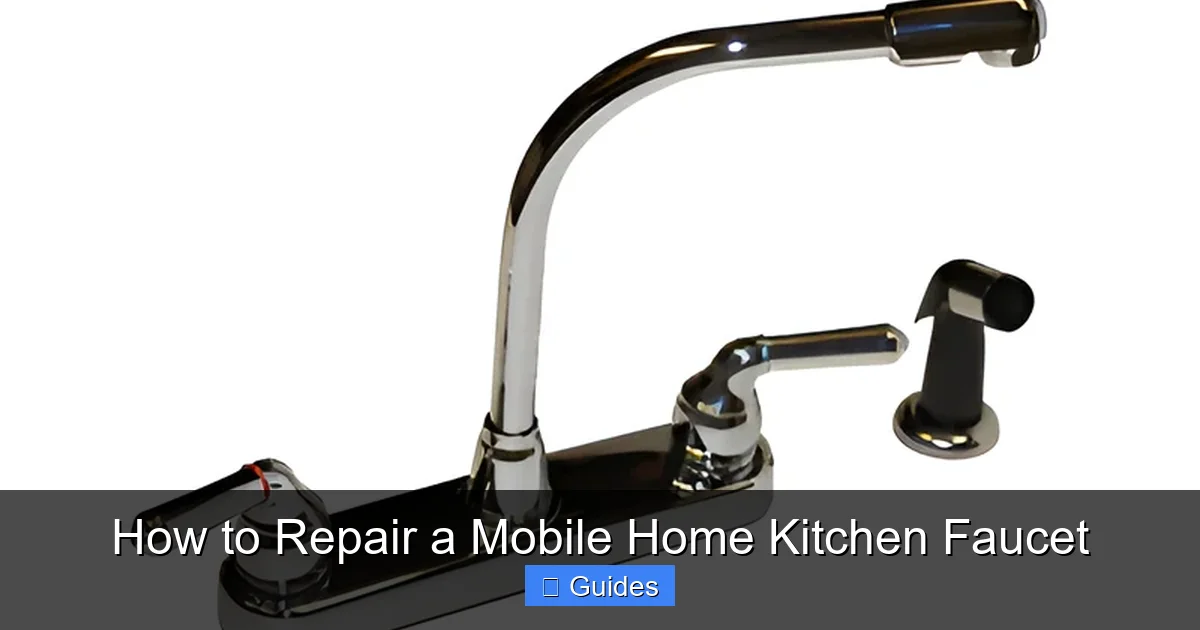
Visual guide about How to Repair a Mobile Home Kitchen Faucet
Image source: mobilehomeideas.com
Having the right tools makes all the difference when repairing a mobile home kitchen faucet. You don’t need a full plumbing toolkit, but a few essentials will make the job easier and safer.
Basic Tools
Start with these must-have tools:
– Adjustable wrench or basin wrench (a basin wrench is especially helpful for tight spaces under the sink)
– Screwdrivers (flathead and Phillips)
– Pliers (needle-nose and slip-joint)
– Towel or rag (to catch water and protect surfaces)
– Bucket or container (to collect water when disconnecting lines)
A basin wrench is a game-changer for mobile home repairs. It’s designed to reach nuts and bolts in tight, awkward spaces—perfect for under-sink work where your hands can’t fit.
Replacement Parts
You’ll also need replacement parts, which vary depending on your faucet type:
– For compression faucets: rubber washers, O-rings, and valve seats
– For cartridge faucets: replacement cartridge (match the brand and model if possible)
– Plumber’s tape (also called Teflon tape) for sealing threaded connections
– Penetrating oil (like WD-40) if nuts are stuck
You can find repair kits at most hardware stores. Look for “mobile home faucet repair kit” or “universal faucet repair kit.” These often include washers, O-rings, and cartridges that fit a variety of models.
Safety Gear
Don’t forget safety. Wear gloves to protect your hands from sharp edges and dirty water. Safety glasses are also a good idea, especially if you’re dealing with rusted parts that might break unexpectedly.
Step-by-Step Repair Process
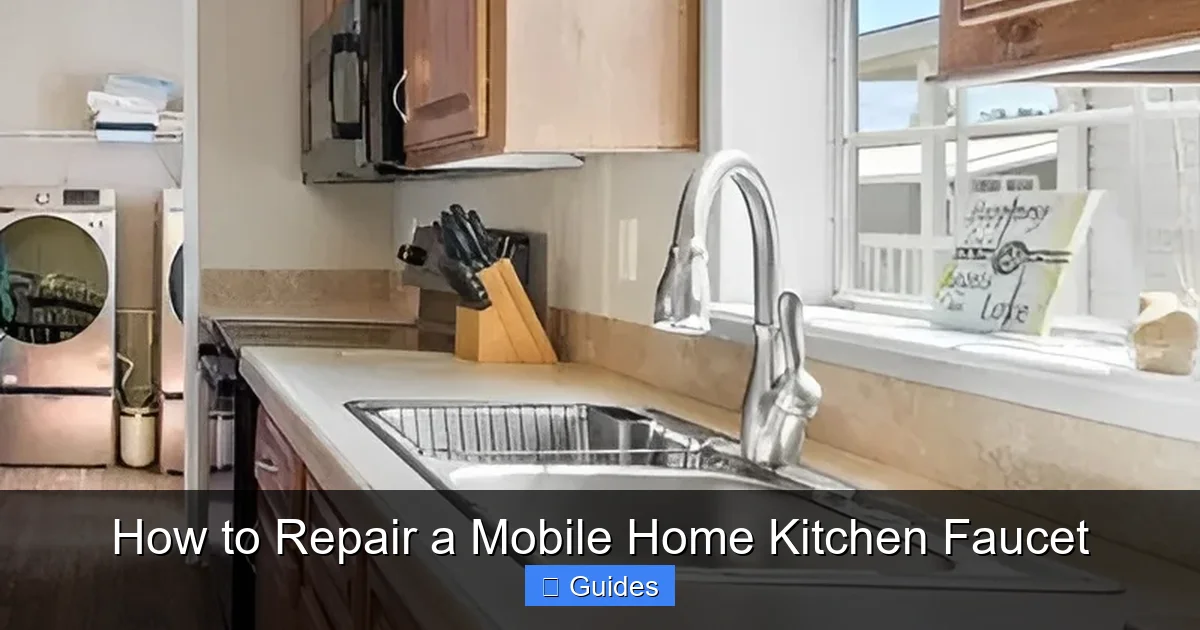
Visual guide about How to Repair a Mobile Home Kitchen Faucet
Image source: mobilehomeideas.com
Now that you’ve identified your faucet type and gathered your tools, it’s time to get to work. Follow these steps carefully to repair your mobile home kitchen faucet safely and effectively.
Step 1: Turn Off the Water Supply
Before you do anything, shut off the water. Look under the sink for two small valves—one for hot water and one for cold. Turn them clockwise until they’re fully closed. If you don’t see valves, you may need to shut off the main water supply to the home.
Once the water is off, turn on the faucet to release any remaining pressure. You should hear a small hiss as air escapes. Place a towel in the sink to catch any drips.
Step 2: Disconnect the Water Lines
Use your adjustable wrench to loosen the nuts connecting the water supply lines to the faucet. Be gentle—these lines can be fragile, especially in older mobile homes. If the nuts are stuck, spray them with penetrating oil and wait a few minutes before trying again.
Once the lines are disconnected, place a bucket underneath to catch any residual water. You can now remove the faucet from the sink.
Step 3: Remove the Faucet Handles
Use a screwdriver to remove the handle screws. On some faucets, the screw is hidden under a decorative cap. Gently pry off the cap with a flathead screwdriver or your fingernail.
Once the screw is out, wiggle the handle to remove it. If it’s stuck, tap it lightly with a rubber mallet or wrap a cloth around it and use pliers. Be careful not to damage the finish.
Step 4: Inspect and Replace Worn Parts
Now you can see the inner workings of your faucet. For compression faucets, look at the washer and O-ring. If the washer is cracked, flattened, or missing, replace it. Use pliers to remove the old washer and install the new one. Also check the O-ring—if it’s brittle or stretched, replace it too.
For cartridge faucets, locate the cartridge. It’s usually held in place by a retaining nut. Use your wrench to remove the nut, then pull out the cartridge. Take it to the hardware store to find an exact match. Insert the new cartridge, making sure it’s aligned correctly, and secure it with the retaining nut.
Step 5: Reassemble the Faucet
Once all parts are replaced, reassemble the faucet in reverse order. Reattach the handles, tighten the screws, and reconnect the water lines. Use plumber’s tape on the threaded connections to prevent leaks.
Make sure everything is snug but don’t overtighten—this can crack plastic parts or strip threads.
Step 6: Turn the Water Back On and Test
Slowly turn the water supply valves back on. Open the faucet and let the water run for a minute to flush out any debris. Check for leaks around the handles, spout, and connections.
If everything looks good, test the temperature and flow. The water should come out smoothly without sputtering or dripping.
Common Problems and How to Fix Them
Even after a repair, you might run into issues. Here are some common problems and quick fixes.
Dripping Faucet
A dripping faucet is usually caused by a worn washer or O-ring. If you’ve already replaced these and it still drips, check the valve seat. It may be corroded or pitted. Use a valve seat wrench to remove and replace it, or install a seat dressing tool to smooth it out.
Low Water Pressure
Low pressure often comes from a clogged aerator. Unscrew the tip of the spout and clean out any mineral deposits. Soak it in vinegar overnight for tough buildup. If the problem persists, check the water supply lines for kinks or blockages.
Loose or Wobbly Handle
A loose handle is usually due to a loose set screw or worn internal parts. Tighten the screw with a hex key. If that doesn’t work, the stem or cartridge may need replacing.
Water Leaking from the Handle Base
This is common in cartridge faucets. It means the cartridge O-rings are worn. Replace the cartridge or just the O-rings if they’re accessible.
No Hot or Cold Water
If only one side works, the issue is likely with the shut-off valve or the faucet’s internal valve. Check that the valve is fully open. If it is, the cartridge or stem may be damaged and need replacing.
When to Replace Instead of Repair
Sometimes, repairing just isn’t worth it. If your faucet is more than 10 years old, frequently leaks, or has major corrosion, it’s time to replace it.
Signs You Need a New Faucet
– Constant leaks even after repairs
– Rust or corrosion on the body
– Difficulty finding replacement parts
– Poor water flow that doesn’t improve
– You want to upgrade to a modern, water-efficient model
Choosing a Replacement Faucet
When shopping for a new faucet, look for one designed for mobile homes. These are shorter and fit standard 4-inch sink holes. Popular brands include Moen, Delta, and American Standard. Choose a model with a pull-down or pull-out sprayer for added convenience.
Installation Tips
Installing a new faucet is similar to repairing one. Turn off the water, remove the old faucet, and install the new one using the included hardware. Most kits come with step-by-step instructions. Use plumber’s putty or silicone sealant under the base to prevent leaks.
Preventative Maintenance Tips
To keep your faucet in good shape, follow these simple maintenance tips.
Clean the Aerator Monthly
Unscrew the aerator and rinse it under water. Soak it in vinegar weekly if you have hard water.
Check for Leaks Regularly
Look under the sink every few weeks for signs of moisture or dripping.
Lubricate Moving Parts
Use a food-safe lubricant on handle pivots and O-rings once a year to keep them moving smoothly.
Avoid Harsh Cleaners
Don’t use abrasive cleaners on the faucet finish. Stick to mild soap and water to prevent scratches and corrosion.
Conclusion
Repairing a mobile home kitchen faucet is a practical skill that saves time, money, and frustration. With the right tools and a little patience, you can fix most common issues yourself. Start by identifying your faucet type, gather the necessary parts, and follow the step-by-step process. Remember to turn off the water, replace worn components, and test thoroughly.
If repairs don’t solve the problem, don’t hesitate to upgrade to a new faucet. Modern models are more efficient, easier to use, and often come with warranties. And with regular maintenance, your new or repaired faucet will serve you well for years to come.
You don’t need to be a plumber to keep your kitchen running smoothly. With this guide, you’re ready to tackle any faucet issue that comes your way.
Frequently Asked Questions
How do I know if my mobile home faucet is a compression or cartridge type?
Look at the handles. Two separate handles (one for hot, one for cold) indicate a compression faucet. A single handle that moves side to side and up and down is usually a cartridge faucet.
Can I repair a mobile home faucet without turning off the water?
No, you should always turn off the water supply before repairing a faucet. Failing to do so can cause flooding and water damage.
What causes a faucet to drip even after replacing the washer?
A damaged or corroded valve seat can prevent the washer from sealing properly. Use a valve seat wrench to replace or smooth out the seat.
How often should I clean the aerator on my kitchen faucet?
Clean the aerator every month if you have hard water, or every three months if your water is soft. This prevents clogs and maintains good water flow.
Is it better to repair or replace an old mobile home faucet?
If the faucet is over 10 years old, leaks frequently, or has corrosion, replacing it is often more cost-effective and reliable than repeated repairs.
Can I use regular household tools to repair a mobile home faucet?
Yes, basic tools like screwdrivers, wrenches, and pliers work. A basin wrench is helpful for tight spaces under the sink but isn’t required.

At CarLegit, we believe information should be clear, factual, and genuinely helpful. That’s why every guide, review, and update on our website is created with care, research, and a strong focus on user experience.