
Repairing exterior RV walls is essential for maintaining your vehicle’s integrity, preventing leaks, and preserving its value. With the right tools, materials, and techniques, even beginners can tackle common issues like cracks, delamination, and water damage effectively.
In This Article
- 1 Key Takeaways
- 2 📑 Table of Contents
- 3 Introduction: Why Exterior RV Wall Repairs Matter
- 4 Common Types of Exterior RV Wall Damage
- 5 Tools and Materials You’ll Need
- 6 Step-by-Step Guide to Repairing Exterior RV Walls
- 7 Preventing Future Damage
- 7.1 Regular Inspections
- 7.2 Proper Sealing and Caulking
- 7.3 Wash and Wax Regularly
- 7.4 Protect from the Elements Whenever possible, park your RV in covered areas or use a quality RV cover. If storing long-term, choose a dry, shaded spot and use moisture absorbers inside to prevent humidity buildup. Avoid parking under trees that drop sap or branches. Address Leaks Immediately If you notice water stains or musty smells inside, investigate right away. Trace the leak to its source—often a failed seal or cracked vent. Temporary fixes like Eternabond tape can buy time, but permanent repairs should follow ASAP. Upgrade Weak Areas Consider reinforcing high-stress zones like entry doors, slide-outs, and rear bumpers. Add extra backing or use stronger sealants in these spots. Some owners install protective films or rock guards on front panels to prevent stone chips. By building these habits into your routine, you’ll spend less time repairing and more time enjoying the open road. When to Call a Professional While many exterior wall repairs are DIY-friendly, some situations call for expert help. Knowing when to step back and call a professional can save you time, money, and frustration. Extensive Delamination
- 7.5 Structural Damage
- 7.6 Roof and Wall Integration Problems
- 7.7 Lack of Experience or Tools
- 7.8 Warranty Concerns
- 8 Conclusion: Keep Your RV Looking and Performing Its Best
- 9 Frequently Asked Questions
Key Takeaways
- Identify the damage early: Regular inspections help catch cracks, soft spots, or discoloration before they worsen.
- Use the right materials: Fiberglass, aluminum, or laminated panels require specific repair products—match them to your RV’s construction.
- Seal all seams and joints: Proper sealing prevents water intrusion, a leading cause of exterior wall damage.
- Work in dry, warm conditions: Most adhesives and sealants cure best in temperatures above 50°F with low humidity.
- Reinforce weak areas: Adding backing support behind delaminated panels ensures long-lasting repairs.
- Finish with UV protection: Apply protective coatings to shield repaired areas from sun damage and fading.
- Maintain regularly: Annual checks and touch-ups extend the life of your RV’s exterior walls.
📑 Table of Contents
Introduction: Why Exterior RV Wall Repairs Matter
Owning an RV is more than just a hobby—it’s a lifestyle. Whether you’re a weekend warrior or a full-time nomad, your recreational vehicle is your home on wheels. And like any home, it needs regular maintenance to stay in top shape. One of the most critical areas to monitor? The exterior walls.
Over time, exposure to sun, rain, snow, and road debris can take a toll on your RV’s outer shell. Cracks, peeling panels, soft spots, and water stains are all signs that your walls may need attention. Ignoring these issues doesn’t just affect your RV’s appearance—it can lead to serious problems like mold, structural weakness, and costly interior damage. That’s why knowing how to repair exterior RV walls is a must-have skill for any RV owner.
The good news? With a little patience, the right tools, and some basic know-how, you can tackle most exterior wall repairs yourself. This guide will walk you through everything you need to know—from diagnosing common problems to choosing the best materials and techniques for lasting results. Whether you’re dealing with a small crack or a full panel delamination, we’ve got you covered.
Common Types of Exterior RV Wall Damage
Before jumping into repairs, it’s important to understand what kinds of damage you might encounter. RV exterior walls are typically made from fiberglass, aluminum, or laminated composites, and each material reacts differently to stress and weather. Here are the most common issues you’ll face:
Cracks and Scratches
Small cracks or surface scratches are often caused by flying rocks, tree branches, or accidental bumps. While they may seem minor, even tiny cracks can allow moisture to seep in, leading to bigger problems down the road. Fiberglass walls are especially prone to cracking, while aluminum may dent or scratch more easily.
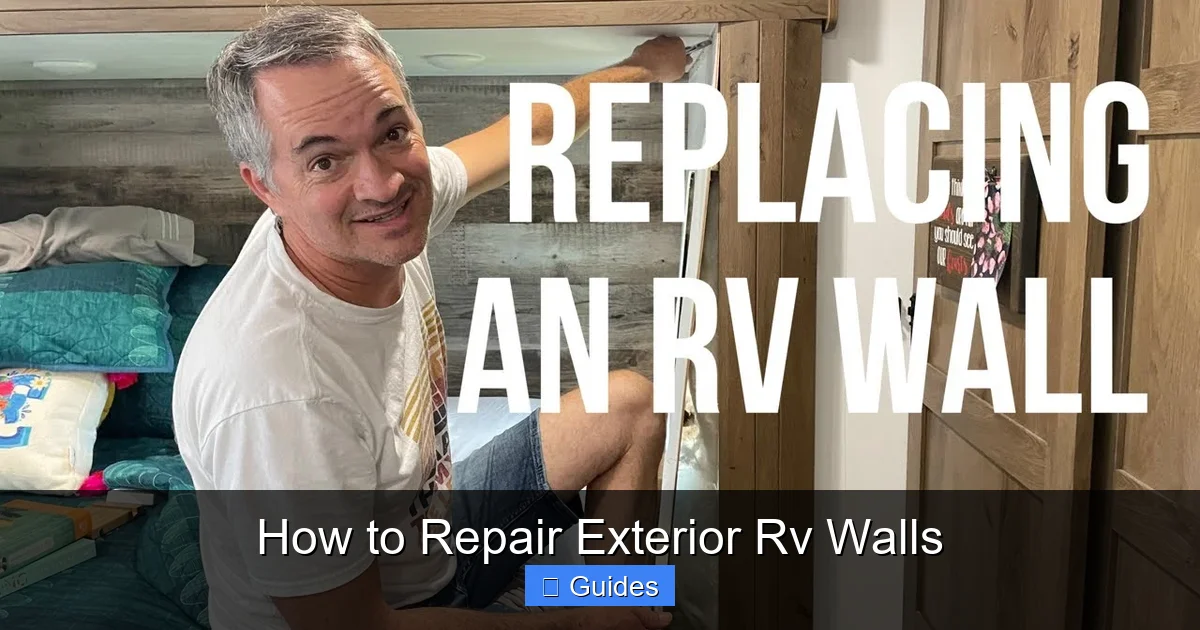
Visual guide about How to Repair Exterior Rv Walls
Image source: i.ytimg.com
Delamination
Delamination occurs when the outer skin of a laminated wall panel separates from the inner core (usually foam or wood). This often happens due to water intrusion or poor manufacturing. You’ll notice soft spots, bulging, or a spongy feeling when you press on the wall. Delamination weakens the structure and can lead to panel failure if not repaired promptly.
Water Damage and Rot
Water is the enemy of RV walls. Leaky seals around windows, vents, or seams can let moisture seep into the wall cavity. Over time, this causes rot in wooden cores or mold growth in foam insulation. Signs include discoloration, musty odors, or warped panels. If you find wet insulation, it must be dried or replaced to prevent further damage.
UV Damage and Fading
Constant exposure to sunlight breaks down paint and protective coatings, leading to fading, chalking, or brittleness. Fiberglass surfaces may become dull or develop a rough texture. While this doesn’t always affect structural integrity, it can make your RV look aged and reduce its resale value.
Panel Separation at Seams
RV walls are often made of multiple panels joined together. Over time, the adhesive or sealant at these seams can fail, causing gaps or lifting. This is especially common around corners or near rooflines. Left unchecked, these openings invite water and pests inside.
Understanding these issues helps you choose the right repair approach. Always inspect your RV thoroughly before starting any project—look for soft spots, cracks, or signs of moisture. A quick walk-around every few months can save you from major repairs later.
Tools and Materials You’ll Need
Having the right tools and materials on hand makes all the difference when repairing exterior RV walls. You don’t need a full workshop, but a few key items will ensure a professional-quality job. Here’s what to gather:
Basic Tools
- Utility knife: For cutting away damaged material or trimming sealant.
- Screwdrivers and drill: To remove screws holding panels or trim in place.
- Sandpaper or orbital sander: For smoothing surfaces before repair (80–220 grit recommended).
- Putty knife or scraper: To apply filler or remove old sealant.
- Caulking gun: For applying sealants and adhesives evenly.
- Measuring tape and marker: To mark areas for repair or cutting.
Repair Materials by Wall Type
The materials you use depend on your RV’s wall construction. Here’s a quick breakdown:
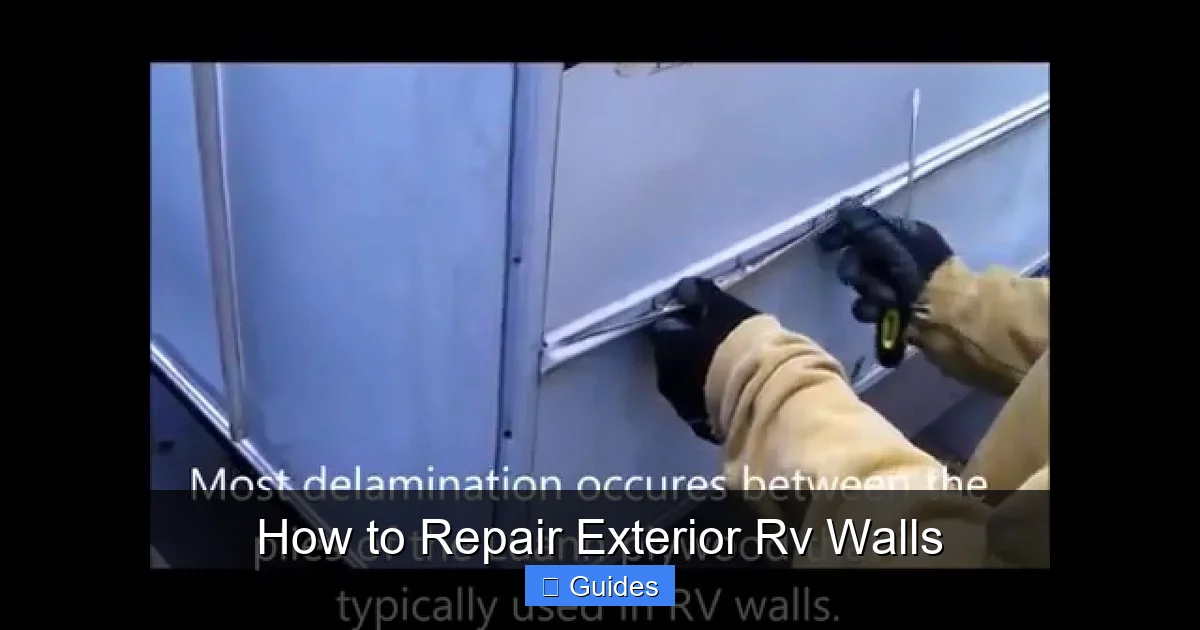
Visual guide about How to Repair Exterior Rv Walls
Image source: gocarlife.com
- Fiberglass walls: Use fiberglass resin, fiberglass cloth, and gelcoat for matching color and texture. Epoxy resin is stronger than polyester but more expensive.
- Aluminum walls: Aluminum patch sheets, self-tapping screws, and aluminum-compatible sealant (like Dicor or Sikaflex). Avoid steel fasteners—they can cause galvanic corrosion.
- Laminated panels: Construction adhesive (PL Premium or Liquid Nails), backing boards (like plywood orbacker board), and exterior-grade sealant. For delamination, you may also need injection syringes to apply adhesive behind the skin.
Sealants and Adhesives
Not all sealants are created equal. For RV use, choose products designed for outdoor, flexible, and waterproof applications. Popular options include:
- Dicor Self-Leveling Lap Sealant: Great for roof and seam sealing; self-leveling for smooth finishes.
- Sikaflex 221 or 252: Polyurethane-based, excellent for bonding and sealing metal and fiberglass.
- Eternabond Tape: A peel-and-stick waterproof tape ideal for quick seam repairs.
- 3M Marine Adhesive Sealant 5200: Extremely strong and waterproof—use sparingly as it’s hard to remove.
Safety Gear
Don’t forget protection! Wear gloves, safety glasses, and a dust mask when sanding or working with resins and solvents. Work in a well-ventilated area, especially when using chemical products.
Optional but Helpful
- Heat gun: To soften old sealant or gently warm panels for bending during repair.
- Vacuum or compressed air: To clean dust and debris from repair areas.
- Paint and primer: For finishing touches and UV protection.
Investing in quality materials upfront saves time and ensures durability. Cheap sealants or adhesives may fail within months, leading to repeat repairs. Stick with trusted RV-specific brands for the best results.
Step-by-Step Guide to Repairing Exterior RV Walls
Now that you’ve identified the damage and gathered your supplies, it’s time to get to work. The repair process varies slightly depending on the type of damage and wall material, but the general steps remain consistent. Follow this step-by-step guide for a smooth, effective repair.
Step 1: Prepare the Work Area
Start by parking your RV on level ground in a dry, shaded area. Avoid direct sunlight, which can cause sealants to cure too quickly. Clean the damaged area thoroughly with soap and water, then rinse and let it dry completely. Remove any loose debris, old sealant, or flaking paint using a scraper or wire brush.
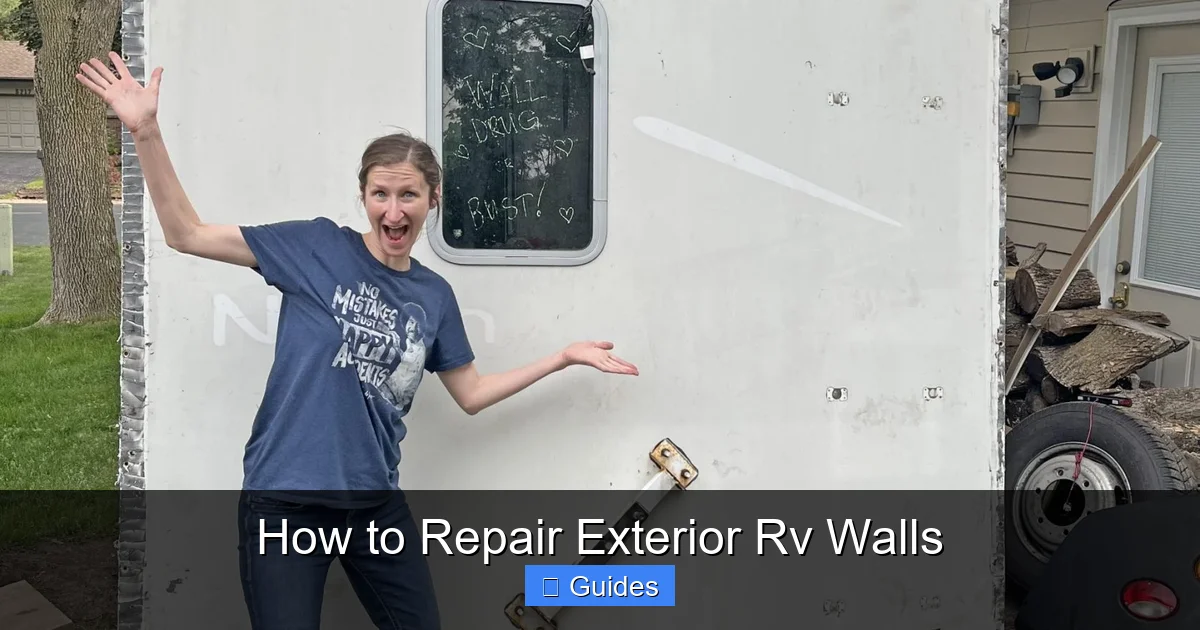
Visual guide about How to Repair Exterior Rv Walls
Image source: i.pinimg.com
Step 2: Assess and Mark the Damage
Use your hands to feel for soft spots or bulges. Mark the boundaries of the damaged area with a marker. For delamination, tap gently with a plastic mallet—hollow sounds indicate separation. For cracks, trace them with a fine-tip marker so you don’t lose sight of them during sanding.
Step 3: Remove Damaged Material
Cut away any rotten wood, loose foam, or compromised sealant. Use a utility knife or rotary tool for precision. Be careful not to cut too deep—you only want to remove the damaged portion. For delaminated panels, you may need to drill small access holes to inject adhesive later.
Step 4: Sand and Clean the Surface
Sand the area with 80-grit sandpaper to roughen the surface, then finish with 120–220 grit for smoothness. This helps adhesives and sealants bond better. Wipe away dust with a tack cloth or damp rag. Let it dry completely before proceeding.
Step 5: Apply Repair Material
The method depends on the damage type:
- For cracks in fiberglass: Mix resin and hardener, apply with a brush, then lay fiberglass cloth over the crack. Add more resin to saturate the cloth. Let it cure, then sand smooth.
- For delamination: Inject construction adhesive through drilled holes using a syringe. Clamp the panel if possible, or use weights to hold it in place while the adhesive cures (usually 24 hours).
- For aluminum dents: Use a rubber mallet to gently reshape the metal. For holes, cut a patch slightly larger than the damage, apply sealant, and screw it in place.
- For panel seams: Remove old sealant, clean the joint, and apply a bead of new sealant. Smooth with a wet finger or tool.
Step 6: Reinforce and Seal
For structural repairs, add backing support. Cut a piece of plywood orbacker board to fit behind the damaged area and secure it with screws. This provides a solid base for the outer panel. Then, apply a generous bead of sealant around the edges to prevent water intrusion.
Step 7: Finish and Protect
Once the repair is dry, sand any rough edges. Apply primer if painting, then use exterior-grade paint matched to your RV’s color. For fiberglass, finish with gelcoat and polish to restore shine. Finally, apply a UV-protective wax or sealant to guard against sun damage.
Take your time with each step—rushing can lead to mistakes. Most repairs take 1–3 days to fully cure, so plan accordingly.
Preventing Future Damage
Repairing exterior RV walls is only half the battle. The real win comes from preventing damage before it starts. A little proactive care goes a long way in extending the life of your RV’s exterior.
Regular Inspections
Make it a habit to inspect your RV’s exterior every 3–6 months. Look for cracks, soft spots, loose seals, or discoloration. Pay special attention to high-risk areas like roof seams, window frames, and corners. Early detection means easier, cheaper repairs.
Proper Sealing and Caulking
Seal all seams, vents, and penetrations with high-quality RV sealant. Re-caulk annually or whenever you notice cracks or gaps. Use self-leveling sealant on horizontal surfaces and non-sag formulas on vertical ones. Don’t forget the underside of roof edges and around awning mounts.
Wash and Wax Regularly
Washing your RV removes dirt, salt, and pollutants that can degrade paint and coatings. Use a mild soap and soft brush. After washing, apply a UV-protective wax or polymer sealant every 6 months. This creates a barrier against sun damage and makes future cleaning easier.
Protect from the Elements
Whenever possible, park your RV in covered areas or use a quality RV cover. If storing long-term, choose a dry, shaded spot and use moisture absorbers inside to prevent humidity buildup. Avoid parking under trees that drop sap or branches.
Address Leaks Immediately
If you notice water stains or musty smells inside, investigate right away. Trace the leak to its source—often a failed seal or cracked vent. Temporary fixes like Eternabond tape can buy time, but permanent repairs should follow ASAP.
Upgrade Weak Areas
Consider reinforcing high-stress zones like entry doors, slide-outs, and rear bumpers. Add extra backing or use stronger sealants in these spots. Some owners install protective films or rock guards on front panels to prevent stone chips.
By building these habits into your routine, you’ll spend less time repairing and more time enjoying the open road.
When to Call a Professional
While many exterior wall repairs are DIY-friendly, some situations call for expert help. Knowing when to step back and call a professional can save you time, money, and frustration.
Extensive Delamination
If large sections of your wall are delaminated or the core is severely rotted, the repair may require removing entire panels. This is complex and often requires specialized tools and skills. A professional can assess whether the structure is still sound and perform a full replacement if needed.
Structural Damage
Cracks that run along frame members, sagging walls, or signs of frame misalignment indicate deeper issues. These could affect your RV’s safety and require professional evaluation. Never ignore structural concerns—they can compromise your vehicle’s integrity.
Roof and Wall Integration Problems
Damage where the wall meets the roof is tricky. Water often pools here, and improper repairs can lead to leaks. If you’re unsure how to reseal this junction properly, it’s best to consult an RV technician.
Lack of Experience or Tools
If you’ve never worked with fiberglass, adhesives, or sealants, starting with a major repair can be risky. Mistakes can worsen the damage. Consider practicing on a small, inconspicuous area first—or hire someone with experience.
Warranty Concerns
If your RV is still under warranty, DIY repairs might void it. Check your manufacturer’s policy before making changes. Some companies only honor repairs done by certified technicians.
Don’t hesitate to seek help when needed. A professional repair might cost more upfront, but it ensures safety and longevity.
Conclusion: Keep Your RV Looking and Performing Its Best
Repairing exterior RV walls might seem daunting at first, but with the right approach, it’s a manageable task that pays off in the long run. From identifying common damage types to choosing the best materials and techniques, this guide equips you with everything you need to restore your RV’s exterior with confidence.
Remember, prevention is just as important as repair. Regular inspections, proper sealing, and protective maintenance will keep your walls strong and your adventures worry-free. And when in doubt, don’t hesitate to consult a professional—your safety and satisfaction are worth it.
Your RV is more than a vehicle—it’s your home, your escape, and your freedom. Taking care of its exterior walls protects not just its appearance, but its value and your peace of mind. So grab your tools, follow these steps, and get back to what matters most: the journey ahead.
Frequently Asked Questions
Can I repair RV wall damage myself?
Yes, most minor to moderate exterior wall repairs can be done by DIYers with basic tools and patience. Cracks, small delaminations, and sealant failures are common DIY projects. For major structural issues, consider professional help.
What’s the best sealant for RV exterior walls?
Dicor and Sikaflex are top choices for RV sealants. Dicor is ideal for seams and roofs, while Sikaflex offers strong bonding for metal and fiberglass. Always use RV-specific products for flexibility and waterproofing.
How do I fix delamination in RV walls?
Drill small holes into the delaminated area, inject construction adhesive (like PL Premium), and clamp or weight the panel until it cures. Add backing support for long-term strength.
How often should I inspect my RV’s exterior walls?
Inspect your RV’s exterior every 3–6 months, especially before and after long trips. Look for cracks, soft spots, and sealant failure. Early detection prevents costly repairs.
Can I paint over repaired RV walls?
Yes, once the repair is fully cured and sanded smooth, you can prime and paint the area. Use exterior-grade paint matched to your RV’s color, and finish with UV-protective wax.
What causes RV wall panels to bulge?
Bulging is usually a sign of delamination or water damage. Moisture gets trapped between the outer skin and inner core, causing separation and swelling. Immediate repair is needed to prevent further damage.

At CarLegit, we believe information should be clear, factual, and genuinely helpful. That’s why every guide, review, and update on our website is created with care, research, and a strong focus on user experience.
If you notice water stains or musty smells inside, investigate right away. Trace the leak to its source—often a failed seal or cracked vent. Temporary fixes like Eternabond tape can buy time, but permanent repairs should follow ASAP.
Upgrade Weak Areas
Consider reinforcing high-stress zones like entry doors, slide-outs, and rear bumpers. Add extra backing or use stronger sealants in these spots. Some owners install protective films or rock guards on front panels to prevent stone chips.
By building these habits into your routine, you’ll spend less time repairing and more time enjoying the open road.
When to Call a Professional
While many exterior wall repairs are DIY-friendly, some situations call for expert help. Knowing when to step back and call a professional can save you time, money, and frustration.
Extensive Delamination
If large sections of your wall are delaminated or the core is severely rotted, the repair may require removing entire panels. This is complex and often requires specialized tools and skills. A professional can assess whether the structure is still sound and perform a full replacement if needed.
Structural Damage
Cracks that run along frame members, sagging walls, or signs of frame misalignment indicate deeper issues. These could affect your RV’s safety and require professional evaluation. Never ignore structural concerns—they can compromise your vehicle’s integrity.
Roof and Wall Integration Problems
Damage where the wall meets the roof is tricky. Water often pools here, and improper repairs can lead to leaks. If you’re unsure how to reseal this junction properly, it’s best to consult an RV technician.
Lack of Experience or Tools
If you’ve never worked with fiberglass, adhesives, or sealants, starting with a major repair can be risky. Mistakes can worsen the damage. Consider practicing on a small, inconspicuous area first—or hire someone with experience.
Warranty Concerns
If your RV is still under warranty, DIY repairs might void it. Check your manufacturer’s policy before making changes. Some companies only honor repairs done by certified technicians.
Don’t hesitate to seek help when needed. A professional repair might cost more upfront, but it ensures safety and longevity.
Conclusion: Keep Your RV Looking and Performing Its Best
Repairing exterior RV walls might seem daunting at first, but with the right approach, it’s a manageable task that pays off in the long run. From identifying common damage types to choosing the best materials and techniques, this guide equips you with everything you need to restore your RV’s exterior with confidence.
Remember, prevention is just as important as repair. Regular inspections, proper sealing, and protective maintenance will keep your walls strong and your adventures worry-free. And when in doubt, don’t hesitate to consult a professional—your safety and satisfaction are worth it.
Your RV is more than a vehicle—it’s your home, your escape, and your freedom. Taking care of its exterior walls protects not just its appearance, but its value and your peace of mind. So grab your tools, follow these steps, and get back to what matters most: the journey ahead.
Frequently Asked Questions
Can I repair RV wall damage myself?
Yes, most minor to moderate exterior wall repairs can be done by DIYers with basic tools and patience. Cracks, small delaminations, and sealant failures are common DIY projects. For major structural issues, consider professional help.
What’s the best sealant for RV exterior walls?
Dicor and Sikaflex are top choices for RV sealants. Dicor is ideal for seams and roofs, while Sikaflex offers strong bonding for metal and fiberglass. Always use RV-specific products for flexibility and waterproofing.
How do I fix delamination in RV walls?
Drill small holes into the delaminated area, inject construction adhesive (like PL Premium), and clamp or weight the panel until it cures. Add backing support for long-term strength.
How often should I inspect my RV’s exterior walls?
Inspect your RV’s exterior every 3–6 months, especially before and after long trips. Look for cracks, soft spots, and sealant failure. Early detection prevents costly repairs.
Can I paint over repaired RV walls?
Yes, once the repair is fully cured and sanded smooth, you can prime and paint the area. Use exterior-grade paint matched to your RV’s color, and finish with UV-protective wax.
What causes RV wall panels to bulge?
Bulging is usually a sign of delamination or water damage. Moisture gets trapped between the outer skin and inner core, causing separation and swelling. Immediate repair is needed to prevent further damage.
At CarLegit, we believe information should be clear, factual, and genuinely helpful. That’s why every guide, review, and update on our website is created with care, research, and a strong focus on user experience.