
Resealing your RV roof is essential for preventing leaks, water damage, and costly repairs. This guide walks you through every step—from inspection to final sealing—using simple tools and proven techniques to keep your roof watertight and your travels worry-free.
In This Article
- 1 Key Takeaways
- 2 📑 Table of Contents
- 3 Why Resealing Your RV Roof Matters
- 4 When Should You Reseal Your RV Roof?
- 5 Tools and Materials You’ll Need
- 6 Step-by-Step Guide to Resealing Your RV Roof
- 7 Tips for a Long-Lasting Seal
- 8 Maintaining Your RV Roof After Resealing
- 9 Common Mistakes to Avoid
- 10 Conclusion
- 11 Frequently Asked Questions
Key Takeaways
- Regular inspection prevents major damage: Check your RV roof at least twice a year for cracks, peeling, or worn sealant.
- Choose the right sealant for your roof type: EPDM, TPO, fiberglass, and rubber roofs require specific sealants like silicone, acrylic, or self-leveling lap sealant.
- Clean thoroughly before resealing: Dirt, debris, and old sealant must be removed to ensure proper adhesion.
- Work in ideal weather conditions: Reseal on a dry, warm day (above 50°F) with low humidity for best results.
- Use proper safety gear and tools: Wear gloves, goggles, and non-slip shoes; use a ladder stabilizer and harness if needed.
- Apply sealant evenly and allow full cure time: Follow manufacturer instructions for drying and curing to avoid premature failure.
- Maintain your roof after resealing: Recheck seals every 6 months and clean the roof regularly to extend its life.
📑 Table of Contents
Why Resealing Your RV Roof Matters
Your RV roof is one of the most important—and often overlooked—parts of your vehicle. It’s constantly exposed to the elements: scorching sun, heavy rain, snow, wind, and temperature swings. Over time, even the best roofs develop cracks, gaps, and worn sealant that can lead to leaks. And once water gets inside, it can cause mold, rot, insulation damage, and costly interior repairs.
Resealing your RV roof isn’t just about fixing a problem—it’s about prevention. A well-maintained roof keeps your RV dry, energy-efficient, and safe. Think of it like changing the oil in your car: it’s routine maintenance that saves you from major breakdowns down the road. Whether you’re a weekend camper or a full-time RVer, knowing how to reseal a RV roof is a skill that pays off in peace of mind and long-term savings.
Many RV owners wait until they see a leak to take action, but by then, the damage may already be done. Proactive resealing every 1–3 years (depending on climate and usage) helps you catch small issues before they become big ones. Plus, the process is simpler than you might think—especially with the right tools, materials, and guidance.
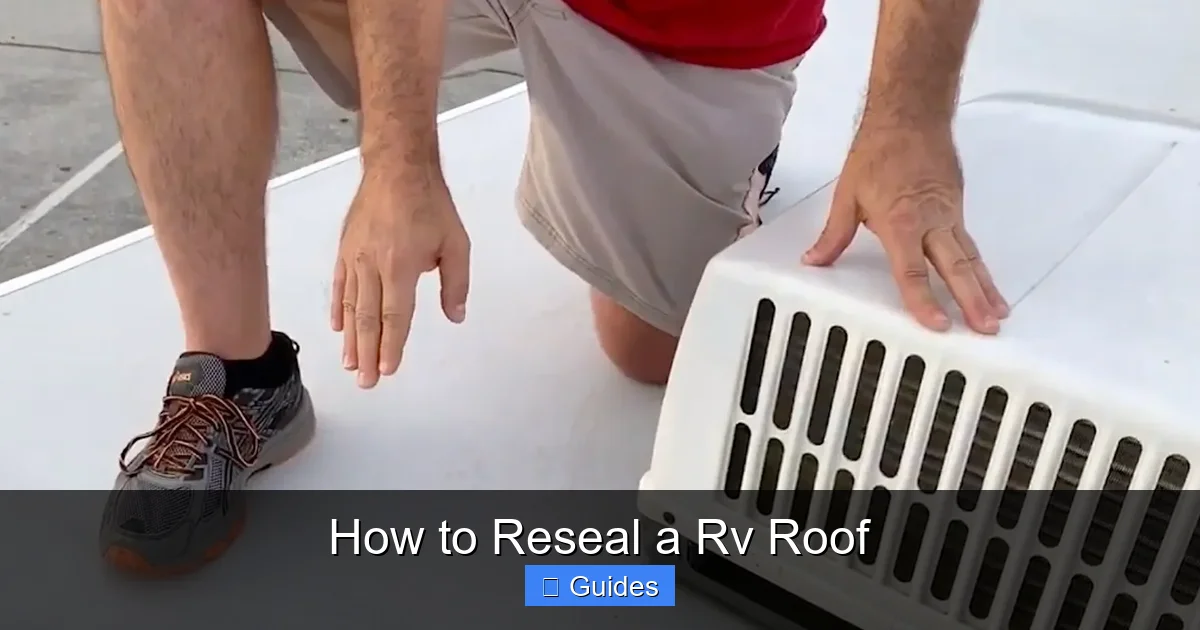
When Should You Reseal Your RV Roof?
Timing is everything when it comes to resealing. You don’t want to wait too long, but you also don’t want to do it too often. The general rule is to inspect your roof at least twice a year—once in spring before the camping season and once in fall before winter storage. During these inspections, look for signs that it’s time to reseal.
Visual guide about How to Reseal a Rv Roof
Image source: rooferdigest.com
Signs It’s Time to Reseal
- Visible cracks or gaps: Check around vents, seams, and roof edges. Even hairline cracks can let water in.
- Peeling or bubbling sealant: Old caulk or tape that’s lifting or separating needs to be replaced.
- Discoloration or chalky residue: This often indicates UV damage and breakdown of the roof material or sealant.
- Soft spots or sagging: These could signal water damage underneath the surface.
- Previous leaks: If you’ve had a leak before, that area needs extra attention during resealing.
How Often to Reseal
The frequency depends on several factors. If you live in a sunny, dry climate, your roof may last longer. But if you’re in a region with heavy rain, snow, or extreme temperature changes, you may need to reseal every year. Full-time RVers or those who travel frequently should inspect and reseal more often. A good rule of thumb: if the sealant looks dry, brittle, or cracked, it’s time to reapply.
Also consider your roof type. EPDM (rubber) roofs typically need resealing every 2–3 years, while TPO and fiberglass roofs may last longer with proper care. Always follow the manufacturer’s recommendations for your specific roof material.
Tools and Materials You’ll Need
Before you start, gather all the tools and materials. Having everything ready will make the job faster and safer. You don’t want to be halfway through and realize you’re missing a key item.
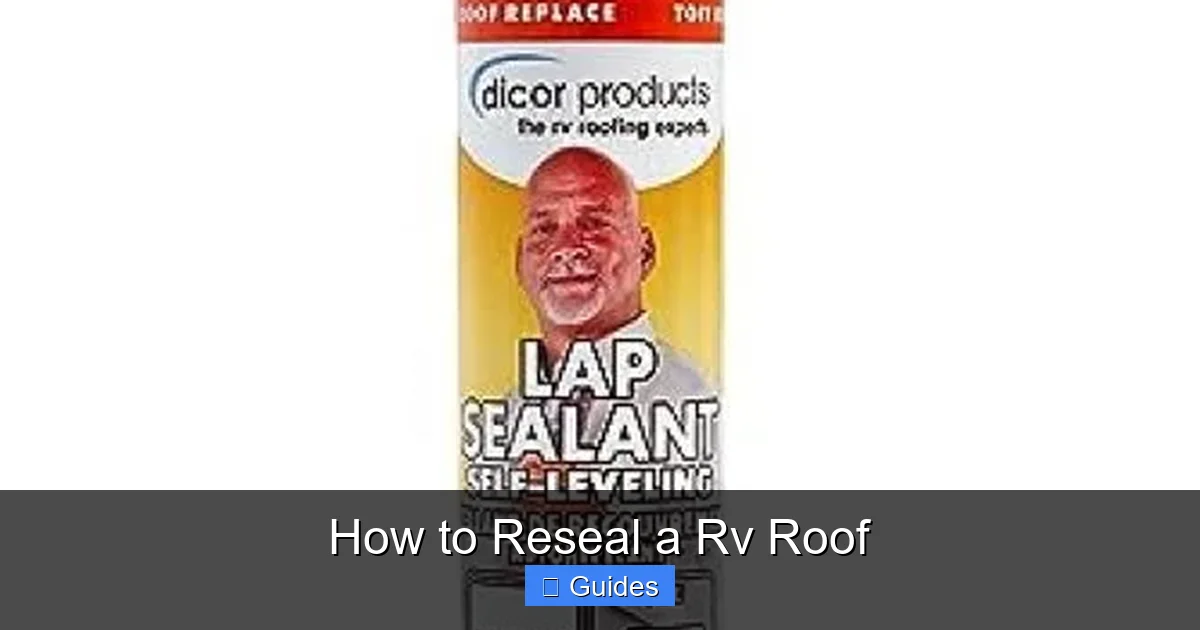
Visual guide about How to Reseal a Rv Roof
Image source: campergrid.com
Essential Tools
- Soft-bristle brush or broom: For sweeping off loose debris.
- RV roof cleaner: A specialized cleaner designed for your roof type (e.g., EPDM-safe cleaner).
- Garden hose with spray nozzle: For rinsing the roof.
- Plastic scraper or putty knife: To remove old sealant without damaging the roof.
- Wire brush (optional): For stubborn buildup, but use gently on rubber roofs.
- Sandpaper (fine grit, 120–220): To smooth rough edges around seams.
- Clean rags or microfiber cloths: For wiping and drying.
- Paint roller or brush: For applying liquid sealants.
- Caulking gun: For tube-based sealants.
- Ladder with stabilizer: To safely access the roof.
- Non-slip shoes and safety harness: Safety first—roofs can be slippery.
Recommended Sealants by Roof Type
- EPDM (Rubber) Roofs: Use EPDM-specific sealants like Dicor Self-Leveling Lap Sealant or Henry’s Tropi-Cool. Avoid petroleum-based products—they can degrade rubber.
- TPO Roofs: Use TPO-compatible sealants such as Dicor TPO Roof Sealant or Eternabond tape. These roofs are heat-welded, so sealants must bond well without damaging the material.
- Fiberglass Roofs: Use silicone or polyurethane-based sealants. Products like 3M Marine Adhesive Sealant or Sikaflex-295UV work well.
- Metal Roofs: Use butyl tape or self-leveling sealant designed for metal. Avoid silicone on galvanized metal—it may not adhere properly.
Safety Gear
Never skip safety. Wear gloves to protect your hands from chemicals and sharp edges. Safety goggles prevent debris from getting in your eyes. If your RV is tall or the roof is steep, consider a roof harness or ladder stabilizer. And always work with a partner if possible—someone can spot you and help in case of an emergency.
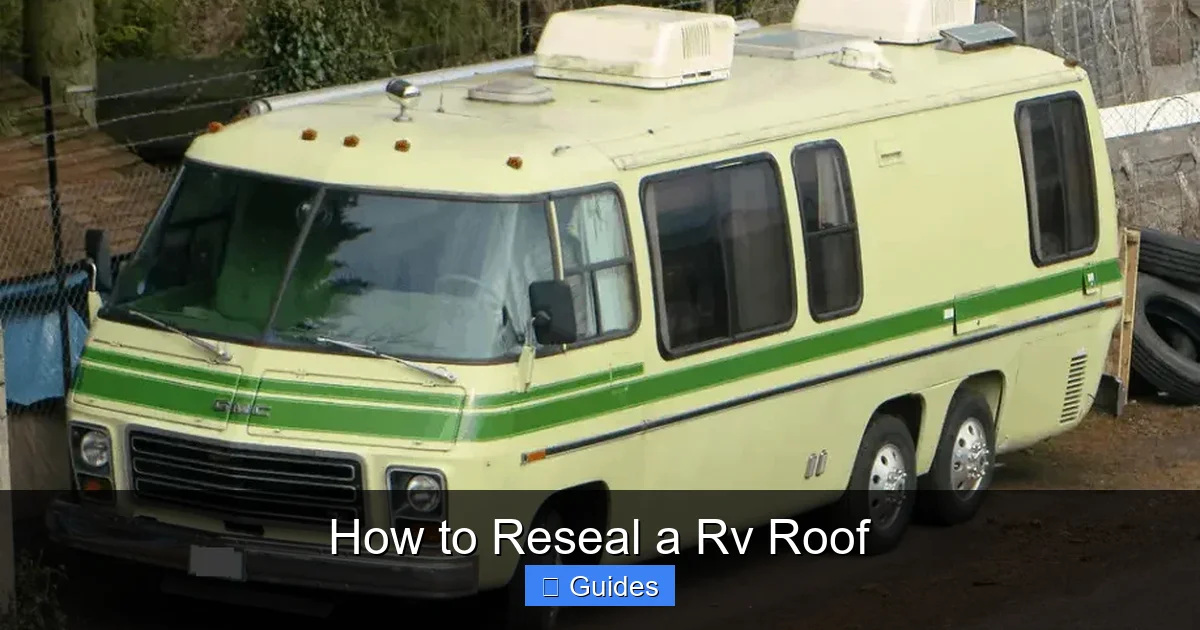
Step-by-Step Guide to Resealing Your RV Roof
Now that you’re prepared, let’s walk through the resealing process step by step. This method works for most RV roof types, but always check your manufacturer’s guidelines first.

Visual guide about How to Reseal a Rv Roof
Image source: i.ytimg.com
Step 1: Prepare the Roof
Start by parking your RV on a level surface. This ensures even application and prevents sealant from pooling. Turn off all power and remove any antennas, vents, or accessories that might get in the way. If you’re working near trees, cover the RV with a tarp to catch falling leaves or sap.
Next, sweep the roof with a soft-bristle broom to remove leaves, dirt, and loose debris. Don’t use a pressure washer—it can force water under the roof membrane and cause hidden damage. A gentle hose rinse is enough.
Step 2: Clean the Surface
Use an RV-specific roof cleaner. These are formulated to remove oxidation, mold, and old sealant without harming the roof. Apply the cleaner with a sponge or soft brush, working in small sections. Let it sit for 5–10 minutes (follow product instructions), then scrub gently. Pay extra attention to seams, vents, and around roof edges—these are common leak points.
Rinse thoroughly with a garden hose. Any leftover cleaner can interfere with sealant adhesion. Let the roof dry completely—this is critical. Moisture trapped under the sealant can cause bubbles or peeling. On a sunny day, this may take 2–4 hours. On cloudy days, allow a full day for drying.
Step 3: Remove Old Sealant
Inspect the roof for old caulk, tape, or sealant. Use a plastic scraper or putty knife to gently remove loose or peeling material. Be careful not to gouge the roof membrane. For stubborn residue, a wire brush can help, but use it lightly on rubber roofs to avoid tearing.
If you’re dealing with Eternabond tape, it can be tricky to remove. Some owners choose to apply new sealant over old tape if it’s still intact. However, for best results, remove it completely. Use a citrus-based adhesive remover to dissolve the backing, then peel it off. Wipe the area clean with a rag and let it dry.
Step 4: Sand and Smooth Edges
Use fine-grit sandpaper to smooth any rough spots around seams or penetrations. This helps the new sealant adhere better and creates a clean edge. Wipe away dust with a damp cloth and let it dry.
Step 5: Apply New Sealant
Now it’s time to apply the new sealant. The method depends on the product you’re using.
For self-leveling lap sealant (common for EPDM and TPO roofs), load the tube into a caulking gun. Apply a continuous bead along seams, around vents, and at roof edges. Use a putty knife or your finger (wearing gloves) to smooth the sealant into a neat, even layer. The sealant will self-level slightly, but you still want a consistent thickness.
For liquid sealants (like liquid Eternabond or roof coatings), use a paint roller or brush. Apply in thin, even coats. Multiple thin coats are better than one thick coat—they dry faster and are less likely to crack. Allow each coat to dry as recommended before applying the next.
For butyl tape or Eternabond tape, clean the area thoroughly, then press the tape firmly into place. Use a roller to ensure full adhesion. Overlap seams by at least 1 inch and avoid stretching the tape.
Always follow the manufacturer’s instructions for application thickness, drying time, and number of coats. Rushing this step can lead to premature failure.
Step 6: Inspect and Touch Up
Once the sealant is applied, do a final walk-around. Look for gaps, thin spots, or areas you may have missed. Touch up as needed. Pay special attention to corners and around roof fixtures—these are high-stress areas.
If you used tape, make sure there are no air bubbles or loose edges. Press them down firmly. For liquid sealants, check that the surface is smooth and even.
Tips for a Long-Lasting Seal
A good seal starts with good technique, but a few extra tips can make your work last longer.
Work in Ideal Conditions
Reseal on a dry, warm day. Ideal temperatures are between 50°F and 85°F (10°C–30°C). Avoid sealing in direct sunlight—it can cause the sealant to skin over too quickly, trapping moisture underneath. Also avoid windy days, which can blow dust onto wet sealant.
Don’t Overapply
More isn’t always better. Too much sealant can crack or peel. A bead about 1/4 inch thick is usually sufficient. For liquid coatings, follow the recommended mil thickness (usually 20–40 mils).
Use the Right Product for the Job
Don’t use household caulk on your RV roof. It’s not designed for UV exposure or flexing. Stick to RV-specific products that are flexible, waterproof, and UV-resistant.
Seal All Penetrations
Vents, skylights, air conditioners, and antenna mounts are common leak sources. Make sure each one is properly sealed. Use a combination of sealant and tape if needed. For roof vents, consider replacing the vent cover gasket if it’s cracked or brittle.
Consider a Roof Coating
For extra protection, some RVers apply a full roof coating after resealing. Products like Liquid Eternabond or Henry’s Tropi-Cool create a seamless, reflective layer that blocks UV rays and extends roof life. These are especially useful for older roofs or those in harsh climates.
Maintaining Your RV Roof After Resealing
Resealing is just one part of roof care. Regular maintenance keeps your roof in top shape between reseals.
Clean Regularly
Wash your roof every 3–6 months with a mild soap and water. Avoid harsh chemicals or abrasive scrubbers. A soft brush and hose are usually enough. Cleaning removes dirt, pollen, and bird droppings that can degrade the roof over time.
Inspect Frequently
Do a quick visual check every time you use your RV. Look for new cracks, loose seals, or debris buildup. Catching problems early saves time and money.
Trim Overhanging Branches
Trees can drop sap, leaves, and branches that damage the roof. Keep branches trimmed back from your RV, especially if you park under trees often.
Use a Roof Cover When Storing
If you store your RV outdoors, consider a breathable RV cover. It protects against UV rays, rain, and snow. Just make sure the cover doesn’t trap moisture—use support poles to keep it from sagging.
Recheck After Extreme Weather
After a storm, hail, or heavy snow, inspect your roof for damage. Even small dents or cracks can lead to leaks if left unchecked.
Common Mistakes to Avoid
Even experienced RVers make mistakes. Here are a few to watch out for:
- Skipping cleaning: Applying new sealant over dirt or old sealant leads to poor adhesion and early failure.
- Using the wrong sealant: Not all sealants are compatible with all roof types. Using the wrong one can cause damage.
- Working in bad weather: Rain, cold, or high humidity can ruin the sealant’s cure.
- Not allowing full cure time: Walking on the roof too soon can crack the sealant. Wait at least 24–48 hours before exposing it to water or foot traffic.
- Ignoring safety: Falls from RV roofs are a leading cause of injury. Always use proper safety equipment.
- Overlooking small details: A tiny gap around a vent can cause a big leak. Be thorough.
Conclusion
Resealing your RV roof might not be the most exciting part of RV ownership, but it’s one of the most important. A well-sealed roof protects your home on wheels from the elements, prevents costly repairs, and gives you peace of mind on the road. With the right tools, materials, and a little patience, anyone can do it.
Remember: regular inspection, proper cleaning, and using the right sealant for your roof type are the keys to success. Don’t wait for a leak to remind you—make resealing a routine part of your RV maintenance schedule. Your future self (and your wallet) will thank you.
Frequently Asked Questions
How often should I reseal my RV roof?
Most experts recommend resealing every 1–3 years, depending on climate, usage, and roof type. Inspect your roof twice a year and reseal when you see cracks, peeling, or worn sealant.
Can I walk on my RV roof after resealing?
Wait at least 24–48 hours before walking on the roof, or follow the manufacturer’s cure time. Walking too soon can crack or damage the fresh sealant.
What’s the best sealant for an EPDM roof?
Dicor Self-Leveling Lap Sealant and Henry’s Tropi-Cool are top choices for EPDM roofs. Avoid petroleum-based products, as they can degrade rubber.
Can I reseal over old sealant?
It’s best to remove old, peeling sealant for a strong bond. However, if the old sealant is still intact and clean, some products can be applied over it—check the manufacturer’s guidelines.
Do I need to remove the entire roof to reseal it?
No. Resealing is a surface-level repair. You only need to remove old sealant around seams, vents, and edges—not the entire roof membrane.
Is it safe to reseal my RV roof in the winter?
No. Most sealants require temperatures above 50°F (10°C) to cure properly. Cold weather can prevent adhesion and lead to failure. Wait for a warm, dry day.

At CarLegit, we believe information should be clear, factual, and genuinely helpful. That’s why every guide, review, and update on our website is created with care, research, and a strong focus on user experience.