

Resetting your auto leveling system can solve common 3D printing problems like uneven layers and poor bed adhesion. This guide walks you through the process clearly, whether you’re using a BLTouch, inductive sensor, or software-based leveling. Follow these steps to restore precision and get flawless prints every time.
If you’ve ever watched your 3D printer start a print only to see the first layer peel off, drag, or squish unevenly, you’ve probably encountered a problem with the auto leveling system. It’s frustrating—especially when you’ve spent hours designing or downloading a model. But here’s the good news: in most cases, the issue isn’t with your printer’s hardware or your skills—it’s simply that the auto leveling system needs a reset.
Auto leveling is one of the most helpful features in modern 3D printers. It automatically detects the shape of the print bed and adjusts the nozzle height accordingly, compensating for minor warps or uneven surfaces. This means you don’t have to manually level the bed every time you print. However, like any technology, it can drift out of sync due to dust, mechanical shifts, software glitches, or user error. When that happens, resetting the system often restores smooth, reliable performance.
In this guide, we’ll walk you through everything you need to know about how to reset auto leveling system—whether you’re using a popular probe like the BLTouch, an inductive sensor, or even a printer that relies on software-based mesh leveling. We’ll cover the causes of leveling issues, step-by-step reset procedures, calibration tips, and troubleshooting advice. By the end, you’ll have the confidence to fix leveling problems quickly and get back to printing high-quality models.
In This Article
- 1 Key Takeaways
- 2 📑 Table of Contents
- 3 Why Auto Leveling Systems Fail
- 4 Identifying Your Printer’s Auto Leveling Type
- 5 Step-by-Step Guide to Reset Auto Leveling System
- 6 Advanced Reset Techniques for Specific Printers
- 7 Troubleshooting Common Reset Issues
- 8 Preventing Future Leveling Problems
- 9 Conclusion
- 10 Frequently Asked Questions
Key Takeaways
- Understand why auto leveling fails: Dust, misalignment, firmware glitches, or sensor errors can disrupt the system, requiring a reset.
- Know your printer’s leveling type: Identify whether your printer uses a probe (like BLTouch), inductive sensor, or software-based mesh leveling to apply the correct reset method.
- Always power off before manual adjustments: Safety first—turn off the printer when touching hardware to avoid electrical damage or injury.
- Calibrate the Z-offset after resetting: A proper Z-offset ensures the nozzle is at the right height for the first layer, critical for print success.
- Use G-code commands for advanced resets: Commands like G28 (home all axes) and G29 (probe bed) help reinitialize the leveling system via the printer’s interface or slicer.
- Keep firmware updated: Outdated firmware can cause auto leveling bugs; check for updates from your printer manufacturer.
- Test with a simple print after reset: Run a single-layer test print to confirm the bed is level and adhesion is strong before resuming full prints.
📑 Table of Contents
Why Auto Leveling Systems Fail
Before diving into how to reset auto leveling system, it’s important to understand why these systems fail in the first place. Auto leveling isn’t magic—it’s a combination of hardware, software, and precise calibration. When one of these elements goes off, the whole system can become unreliable.
One of the most common causes is sensor contamination. Dust, filament residue, or even fingerprints on a probe like the BLTouch can interfere with its ability to detect the bed accurately. Over time, this buildup can cause false readings, leading to incorrect nozzle height adjustments. Similarly, inductive sensors can lose accuracy if metal shavings or debris accumulate near the sensor tip.
Mechanical issues also play a big role. If your printer’s gantry becomes misaligned—due to shipping, accidental bumps, or worn belts—the probe may not reach the bed at the correct angle. Even a slightly loose screw on the Z-axis can throw off the entire leveling process. Additionally, vibrations during printing can gradually shift components, requiring periodic resets.
Software and firmware problems are another frequent culprit. Outdated firmware may contain bugs that affect how the printer interprets sensor data. In some cases, a power outage or interrupted print can corrupt the stored mesh data, causing the printer to use an incorrect bed map. Even incorrect G-code settings in your slicer can interfere with the leveling process.
Finally, user error shouldn’t be overlooked. Skipping calibration steps, using the wrong Z-offset, or failing to level the bed manually before enabling auto leveling can all lead to poor results. Remember: auto leveling works best when it starts from a roughly level bed. It’s not a substitute for basic mechanical alignment.
Identifying Your Printer’s Auto Leveling Type
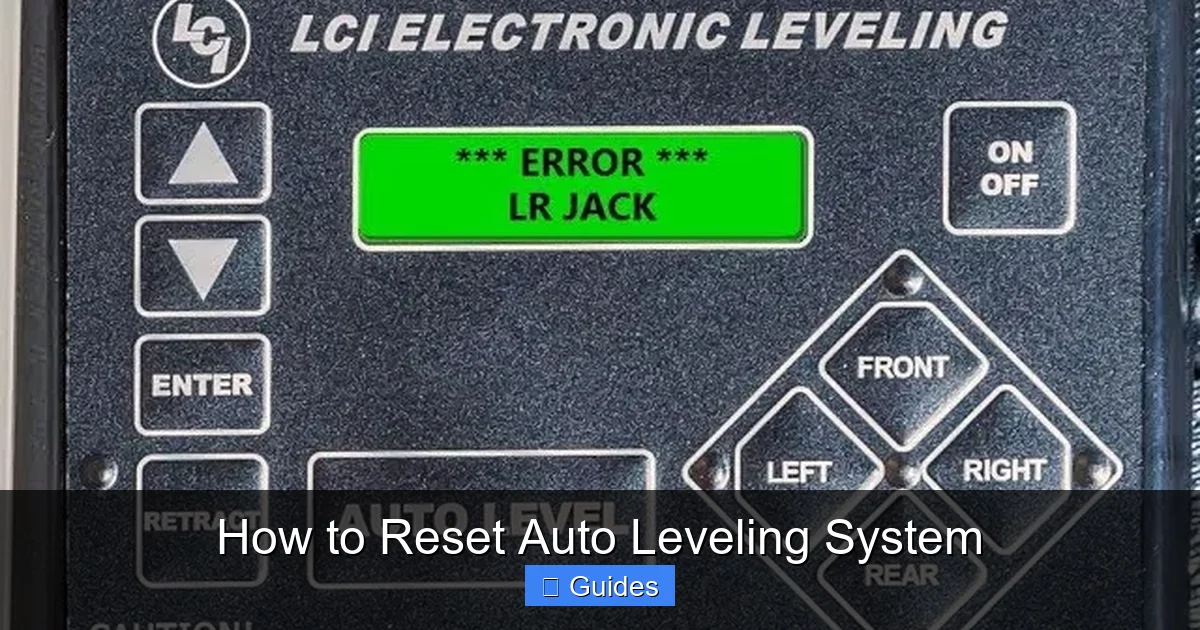
Visual guide about How to Reset Auto Leveling System
Image source: i.ytimg.com
Not all auto leveling systems are the same. Before you reset auto leveling system, you need to know what kind your printer uses. This determines the tools, steps, and commands required for a successful reset.
The most common types include probe-based systems (like BLTouch or inductive sensors), capacitive sensors, and software-based mesh leveling (such as Marlin’s Unified Bed Leveling or UBL). Some printers combine multiple methods for greater accuracy.
Probe-Based Systems (e.g., BLTouch)
The BLTouch is one of the most popular auto leveling probes. It uses a mechanical pin that physically touches the bed to detect its position. When the pin retracts, it sends a signal to the printer, which records the Z-height at that point. The printer then builds a 3D map of the bed and adjusts the nozzle accordingly.
To identify if your printer uses a BLTouch or similar probe, look for a small, retractable sensor near the nozzle. It often has a red or blue LED and connects to the mainboard via a dedicated cable. These systems are highly accurate but require proper installation and calibration.
Inductive and Capacitive Sensors
Inductive sensors detect metal surfaces using electromagnetic fields. They’re commonly used on printers with metal beds and don’t require physical contact. However, they can’t detect glass or non-metal surfaces unless a metal plate is added.
Capacitive sensors, on the other hand, can detect any conductive surface, including glass with a conductive coating. They’re less common but offer more flexibility. Both types are sensitive to distance and require careful Z-offset calibration.
Software-Based Mesh Leveling
Some printers use software to create a virtual bed map without a physical probe. Instead, they rely on the user to manually level the bed at several points, then store that data as a mesh. Marlin firmware supports this through features like Mesh Bed Leveling (MBL) or Unified Bed Leveling (UBL).
These systems don’t require extra hardware but depend heavily on accurate manual input. If the initial leveling is off, the entire mesh will be flawed. Resetting involves clearing the stored mesh and re-leveling.
Hybrid Systems
Many modern printers combine probe-based detection with software mesh generation. For example, a BLTouch might probe nine points on the bed, and the printer uses that data to generate a detailed mesh. This offers the best of both worlds—automation and precision.
Knowing your system type helps you choose the right reset method. Check your printer’s manual or manufacturer website if you’re unsure. You can also look at the startup sequence: if the nozzle moves to multiple points and a probe extends, you likely have a probe-based system.
Step-by-Step Guide to Reset Auto Leveling System
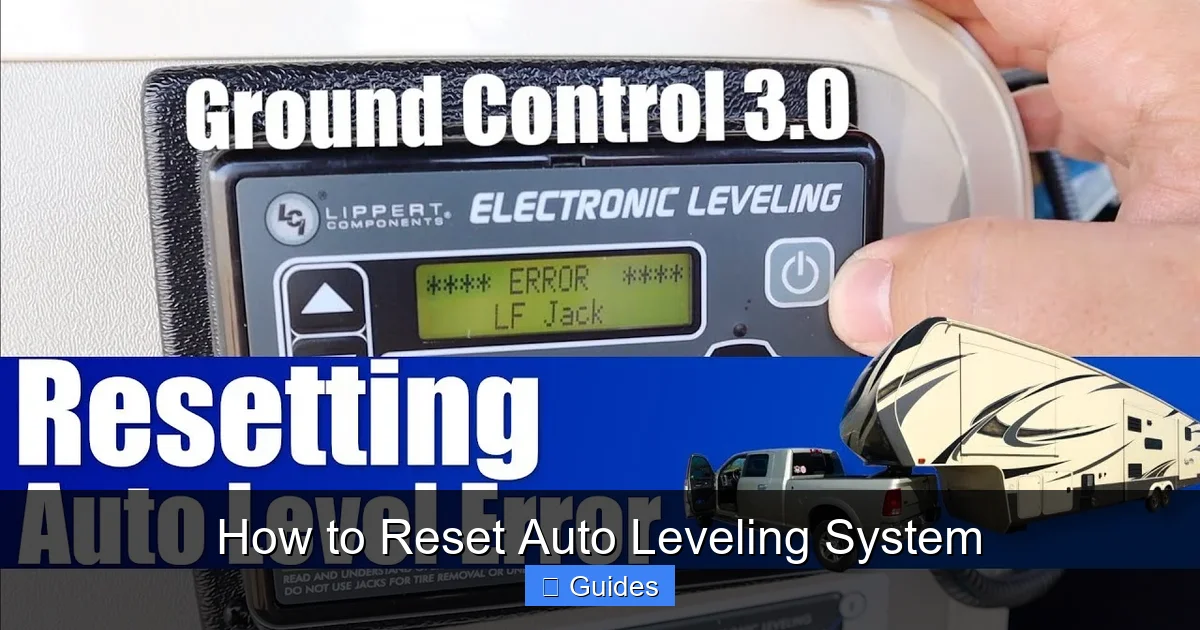
Visual guide about How to Reset Auto Leveling System
Image source: gocarlife.com
Now that you understand the basics, let’s walk through how to reset auto leveling system on most 3D printers. These steps apply to printers with probes, sensors, or software-based leveling. Always start with a clean, powered-off printer to ensure safety and accuracy.
Step 1: Power Down and Inspect
Turn off your printer and unplug it from the power source. This prevents accidental damage to electronics and ensures no voltage is present during inspection.
Check the print bed for debris, dust, or filament scraps. Clean it thoroughly with isopropyl alcohol and a lint-free cloth. A dirty bed can cause false sensor readings.
Inspect the probe or sensor. For a BLTouch, make sure the pin moves freely and isn’t bent. For inductive sensors, ensure there’s no metal shavings nearby. Tighten any loose screws on the probe mount or Z-axis.
Step 2: Manually Level the Bed (Rough Leveling)
Even with auto leveling, a roughly level bed is essential. Use the printer’s manual leveling procedure—usually involving turning knobs at each corner to adjust bed height.
Move the nozzle to each corner and center of the bed. Use a piece of paper to check the gap between the nozzle and bed. You should feel slight resistance when sliding the paper.
This step ensures the auto leveling system starts from a consistent baseline. Skip it, and the probe may detect an already warped surface.
Step 3: Reset the Leveling Data
Now it’s time to reset the stored leveling data. The method depends on your printer’s firmware and interface.
For Marlin-based printers, use the LCD menu:
– Navigate to “Prepare” > “Bed Leveling” or “Mesh Leveling.”
– Select “Reset Mesh” or “Clear Leveling Data.”
– Confirm the action.
Alternatively, use G-code commands via your slicer or terminal:
– Send `G28` to home all axes.
– Send `G29` to probe the bed and generate a new mesh.
– Some printers use `M420 S0` to disable leveling, then `M420 S1` to re-enable it after probing.
For printers with a BLTouch, you may need to reset the probe itself:
– Power on the printer.
– Use the menu to deploy and retract the probe a few times.
– This recalibrates the sensor’s internal position.
Step 4: Recalibrate the Z-Offset
After resetting, the Z-offset—the distance between the nozzle and bed when the probe triggers—must be recalibrated. An incorrect Z-offset causes prints to be too high (poor adhesion) or too low (nozzle scraping).
To calibrate:
– Home the printer (`G28`).
– Move the nozzle to the center of the bed.
– Lower the Z-axis until the nozzle lightly touches a piece of paper.
– Adjust the Z-offset value in the menu or via G-code (`M851 Z[value]`).
– Save the setting (`M500`).
Test with a single-layer print. If the first layer is too thin or thick, fine-tune the Z-offset in 0.01mm increments.
Step 5: Run a Test Print
Once everything is reset and calibrated, run a simple test print—like a 20mm cube or a first-layer test pattern.
Watch the first layer closely. It should adhere evenly across the bed with consistent line width. If you see gaps or dragging, repeat the Z-offset calibration.
If the issue persists, check for mechanical problems like loose belts or a warped bed.
Advanced Reset Techniques for Specific Printers
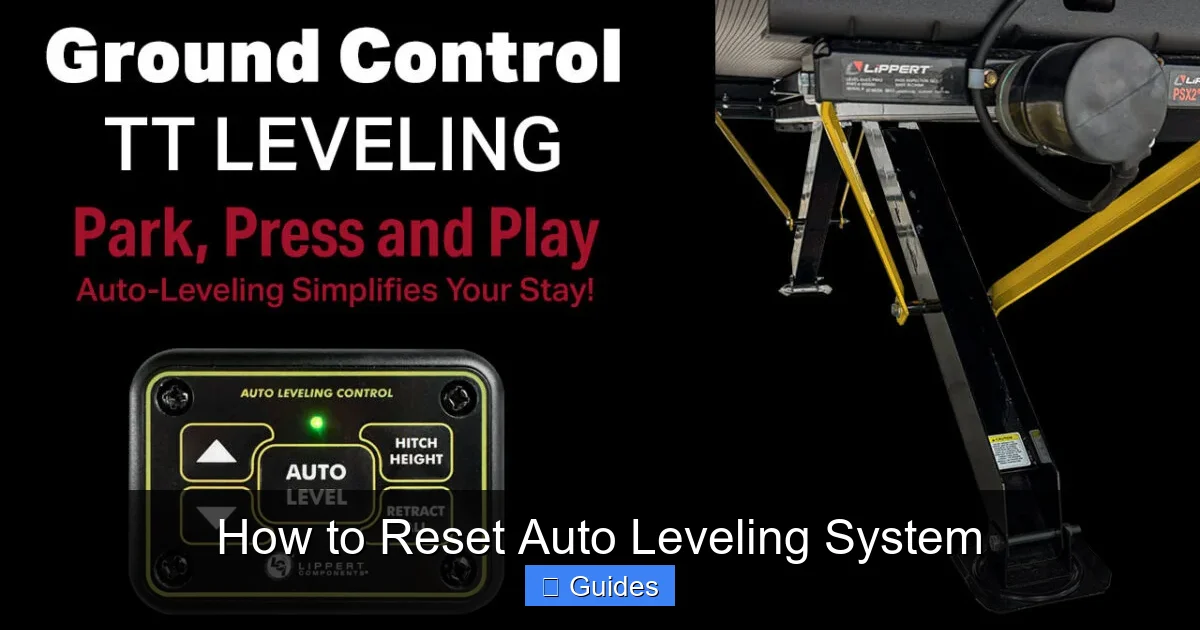
Visual guide about How to Reset Auto Leveling System
Image source: cruiserrv.com
Different printers may require specialized steps to fully reset auto leveling system. Here are some advanced techniques for popular models and firmware types.
Resetting on Creality Printers (Ender 3, CR-10)
Creality printers often use a BLTouch or similar probe with Marlin firmware. To reset:
– Go to “Configuration” > “Advanced Settings” > “Probe Z Offset.”
– Reset the Z-offset to 0, then recalibrate.
– Use “Leveling” > “Reset Leveling” to clear the mesh.
– Re-probe the bed using “Leveling” > “Auto Leveling.”
Some Ender 3 models require a firmware reflash if the reset doesn’t work. Download the latest firmware from Creality’s website and flash it via SD card.
Resetting on Prusa i3 MK3/MK4
Prusa printers use a built-in inductive sensor and proprietary firmware. To reset:
– Go to “Settings” > “Calibration” > “First Layer Calibration.”
– Follow the on-screen prompts to re-level the bed.
– The printer will automatically probe and adjust the mesh.
Prusa’s system is highly automated, so manual resets are rarely needed. However, if prints fail, a full factory reset may help:
– Go to “Settings” > “Restore Defaults.”
– Re-run the initial setup wizard.
Resetting with Klipper Firmware
Klipper uses a different approach, relying on the host computer to process leveling data. To reset:
– Open the web interface (e.g., Fluidd or Mainsail).
– Navigate to “Configuration” > “Bed Mesh.”
– Click “Clear Mesh” to delete stored data.
– Run `BED_MESH_CALIBRATE` in the console to re-probe the bed.
Klipper also allows real-time Z-offset adjustment during printing, making fine-tuning easier.
Resetting on Bambu Lab Printers
Bambu Lab printers use a laser sensor and advanced auto leveling. To reset:
– Go to “Settings” > “Calibration” > “Bed Leveling.”
– Select “Reset” to clear the current mesh.
– Run “Auto Bed Leveling” to generate a new map.
Bambu’s system is very reliable, but firmware updates can sometimes reset leveling data. Always check for updates after a reset.
Troubleshooting Common Reset Issues
Even after following the steps, you might still face problems. Here’s how to troubleshoot common issues when resetting auto leveling system.
Probe Not Deploying or Retracting
If your BLTouch won’t move, check the wiring. Loose or damaged cables can prevent the probe from receiving power. Also, ensure the probe isn’t physically blocked by filament or debris.
Try manually deploying the probe with a small screwdriver. If it moves freely, the issue is likely electrical.
Inconsistent First Layer
If the first layer is still uneven after resetting, the bed may be warped. Use a straightedge to check for bends. For minor warps, increase the mesh density (e.g., probe 5×5 instead of 3×3).
Also, ensure the bed is clean and level. A warped bed can’t be fully corrected by software.
Z-Axis Not Responding
If the Z-axis doesn’t move during leveling, check the motor connections and belts. A loose belt can cause the axis to skip steps.
Also, verify that the endstop or probe is triggering correctly. Use `M119` in G-code to check sensor status.
Firmware Errors or Crashes
If the printer freezes during leveling, the firmware may be corrupted. Reflash the firmware using the manufacturer’s instructions.
Always back up your configuration before updating.
Preventing Future Leveling Problems
Once you’ve successfully reset auto leveling system, take steps to prevent future issues.
Clean the bed and probe regularly. Dust and grease are the enemies of accurate leveling.
Check mechanical components monthly—tighten screws, inspect belts, and ensure the gantry is square.
Update firmware periodically. Manufacturers often release patches that improve leveling accuracy.
Finally, avoid moving the printer unnecessarily. Vibrations and shocks can misalign components.
Conclusion
Resetting your auto leveling system doesn’t have to be intimidating. With the right knowledge and a few simple steps, you can restore your printer’s precision and enjoy flawless prints. Whether you’re using a BLTouch, inductive sensor, or software-based mesh, the key is understanding your system and following a consistent reset process.
Remember: auto leveling is a tool, not a cure-all. It works best when combined with a clean bed, proper calibration, and regular maintenance. Don’t skip the basics—manual leveling and Z-offset calibration are still essential.
By learning how to reset auto leveling system, you’re not just fixing a problem—you’re becoming a more confident and capable 3D printer user. So the next time your first layer fails, don’t panic. Grab your tools, follow this guide, and get back to creating amazing prints.
Frequently Asked Questions
How often should I reset my auto leveling system?
You don’t need to reset it regularly unless you notice print issues. Most users reset only after moving the printer, changing the bed, or encountering consistent leveling problems.
Can I reset auto leveling without a probe?
Yes, if your printer uses software-based mesh leveling. You can clear the stored mesh and re-level manually through the printer’s menu or G-code.
Why does my BLTouch keep failing after reset?
This could be due to a faulty probe, incorrect wiring, or a bad Z-offset. Check the probe’s movement, connections, and recalibrate the Z-offset carefully.
Will resetting auto leveling delete my settings?
It depends. Resetting the mesh or leveling data won’t erase your slicer settings, but some firmware resets may restore factory defaults. Always back up your configuration.
Can I use auto leveling on a warped bed?
Yes, but only if the warp is minor. Severe warping may exceed the system’s correction range. Consider replacing the bed or using a glass plate for better flatness.
What G-code commands reset auto leveling?
Common commands include `G28` (home all axes), `G29` (probe bed), `M420 S0` (disable leveling), and `M500` (save settings). Use them via your slicer or printer terminal.

At CarLegit, we believe information should be clear, factual, and genuinely helpful. That’s why every guide, review, and update on our website is created with care, research, and a strong focus on user experience.