
Turning off the maintenance light on your Toyota is easier than you think—no mechanic required. Whether you’ve just completed an oil change or routine service, this guide walks you through the process for various Toyota models using the dashboard controls.
In This Article
- 1 Key Takeaways
- 2 📑 Table of Contents
- 3 Why Does the Maintenance Light Come On?
- 4 When Should You Reset the Maintenance Light?
- 5 How to Reset the Maintenance Light on Older Toyota Models
- 6 How to Reset the Maintenance Light on Newer Toyota Models
- 7 Model-Specific Reset Instructions
- 8 Tips to Avoid Future Maintenance Light Confusion
- 9 Conclusion
- 10 Frequently Asked Questions
- 10.1 Can I reset the maintenance light without doing the service?
- 10.2 Will resetting the maintenance light affect my warranty?
- 10.3 What if the maintenance light comes back on immediately after reset?
- 10.4 Do all Toyota models use the same reset method?
- 10.5 Can I reset the light while the engine is running?
- 10.6 What if I can’t find the trip meter button?
Key Takeaways
- Maintenance lights are reminders, not warnings: They indicate scheduled service intervals, not mechanical issues.
- Reset procedures vary by model and year: Always check your owner’s manual or use the correct steps for your specific Toyota.
- Use the trip meter and ignition key: Most older Toyotas reset using the odometer button and key cycles.
- Newer models use the steering wheel controls: Vehicles with touchscreens or advanced dashboards often require menu navigation.
- Reset after every service: Failing to reset the light can lead to confusion about when your next maintenance is due.
- Don’t ignore real problems: If the check engine light is on, the maintenance light reset won’t fix underlying issues.
- Practice makes perfect: Try the reset process once to get familiar—it only takes a few minutes.
📑 Table of Contents
Why Does the Maintenance Light Come On?
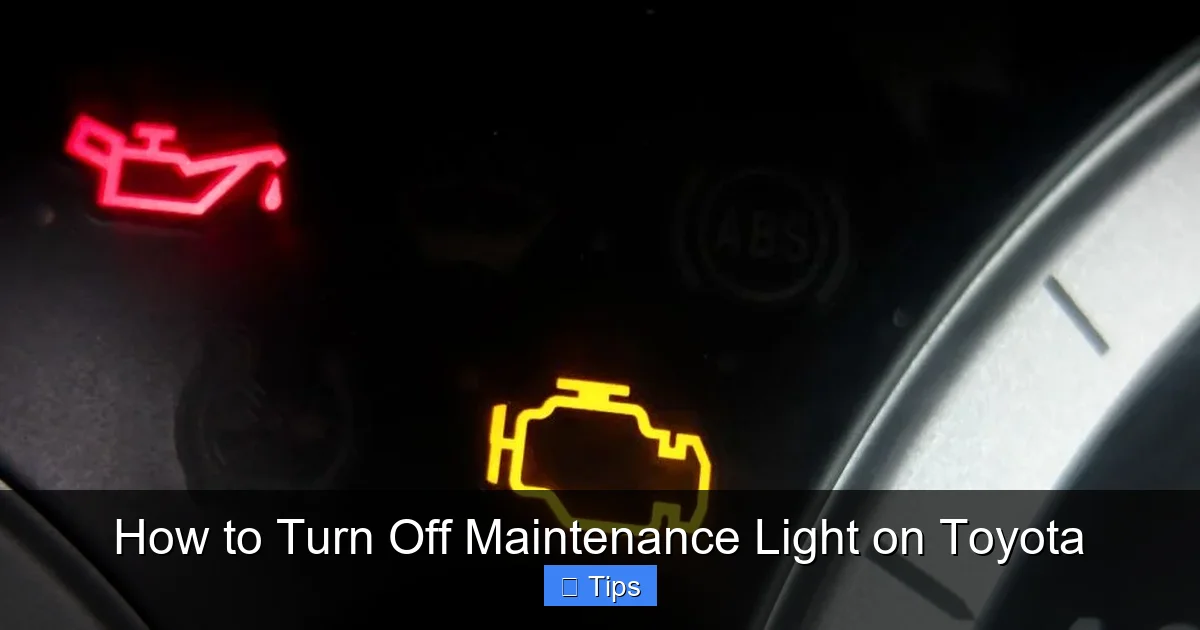
If you’ve ever been behind the wheel of your Toyota and noticed a small wrench icon or “MAINT REQD” message flashing on your dashboard, you’re not alone. That little light is your car’s way of saying, “Hey, it’s time for some routine care!” But don’t panic—this isn’t a warning that something’s broken. Instead, it’s a friendly reminder that your vehicle is due for scheduled maintenance, like an oil change, tire rotation, or filter replacement.
Toyota designs its maintenance reminder system to help drivers stay on top of regular service intervals. These intervals are based on time or mileage, whichever comes first. For example, many Toyotas recommend an oil change every 5,000 to 10,000 miles, depending on driving conditions and oil type. Once you hit that mark, the maintenance light kicks in to nudge you toward the service bay—or your driveway, if you’re a DIYer.
It’s important to understand that this light is purely informational. Unlike the check engine light, which signals a potential mechanical problem, the maintenance light is more like a digital nag from your car’s computer. It doesn’t mean your engine is about to fail or that your brakes are worn out. It simply means it’s time to follow the recommended maintenance schedule outlined in your owner’s manual.
How the Maintenance Light Works
Toyota’s maintenance reminder system is tied to the vehicle’s onboard computer, which tracks mileage and time since the last reset. When the system detects that you’ve reached a preset interval—say, 5,000 miles—it triggers the light. This helps ensure you don’t forget routine services that keep your car running smoothly and efficiently.
Some newer Toyota models even have adaptive maintenance systems that adjust intervals based on driving habits. For instance, if you frequently drive in stop-and-go traffic or extreme temperatures, the system might recommend more frequent oil changes. This smart feature helps extend the life of your engine and improves fuel economy.
Common Triggers for the Maintenance Light
So, what exactly causes the maintenance light to illuminate? Here are the most common reasons:
- Oil change due: The most frequent trigger is reaching the oil change interval. Even if you’ve just filled up your gas tank, the light will still come on if it’s time for fresh oil.
- Tire rotation or alignment: Some models link the light to tire maintenance, especially if you’ve had uneven wear or alignment issues.
- Air filter replacement: A clogged air filter can reduce engine performance, so the system reminds you to check it.
- Brake fluid or coolant service: Over time, fluids degrade and need replacing. The maintenance light may appear when these services are due.
- Battery or electrical system check: In some cases, the light appears as a general reminder to inspect the battery and wiring.
Understanding these triggers helps you respond appropriately. If the light comes on, check your service history and consult your owner’s manual to see what’s due. Then, once the service is complete, it’s time to reset the light.
When Should You Reset the Maintenance Light?
Visual guide about How to Turn Off Maintenance Light on Toyota
Image source: dealerinspire-image-library-prod.s3.us-east-1.amazonaws.com
Resetting the maintenance light isn’t something you do randomly. It should only be done after you’ve actually completed the required service. Think of it like checking off a task on your to-do list—once the job is done, you mark it complete.
For example, if you’ve just changed your oil and replaced the oil filter, that’s the perfect time to reset the light. The same goes for tire rotations, brake inspections, or any other scheduled maintenance. Resetting the light too early—before the service is done—can lead to confusion later. You might forget when the next service is due, or worse, skip it altogether.
It’s also important to reset the light even if you’ve had the service done at a dealership or independent shop. Many mechanics will reset it for you, but not all do. If you pick up your car and the light is still on, don’t assume it was forgotten—sometimes it’s intentional, so the next technician knows when the last service was performed.
DIY vs. Professional Service
Whether you’re doing the maintenance yourself or taking your car to a shop, the reset process is the same. The key is timing: only reset the light after the service is complete. If you’re a DIY enthusiast, this gives you full control over your vehicle’s maintenance schedule. You can track intervals, choose high-quality parts, and save money on labor costs.
On the other hand, if you prefer professional service, make sure to ask the technician to reset the light. Most reputable shops will do this as part of their service, but it never hurts to confirm. Some shops even provide a printed service record that includes the reset confirmation.
What Happens If You Don’t Reset the Light?
Leaving the maintenance light on indefinitely isn’t dangerous, but it can be annoying. That little wrench icon will keep flashing every time you start your car, which can be distracting. More importantly, it defeats the purpose of the reminder system. If the light stays on, you might forget when your next service is due, leading to delayed maintenance.
Delayed maintenance can have real consequences. For example, old engine oil breaks down over time, losing its ability to lubricate and protect internal components. This can lead to increased wear, reduced fuel efficiency, and even engine damage in extreme cases.
Similarly, ignoring tire rotations can cause uneven tread wear, reducing tire life and compromising handling. And skipping brake fluid changes can lead to spongy brakes or corrosion in the braking system.
So while the maintenance light itself isn’t a warning of immediate danger, ignoring it can lead to bigger problems down the road. Resetting it after each service keeps your car in top shape and your mind at ease.
How to Reset the Maintenance Light on Older Toyota Models
Visual guide about How to Turn Off Maintenance Light on Toyota
Image source: i.ytimg.com
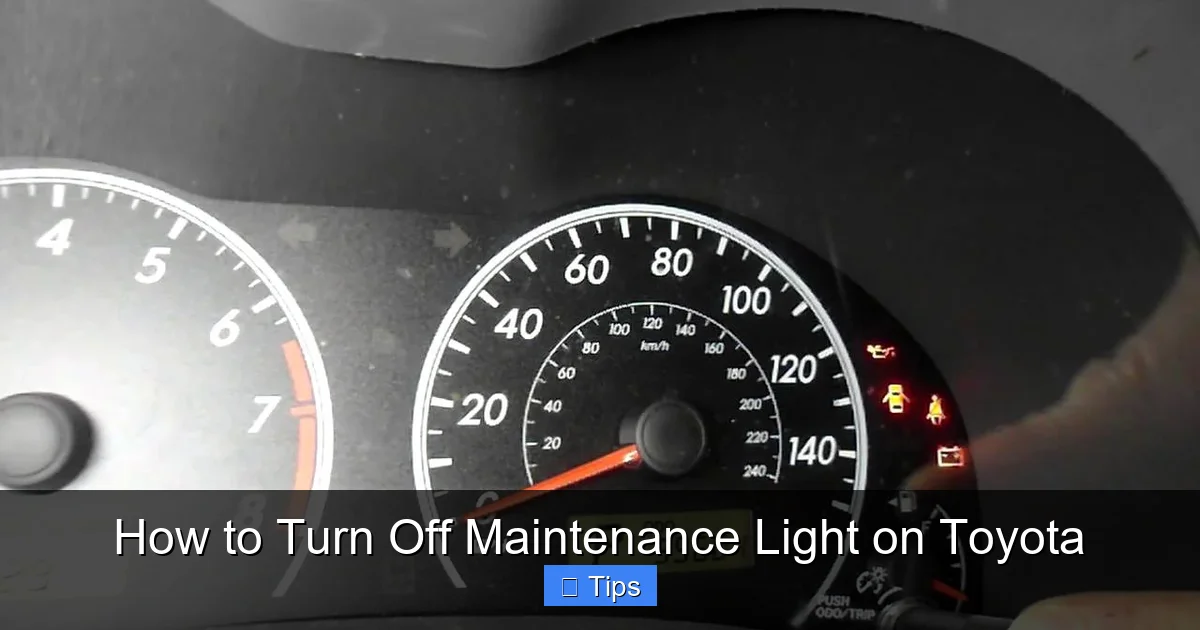
If you drive a Toyota from the early 2000s to around 2015, chances are your maintenance light reset process involves the trip meter and ignition key. This method is simple, doesn’t require any special tools, and can be done in under two minutes.
The most common models that use this method include the Toyota Camry, Corolla, RAV4, Highlander, and Tacoma from this era. The steps are nearly identical across these vehicles, with only minor variations.
Step-by-Step Guide for Older Models
Here’s how to reset the maintenance light on older Toyota vehicles:
- Turn the ignition to the “ON” position: Do not start the engine. Just turn the key so that the dashboard lights up. You should see all the warning lights briefly illuminate.
- Press the trip meter button: Locate the trip meter button on your dashboard—usually near the speedometer. Press it until the display shows “Trip A” or “Trip B.”
- Turn the ignition off: Once the trip meter is displayed, turn the key back to the “OFF” position.
- Hold the trip meter button: While the ignition is off, press and hold the trip meter button.
- Turn the ignition back to “ON”: With the button still held down, turn the key to the “ON” position again. Keep holding the button.
- Wait for the light to flash: After about 5–10 seconds, the maintenance light will begin to flash. Continue holding the button.
- Release the button: Once the light stops flashing and turns off completely, release the trip meter button.
- Turn the ignition off and restart: Turn the key to “OFF,” then start the engine normally. The maintenance light should no longer appear.
This process works because the car’s computer recognizes the specific sequence of button presses and ignition cycles as a reset command. It’s a clever way to prevent accidental resets while keeping the process accessible to everyday drivers.
Tips for Success
To ensure the reset works on the first try, keep these tips in mind:
- Be patient: The timing is important. If you release the button too early, the reset won’t complete.
- Use the correct trip mode: Make sure the trip meter is set to “Trip A” before starting. Some models require this specific mode.
- Don’t start the engine: The reset only works when the ignition is on but the engine is off.
- Try again if needed: If the light doesn’t turn off, repeat the process. Sometimes it takes two attempts.
Many Toyota owners find this method intuitive once they’ve done it once. It’s a great way to take control of your vehicle’s maintenance without relying on a mechanic.
How to Reset the Maintenance Light on Newer Toyota Models

Visual guide about How to Turn Off Maintenance Light on Toyota
Image source: i.ytimg.com
Starting around 2016, Toyota began introducing more advanced dashboard systems with touchscreens and steering wheel controls. These newer models—such as the 2016+ Camry, 2019+ Corolla, 2020+ RAV4, and 2021+ Highlander—use a different reset process that involves navigating the vehicle’s information display.
Instead of using the trip meter button, you’ll use the steering wheel controls to access the maintenance menu. This method is slightly more complex but still manageable for most drivers.
Step-by-Step Guide for Newer Models
Here’s how to reset the maintenance light on newer Toyota vehicles:
- Turn the ignition to “ON”: Again, do not start the engine. Just turn the key or press the start button (without your foot on the brake).
- Use the steering wheel controls: Locate the arrow or “DISP” button on the left side of your steering wheel. Press it to cycle through the display options.
- Navigate to “Settings”: Use the up and down arrows to find the “Settings” or “Vehicle Settings” menu.
- Select “Maintenance”: Scroll down to the “Maintenance” option and press the center button to enter.
- Choose “Reset”: Look for an option like “Reset Maintenance” or “Oil Maintenance.” Select it.
- Confirm the reset: The system will ask if you want to reset the maintenance data. Confirm by selecting “Yes” or “OK.”
- Turn the ignition off and restart: Exit the menu, turn the ignition off, then start the engine. The maintenance light should be gone.
This method relies on the vehicle’s infotainment system to communicate with the maintenance computer. It’s more precise than the older button method and allows for additional customization, such as setting custom service intervals.
Common Issues and Fixes
If the reset doesn’t work, here are a few things to check:
- Make sure the ignition is on: The engine must be off, but the dashboard must be powered.
- Check for software updates: Some newer Toyotas require the latest software to access all menu options.
- Try a different menu path: On some models, the maintenance reset is under “Vehicle Status” or “Service Info.”
- Consult the owner’s manual: Each model may have slight variations. The manual will have the exact steps.
If you’re still having trouble, don’t hesitate to visit a Toyota service center. They can reset the light for you and ensure your vehicle’s system is functioning correctly.
Model-Specific Reset Instructions
While the general reset methods work for most Toyotas, some models have unique steps. Here’s a quick breakdown for popular vehicles:
Toyota Camry (2007–2015)
Use the trip meter method described earlier. Make sure the trip meter is on “Trip A” before starting.
Toyota Corolla (2009–2018)
Same as the Camry—trip meter and ignition cycle. Some Corolla models may require holding the button for up to 15 seconds.
Toyota RAV4 (2013–2018)
Follow the older model steps. On some RAV4s, the light may flash three times before turning off.
Toyota Highlander (2014–2019)
Use the trip meter method. If the light doesn’t reset, try turning the ignition on and off three times while holding the button.
Toyota Tacoma (2016–2023)
For 2016–2019 models, use the trip meter method. For 2020 and newer, use the steering wheel controls to access the maintenance menu.
Toyota Prius (2010–2015)
The Prius uses a slightly different sequence: turn ignition on, press trip button until “Trip A” appears, turn ignition off, hold trip button, turn ignition on, wait for light to flash, then release.
Always refer to your owner’s manual for the most accurate instructions. If you’ve lost your manual, you can download a digital copy from Toyota’s official website.
Tips to Avoid Future Maintenance Light Confusion
Once you’ve reset the maintenance light, it’s important to stay organized so you don’t get caught off guard next time. Here are some practical tips to keep your Toyota running smoothly:
- Keep a maintenance log: Use a notebook or smartphone app to record every service, including date, mileage, and work performed.
- Set calendar reminders: Add service intervals to your phone or digital calendar. Set alerts a week before the due date.
- Use high-quality parts: Stick to OEM (Original Equipment Manufacturer) or trusted aftermarket parts for oil, filters, and fluids.
- Follow the owner’s manual: Toyota’s recommended schedule is based on extensive testing. Don’t skip services to save money.
- Check the light regularly: Even if it’s not on, glance at the dashboard during startup to ensure no other warning lights are active.
By staying proactive, you’ll extend the life of your Toyota, improve fuel efficiency, and avoid costly repairs. And when the maintenance light does come on again, you’ll know exactly what to do.
Conclusion
Turning off the maintenance light on your Toyota is a simple but important task that every owner should know how to do. Whether you drive an older model with a trip meter or a newer vehicle with a touchscreen, the process is straightforward and takes just a few minutes.
Remember, the maintenance light is there to help you—not to scare you. It’s a reminder to take care of your car, not a sign that something is wrong. By resetting it after each service, you keep your vehicle’s maintenance schedule on track and avoid confusion down the road.
So the next time that little wrench icon appears, don’t ignore it. Follow the steps in this guide, reset the light, and get back to enjoying the smooth, reliable ride that Toyota is known for. Your car—and your wallet—will thank you.
Frequently Asked Questions
Can I reset the maintenance light without doing the service?
Technically, yes, but it’s not recommended. Resetting the light without performing the required maintenance can lead to missed services and potential vehicle damage. Always complete the service first.
Will resetting the maintenance light affect my warranty?
No, resetting the maintenance light does not affect your warranty. It’s a normal part of vehicle maintenance and is encouraged to keep service records accurate.
What if the maintenance light comes back on immediately after reset?
This could indicate a system error or that the service wasn’t properly logged. Try resetting it again. If it persists, have a technician check the vehicle’s computer.
Do all Toyota models use the same reset method?
No, reset methods vary by model and year. Older models use the trip meter, while newer ones use steering wheel controls. Always check your owner’s manual.
Can I reset the light while the engine is running?
No, the engine must be off during the reset process. The ignition should be on, but the engine should not be running.
The trip meter button is usually located on the dashboard near the speedometer or on the steering column. Consult your owner’s manual for the exact location.

At CarLegit, we believe information should be clear, factual, and genuinely helpful. That’s why every guide, review, and update on our website is created with care, research, and a strong focus on user experience.