
Turning on mirror lights on your GMC Sierra is simpler than you think—whether you’re using built-in puddle lamps, LED upgrades, or aftermarket accessories. This guide walks you through every method, from factory settings to custom installations, so you can light up your entryway with confidence.
In This Article
- 1 Key Takeaways
- 2 📑 Table of Contents
- 3 Understanding Mirror Lights on the GMC Sierra
- 4 Checking If Your GMC Sierra Has Mirror Lights
- 5 Activating Factory Mirror Lights via the Infotainment System
- 6 Upgrading to Aftermarket LED Mirror Lights
- 7 DIY Installation Tips and Common Mistakes to Avoid
- 8 Maintenance and Troubleshooting Mirror Lights
- 9 Conclusion
- 10 Frequently Asked Questions
- 10.1 Do all GMC Sierra models have mirror lights?
- 10.2 Can I install mirror lights on a GMC Sierra that doesn’t have them?
- 10.3 Why won’t my mirror lights turn on even after enabling them in the menu?
- 10.4 Are LED mirror lights better than halogen?
- 10.5 Do mirror lights drain the battery?
- 10.6 Can I adjust the brightness of my mirror lights?
Key Takeaways
- Mirror lights are often called puddle lamps or courtesy lights: These small lights activate when you unlock your GMC Sierra, illuminating the ground near the doors for safer entry and exit.
- Factory-installed mirror lights may require activation via the infotainment system: Some GMC Sierra models come with pre-wired mirror lights that need to be enabled in the vehicle settings.
- Aftermarket LED mirror lights offer brighter, longer-lasting illumination: Upgrading to LED kits improves visibility and adds a modern look to your truck.
- Wiring and installation vary by model year and trim level: Always check your owner’s manual or consult a professional if you’re unsure about compatibility.
- Mirror lights enhance safety and convenience at night: They help prevent slips, show curb edges, and make it easier to see door handles in the dark.
- Regular maintenance ensures consistent performance: Clean lenses and check connections periodically to keep your mirror lights working reliably.
- Professional installation is recommended for complex setups: If you’re adding lights to a model without factory support, an auto electrician can ensure safe, code-compliant wiring.
📑 Table of Contents
- Understanding Mirror Lights on the GMC Sierra
- Checking If Your GMC Sierra Has Mirror Lights
- Activating Factory Mirror Lights via the Infotainment System
- Upgrading to Aftermarket LED Mirror Lights
- DIY Installation Tips and Common Mistakes to Avoid
- Maintenance and Troubleshooting Mirror Lights
- Conclusion
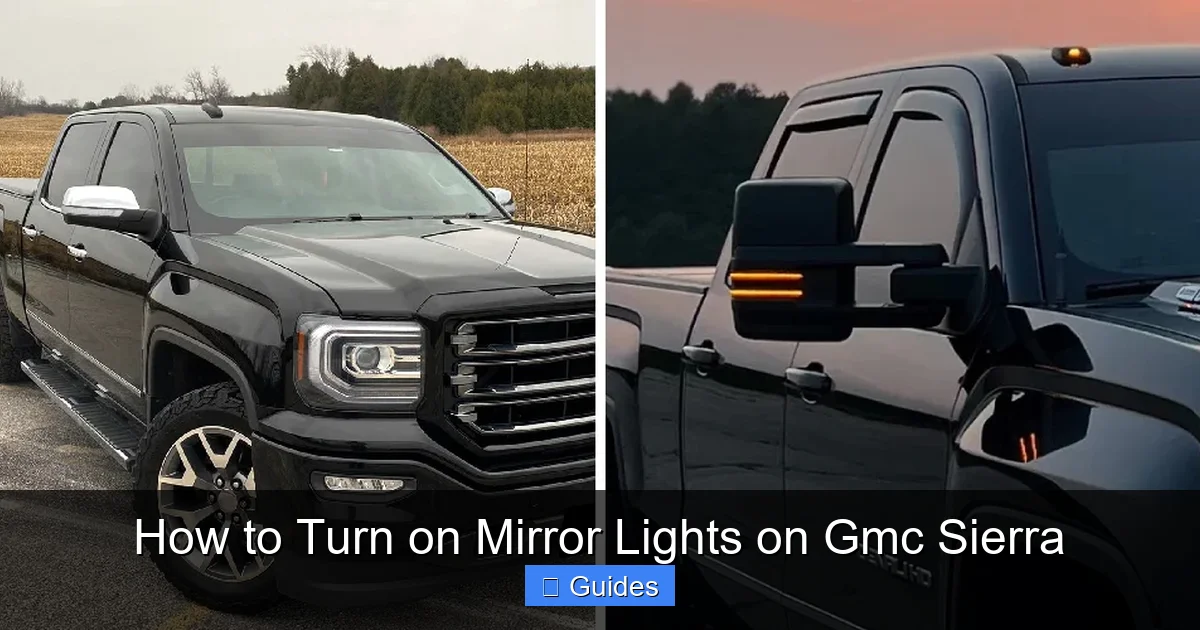
Understanding Mirror Lights on the GMC Sierra
If you’ve ever stepped out of your GMC Sierra at night and wished you could see where you’re stepping, mirror lights—also known as puddle lamps or courtesy lights—might be the solution you’re looking for. These small but mighty lights are designed to shine downward from the underside of your side mirrors, illuminating the area around your doors. They’re especially helpful when parking on dark streets, navigating uneven terrain, or simply trying to avoid puddles after a rainstorm.
Mirror lights aren’t just about convenience—they’re a safety feature. By lighting up the ground near your feet, they reduce the risk of tripping, slipping, or stepping into hidden obstacles. Plus, they make it easier to locate door handles and seat belts in low-light conditions. Many drivers also appreciate the subtle, upscale touch these lights add to their truck’s exterior, giving it a more premium feel.
But here’s the thing: not all GMC Sierra models come with mirror lights activated out of the box. Some trims include them as standard, while others have the hardware installed but require a software toggle to turn them on. And if your truck doesn’t have them at all, don’t worry—there are plenty of aftermarket options to upgrade your ride.
In this guide, we’ll walk you through everything you need to know about turning on and upgrading mirror lights on your GMC Sierra. Whether you’re driving a 2014 model or a brand-new 2024 Sierra Denali, we’ve got you covered. We’ll explain how to check if your truck has them, how to activate them using the infotainment system, and how to install new ones if needed. By the end, you’ll be able to confidently light up your entryway every time you unlock your truck.
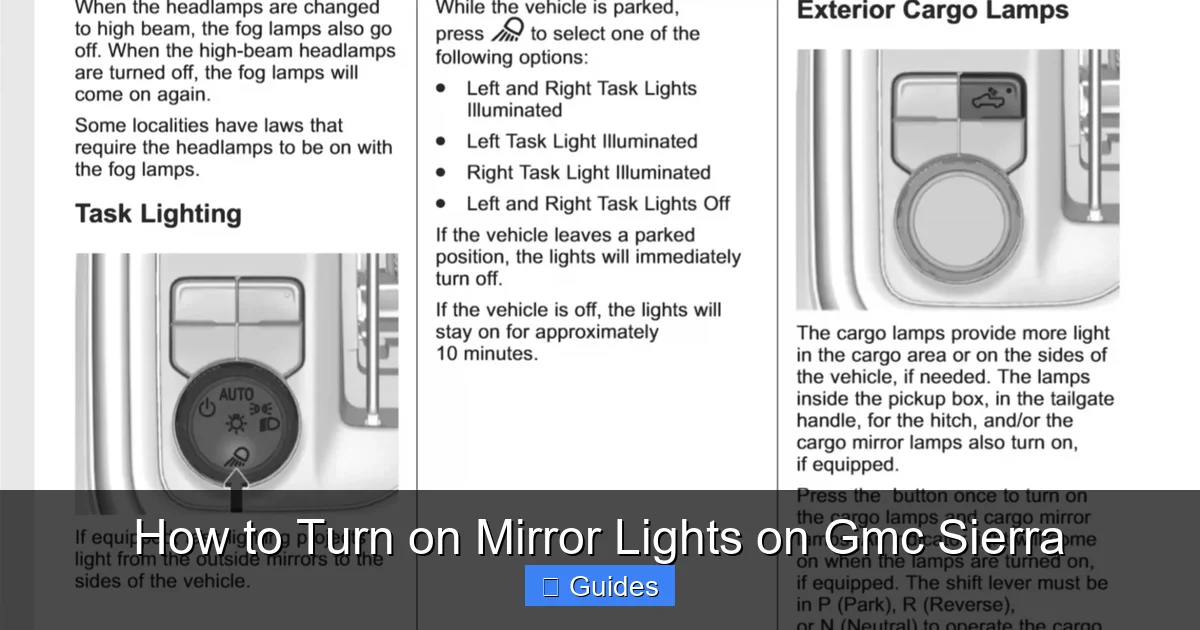
Checking If Your GMC Sierra Has Mirror Lights
Visual guide about How to Turn on Mirror Lights on Gmc Sierra
Image source: mirrortopics.com
Before you start fiddling with settings or buying new parts, it’s important to determine whether your GMC Sierra already has mirror lights installed. Many newer models—especially higher trims like the SLT, AT4, and Denali—come with factory-installed puddle lamps. However, they might not be turned on by default, or they could be hidden behind the mirror housing.
Start by inspecting the underside of your side mirrors. Look for small, rectangular or circular lenses near the bottom edge of the mirror assembly. These are typically made of clear or smoked plastic and are positioned to shine light downward. If you see them, there’s a good chance your truck has mirror lights. But don’t assume they’re working just because you see the lens—sometimes the bulbs are burned out or the feature hasn’t been activated.
Next, test the lights. Stand near your truck at night or in a dark garage. Use your key fob to unlock the doors. Watch the mirrors closely—do any lights flash or turn on? If they do, great! Your mirror lights are functional. If not, they might be disabled in the settings or missing entirely.
You can also check your owner’s manual. Look for sections on “courtesy lights,” “puddle lamps,” or “exterior lighting.” The manual will tell you whether your specific trim level includes mirror lights and how to operate them. For example, the 2020 GMC Sierra owner’s manual mentions that puddle lamps are included on SLT and Denali trims and can be enabled through the infotainment system.
If you’re still unsure, try this quick diagnostic: turn on your truck’s interior lights (usually by opening a door or pressing the dome light button). Then, look at the mirrors again. Some models activate mirror lights when the interior lights are on, even if they don’t respond to the key fob. This can help confirm whether the wiring and bulbs are present.
Finally, consider your model year. GMC began including mirror lights more consistently starting around 2019. Trucks from 2014–2018 may have them on higher trims, but they’re less common. If you have an older model, you’re more likely to need an aftermarket solution.
Activating Factory Mirror Lights via the Infotainment System
Visual guide about How to Turn on Mirror Lights on Gmc Sierra
Image source: brightlighthub.com
If your GMC Sierra has mirror lights installed but they’re not turning on, the most likely culprit is a disabled setting in the infotainment system. Fortunately, activating them is usually a quick and easy process—no tools or wiring required.
Start by turning on your truck. You don’t need to start the engine, but the ignition should be in the “on” position so the dashboard and screen are powered. Then, tap the “Settings” icon on the touchscreen. This is typically represented by a gear or wrench symbol and is located on the home screen or in the main menu.
From the Settings menu, navigate to “Vehicle” or “Vehicle Settings.” This section controls various lighting, security, and convenience features. Look for an option labeled “Lighting,” “Exterior Lighting,” or “Courtesy Lights.” The exact wording may vary depending on your model year and software version.
Once you’re in the lighting menu, scroll through the options until you find “Puddle Lamps,” “Mirror Lights,” or “Door Courtesy Lights.” You’ll likely see a simple on/off toggle. If it’s currently set to “Off,” switch it to “On.” Some systems also allow you to adjust the brightness or set a delay timer—for example, keeping the lights on for 10 seconds after unlocking the doors.
After making the change, exit the menu and test the lights. Use your key fob to lock and unlock the truck. The mirror lights should now activate when you unlock the doors. If they don’t, try restarting the truck and repeating the process. Occasionally, the system needs a reboot to apply new settings.
It’s also worth noting that some GMC Sierra models link mirror lights to other features. For instance, if you have the “Remote Start” or “Welcome Lighting” feature enabled, the mirror lights may only activate when those systems are triggered. Check those settings as well to ensure they’re not interfering.
If you can’t find the option in the menu, consult your owner’s manual or search online for your specific model year and trim. GMC occasionally updates software, and menu layouts can change between model years. For example, the 2021 Sierra uses a different menu structure than the 2018 model, so what works for one may not work for another.
Upgrading to Aftermarket LED Mirror Lights
Visual guide about How to Turn on Mirror Lights on Gmc Sierra
Image source: dash-lights.com
If your GMC Sierra doesn’t have factory mirror lights—or if you want brighter, more efficient illumination—upgrading to aftermarket LED mirror lights is a smart move. LED lights are more energy-efficient, last longer, and provide a crisp, white light that’s easier on the eyes than traditional halogen bulbs.
The first step is choosing the right kit. Look for LED mirror light kits specifically designed for the GMC Sierra. These kits usually include two LED bulbs or modules, wiring harnesses, and installation instructions. Popular brands like OPT7, LASFIT, and Diode Dynamics offer plug-and-play options that are compatible with most Sierra models from 2014 onward.
When shopping, pay attention to the bulb type. Most GMC Sierra mirror lights use a T10 or 194 wedge bulb, but some newer models may require a different size. Check your owner’s manual or remove the existing bulb (if present) to confirm the correct type. Also, consider the color temperature—measured in Kelvin (K). A 6000K bulb produces a bright white light, while 3000K gives off a warmer, yellowish glow. For visibility and safety, 6000K is usually the best choice.
Installation is typically straightforward, but it does require some basic tools and a bit of patience. Start by removing the side mirror assembly. This usually involves prying off a plastic cover behind the mirror and unscrewing a few bolts. Be gentle—the mirror is connected to wiring for power mirrors, heating, and turn signals, so don’t yank it off.
Once the mirror is loose, locate the bulb housing. If your truck has factory lights, you’ll see a small socket with a bulb inside. If not, you may need to drill a small hole or use adhesive mounts to secure the new LED module. Follow the kit instructions carefully—some LEDs are designed to replace the existing bulb, while others are mounted externally.
Connect the new LED to the wiring harness. Most kits include a plug-and-play connector that matches the factory socket. If your truck doesn’t have pre-existing wiring, you’ll need to tap into the door lock or interior light circuit. This is where a wiring diagram or professional help can be invaluable. Incorrect wiring can blow fuses or damage the electrical system.
After connecting the lights, reassemble the mirror and test the system. Use your key fob to unlock the doors and check that the LEDs turn on. If they don’t, double-check the connections and ensure the fuse for the door circuit is intact.
One tip: consider adding a relay or capacitor if you’re installing high-power LEDs. These components help regulate voltage and prevent flickering or premature burnout. They’re especially useful if you’re also upgrading other exterior lights, like fog lamps or tail lights.
DIY Installation Tips and Common Mistakes to Avoid
Installing mirror lights yourself can be a rewarding project, but it’s not without its challenges. With the right preparation and attention to detail, you can avoid common pitfalls and ensure a clean, professional-looking result.
First, always disconnect the battery before working on any electrical components. This prevents accidental shorts, blown fuses, or damage to the truck’s computer system. Use a wrench to loosen the negative terminal and set it aside while you work.
Next, take photos or make notes as you disassemble the mirror. It’s easy to forget which screw goes where or how the wiring is routed. Labeling wires with tape can also help you reconnect everything correctly.
When drilling holes for external LED mounts, use a drill bit slightly smaller than the mounting screw. This ensures a tight fit and prevents the light from wobbling or coming loose over time. Apply a small amount of silicone sealant around the hole to prevent water intrusion—mirror lights are exposed to rain, snow, and road salt, so waterproofing is essential.
Avoid splicing wires unless absolutely necessary. Instead, use T-tap connectors or solder and heat shrink tubing for secure, insulated connections. Twisting wires together and covering them with electrical tape is a temporary fix that can lead to corrosion or failure.
Another common mistake is over-tightening screws when reassembling the mirror. The plastic housing can crack under pressure, especially in cold weather. Use a torque screwdriver or hand-tighten screws gently.
Finally, test the lights at every stage. Don’t wait until the mirror is fully reassembled to see if they work. Check the connection after wiring, then again after mounting. This helps you catch issues early and avoid having to disassemble everything again.
Maintenance and Troubleshooting Mirror Lights
Even the best-installed mirror lights can develop issues over time. Regular maintenance and quick troubleshooting can keep them shining bright for years.
Start by cleaning the lenses periodically. Dirt, grime, and road salt can build up and reduce brightness. Use a soft cloth and mild glass cleaner to wipe the lenses clean. Avoid abrasive materials that could scratch the plastic.
If a light stops working, check the bulb first. Even LEDs can fail, especially if they’re exposed to moisture or voltage spikes. Replace the bulb with an identical model—don’t assume any T10 bulb will work; check the wattage and base type.
Next, inspect the wiring. Look for frayed wires, loose connections, or corrosion at the terminals. Use a multimeter to test for continuity and ensure power is reaching the bulb.
If the lights flicker or don’t turn on at all, the issue might be with the fuse. Locate the fuse box (usually under the dashboard or hood) and check the fuse for the door or lighting circuit. Replace it if it’s blown.
Finally, if you’ve recently updated your truck’s software or installed a new infotainment system, the mirror light settings may have been reset. Recheck the menu to ensure the feature is still enabled.
Conclusion
Turning on mirror lights on your GMC Sierra is a simple upgrade that makes a big difference in safety, convenience, and style. Whether you’re activating factory-installed puddle lamps or installing aftermarket LEDs, the process is straightforward with the right guidance. By following this guide, you’ll be able to light up your entryway with confidence and enjoy a safer, more comfortable driving experience—especially after dark.
Frequently Asked Questions
Do all GMC Sierra models have mirror lights?
No, not all models come with mirror lights standard. Higher trims like SLT, AT4, and Denali are more likely to include them, but even then, they may need to be activated in the settings.
Can I install mirror lights on a GMC Sierra that doesn’t have them?
Yes, you can install aftermarket LED mirror lights on most GMC Sierra models. Kits are available for trucks from 2014 onward and typically include everything you need for installation.
This could be due to a blown fuse, faulty bulb, or wiring issue. Check the fuse box and test the bulb with a multimeter. If the problem persists, consult a professional.
Are LED mirror lights better than halogen?
Yes, LED lights are brighter, more energy-efficient, and last longer than halogen bulbs. They also produce a cleaner, whiter light that improves visibility.
Do mirror lights drain the battery?
No, mirror lights use very little power and are designed to turn off automatically. They won’t drain your battery under normal use.
Can I adjust the brightness of my mirror lights?
Some factory systems allow brightness adjustment in the infotainment menu. Aftermarket LEDs usually have fixed brightness, but you can choose a kit with your preferred output level.

At CarLegit, we believe information should be clear, factual, and genuinely helpful. That’s why every guide, review, and update on our website is created with care, research, and a strong focus on user experience.